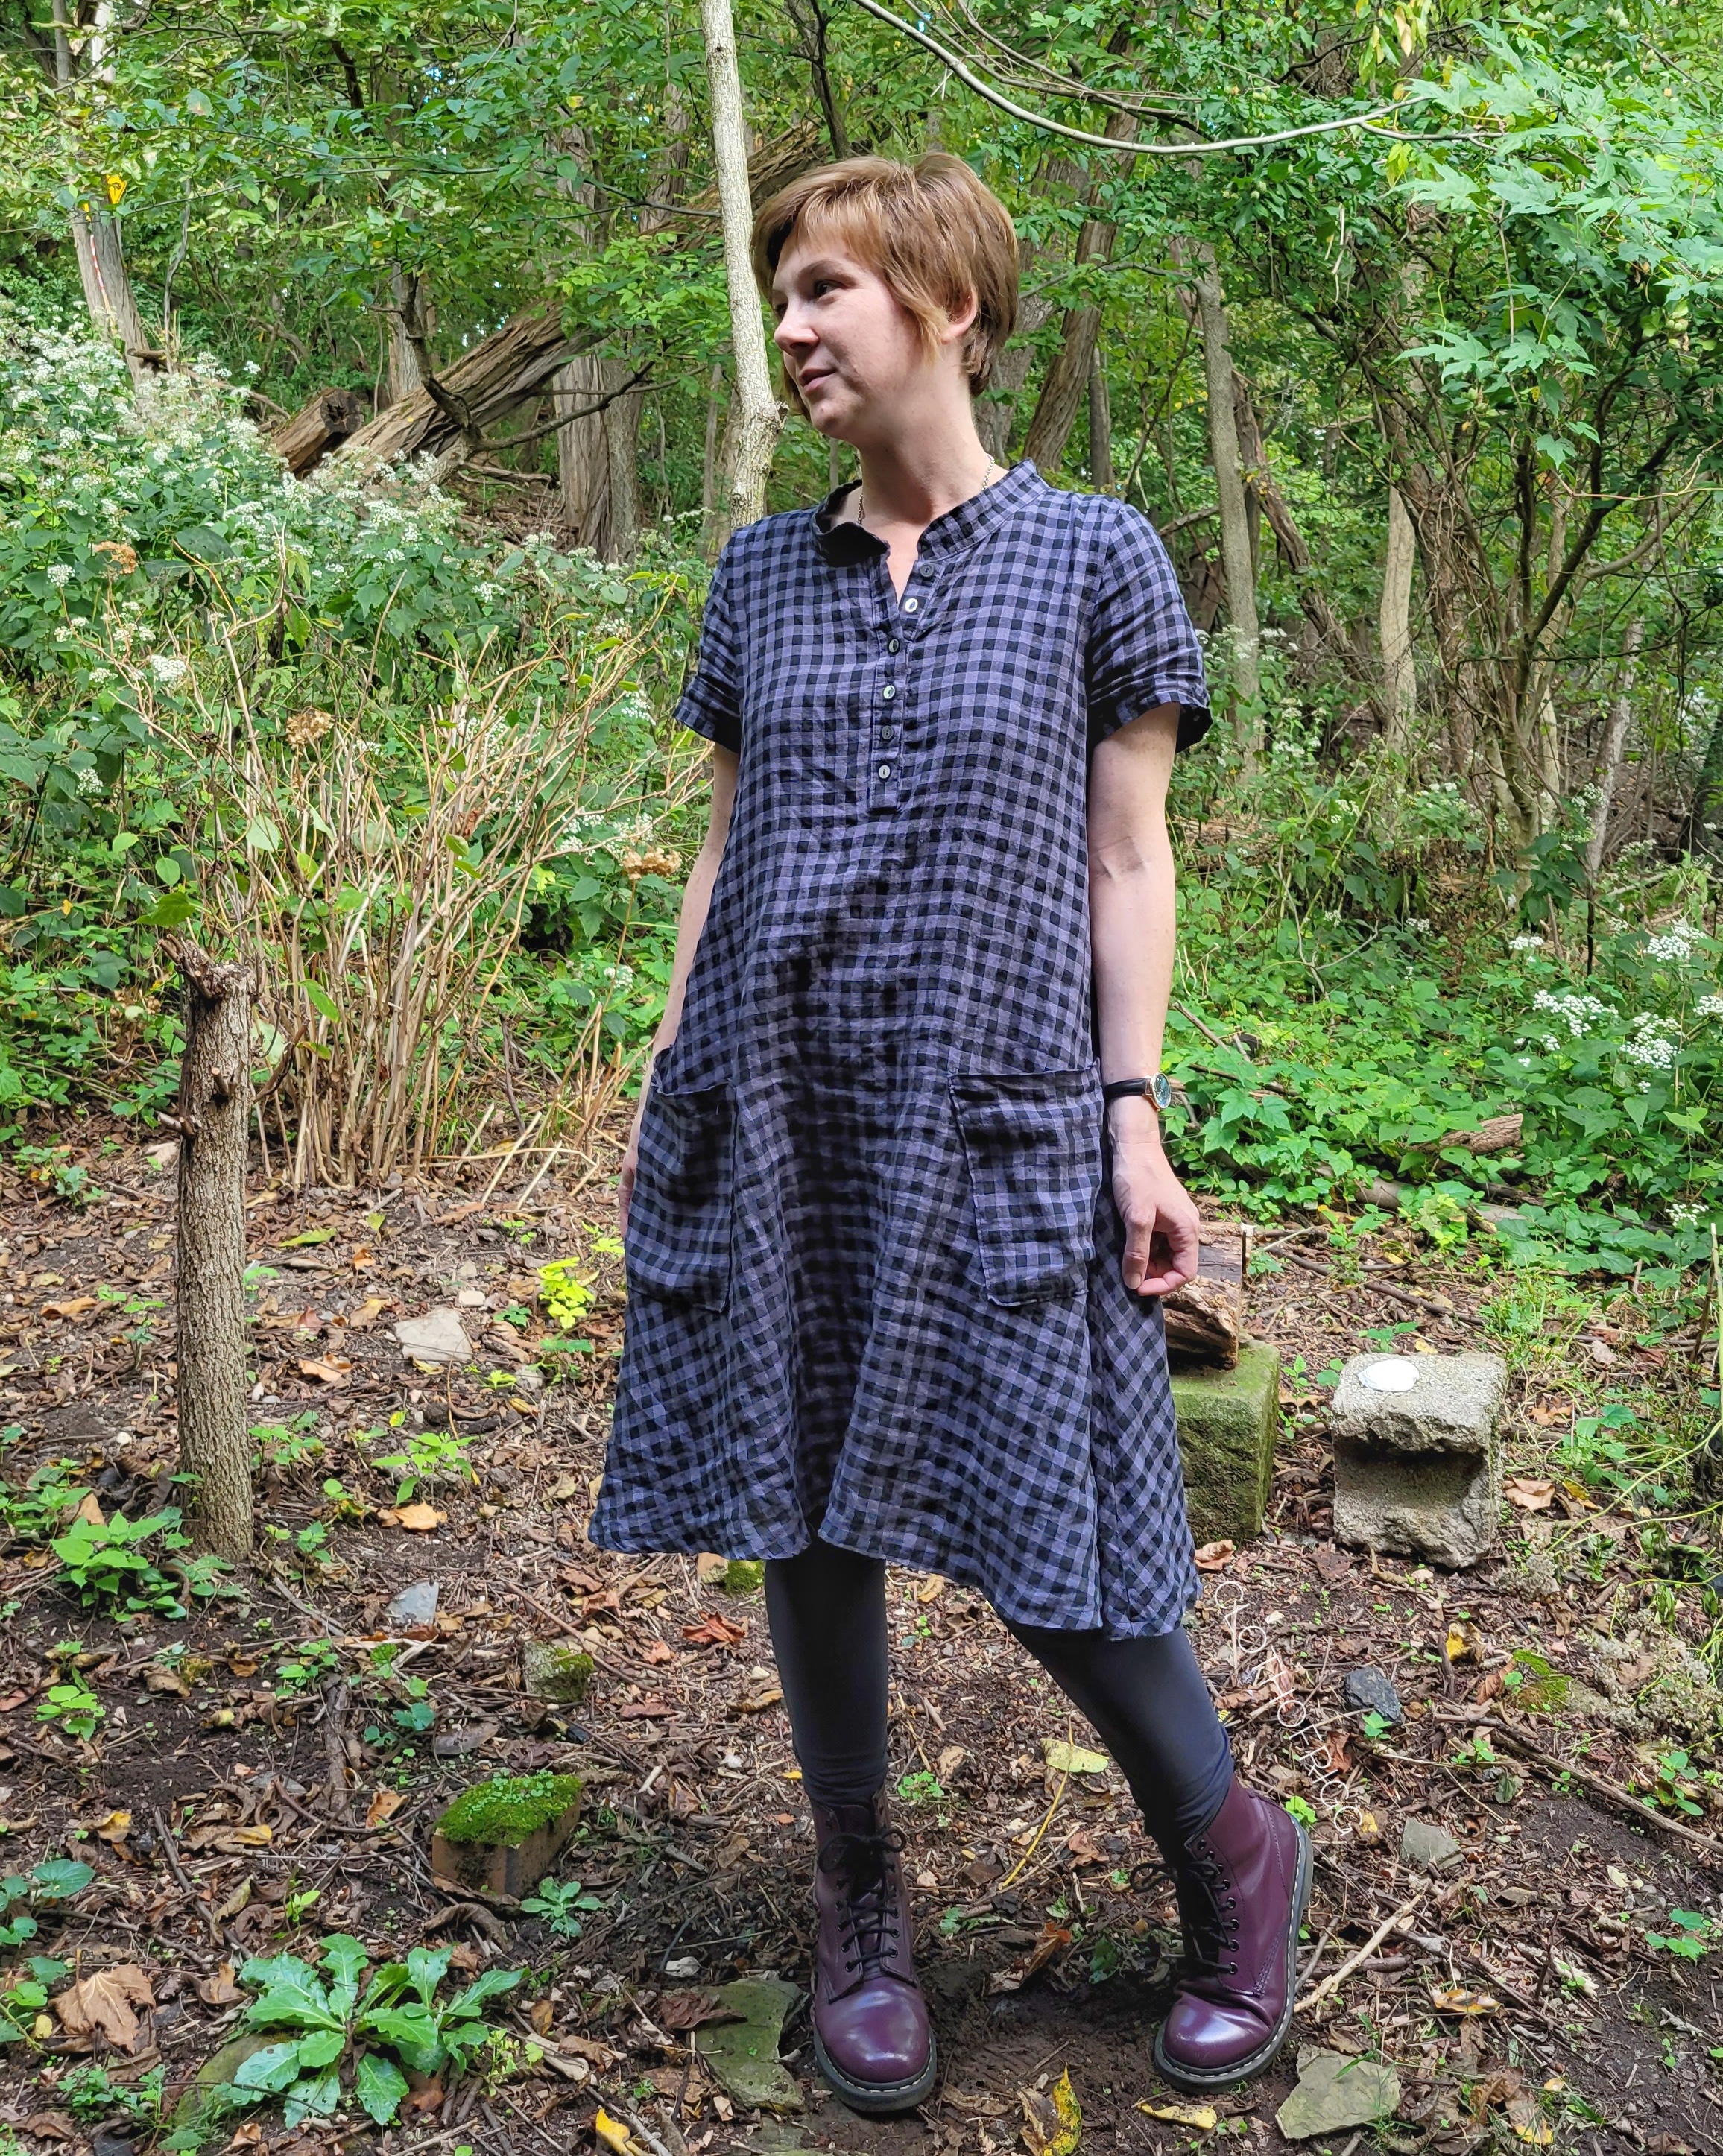
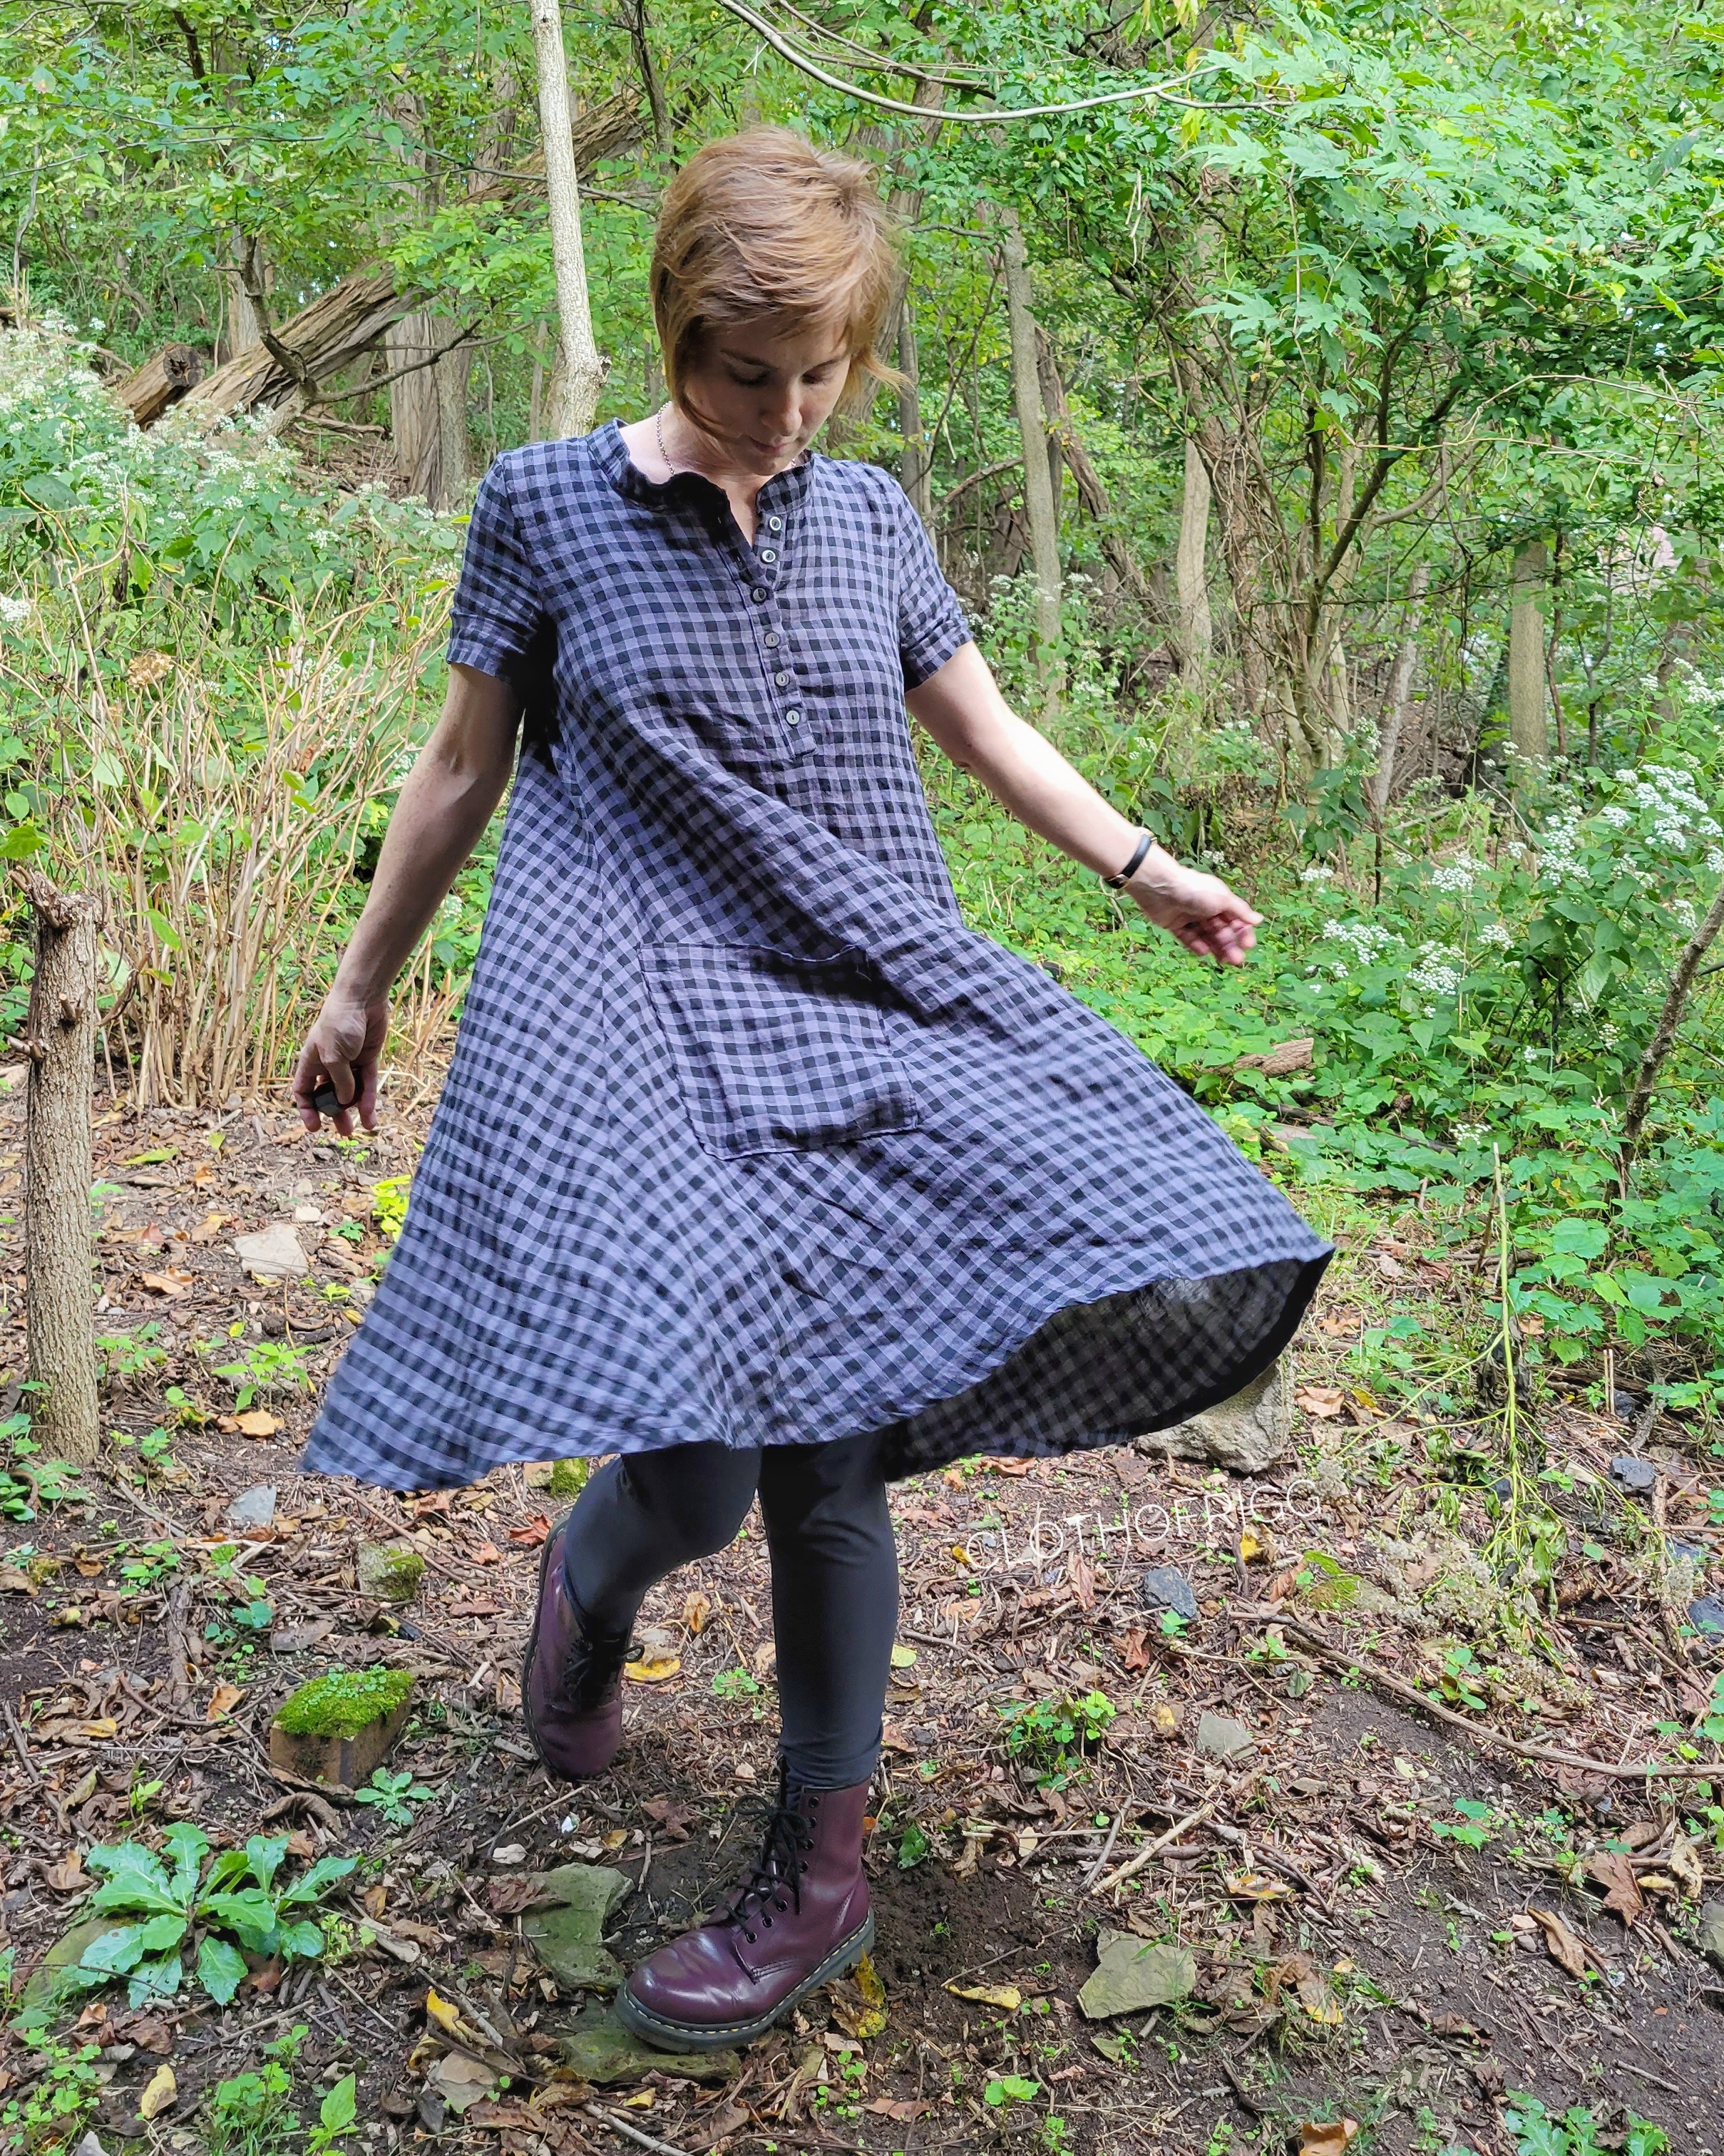
About a month ago, I set on a mission to find some nice linen. I say “mission”, but really I just went to my favorite fabric shop and checked out their selection. This black and gray checked linen whispered of fall, of October leaves and stormy, gray skies. I scooped up a couple yards, thinking of the moon buttons I had squirreled away.
I wanted to use my Seren dress pattern, which has a slight scoop neck and is sleeveless. But for the buttons to work, I needed a button placket, which I envisioned accompanied by a collar and sleeves. To add those elements, I needed to alter the neckline and shoulder seam. Thankfully, I have another pattern I made – a shirt dress – that was drafted from the same original block. Because of this, the center front and shoulder seam lined up perfectly.
I layered the two patterns over each other, on top of a sheet of tissue paper. (I use a roll of medical paper to make my patterns. It’s convenient, strong, and transparent enough to see pencil lines through it.) I traced the new neckline and shoulder seam for the front and back of the new dress. I borrowed the sleeve and collar pattern pieces from the shirtdress pattern.
For the muslin, I used the shorter blouse version of the Seren to save on fabric.
When I cut the fashion fabric, I layered the shorter new pattern piece over the original Seren pieces and used pattern weights to keep them in place.
After that, all the pattern changes were incorporated and ready to sew!
Sewing the partial placket wasn’t as difficult as I had expected. I was so afraid of making a lumpy, wrinkled placket right on the front of my dress. Another reason I decided to make a muslin first – practice, practice, practice!
The placket is made with two interfaced rectangles a little longer than they need to be. They are attached like a welt pocket. You draw a line down the center front, and sew the rectangles on either side, stopping about 1/2″ away from the end of the line. Then you cut down the line you drew, stopping about 1/2″ away from the end again. The gaps allow you to turn the placket and layer them over each other so the top can close.
Once the plackets were sewn in place, I added the button holes. Then I attached the collar and the sleeves. All of the seams are French seams, which is probably my favorite seam finish. It’s durable, tidy, and hardly noticeable with some fabrics.
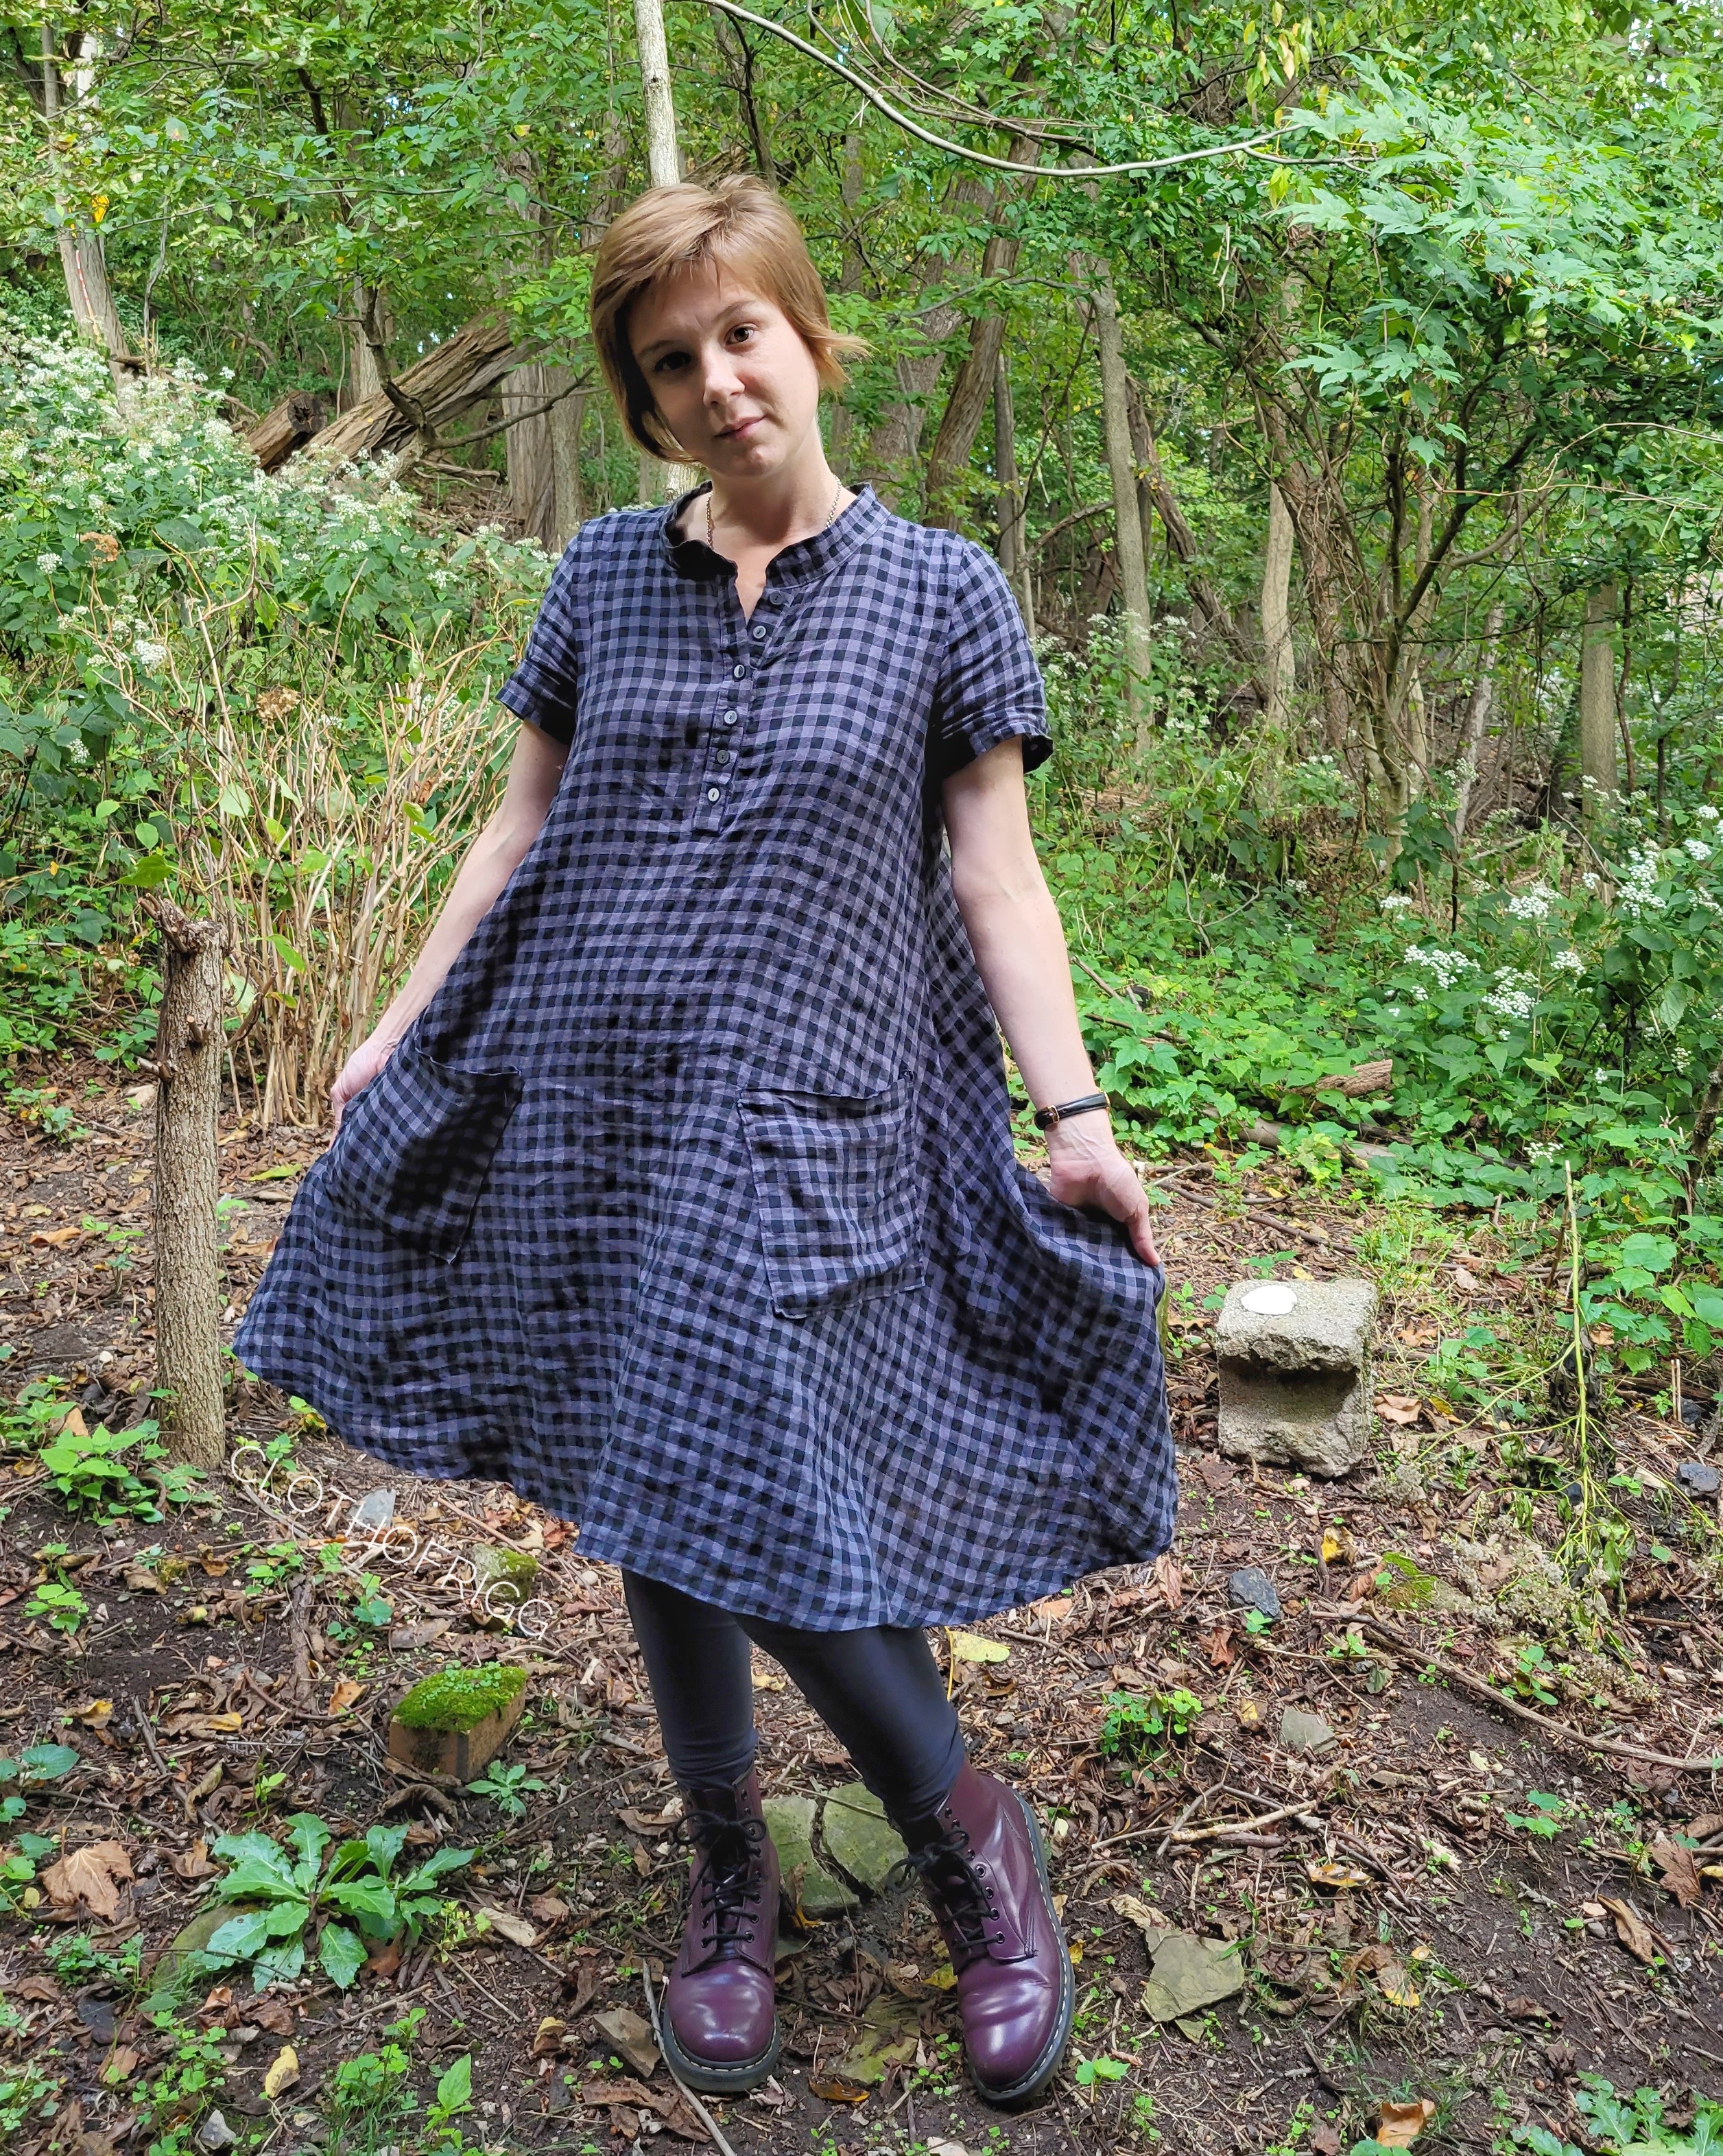
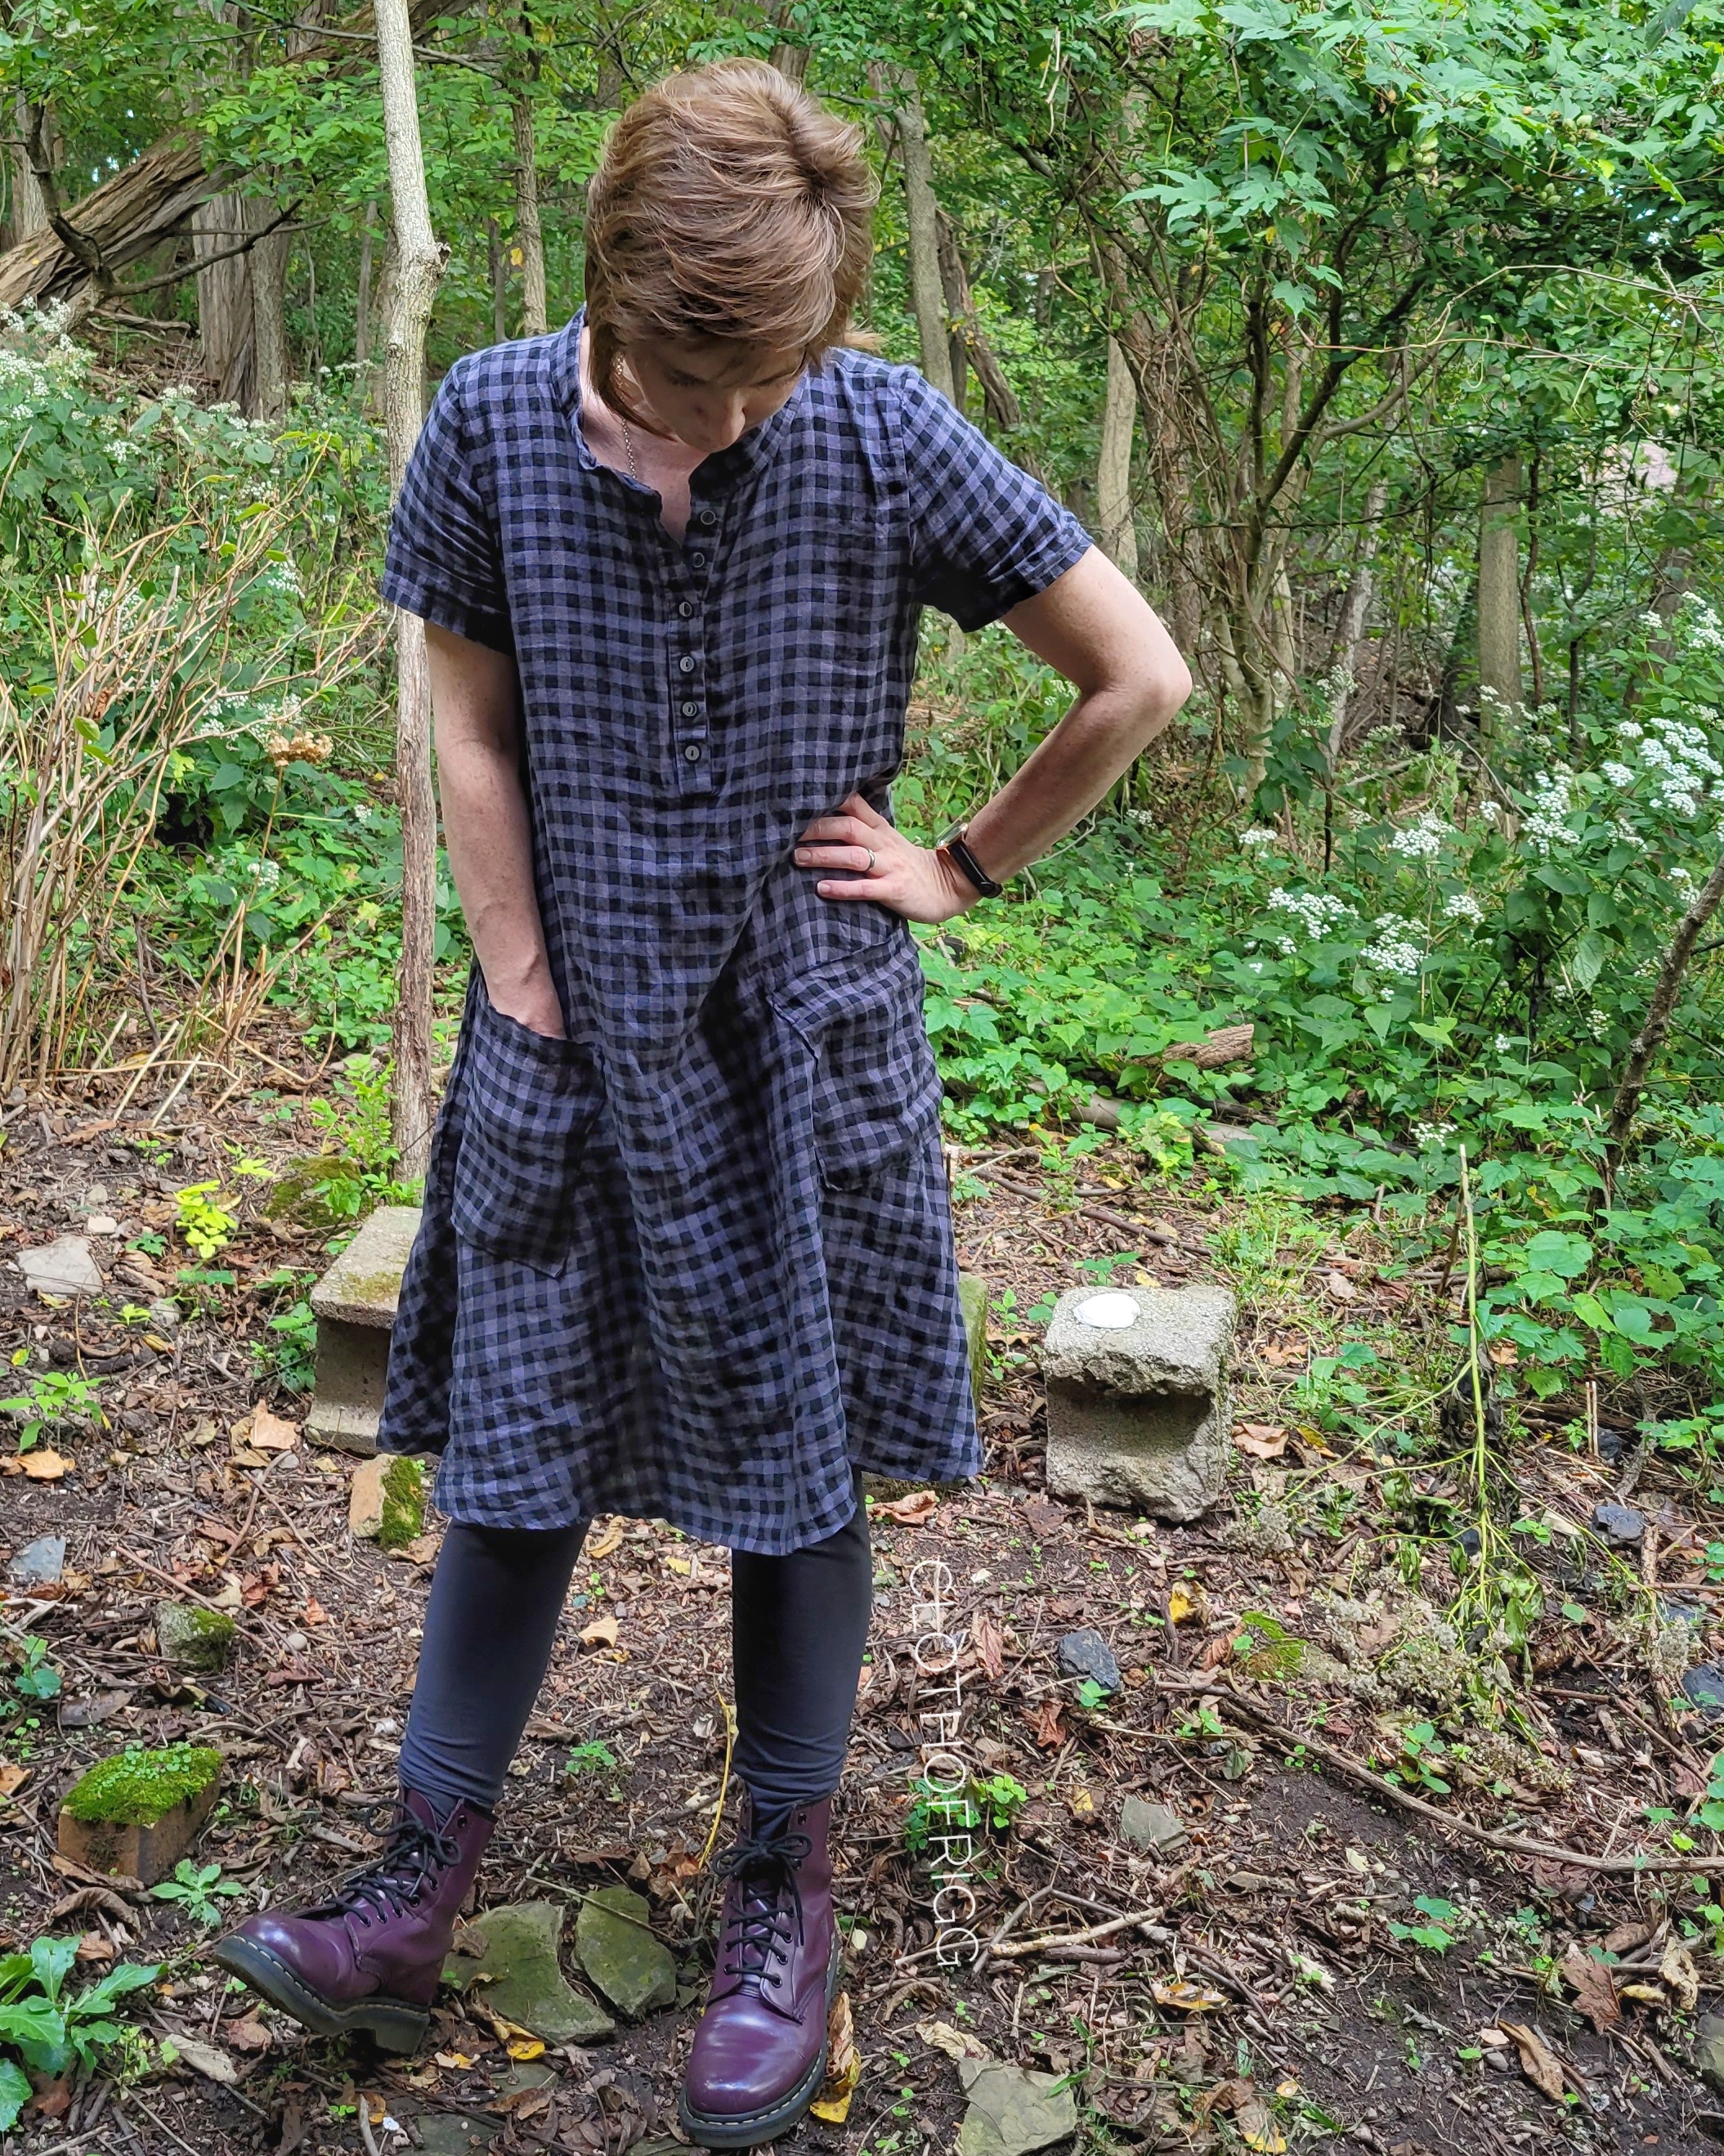
The buttons were a special set I’ve been saving for the right project. They depict one complete moon phase, from new to full. With only six buttons in the set, they are perfect for a partial button placket. They’re made by Arrow Mountain and are available at many shops; mine came from Firecracker Fabrics.
I saved the patch pockets for last. I should have planned them out on the flat pattern first, because getting them straight, even, and in the right position while the dress was on my dress form was quite challenging.
I wanted the tops of the pockets to be parallel to the hem, which means they are at an angle compared to the side seam. I really like them, however, and they are much faster than doing side-seam pockets (because I do bias-bound seams with side-seam pockets instead of French).
I really love this dress. The linen is light but luxurious, the volume is so fun. It really feels like a perfect Autumn dress. I’d like to make another with a full shirt collar.


