Vintage Dress Form – Part 1
At long last, I have a dress form! It’s about twice my age, found at a yard sale for a meager $50. Considering the custom one I’ve wanted is $1,200, I thought it was a great deal. I was so excited about it I completely forgot to haggle and bought it outright.
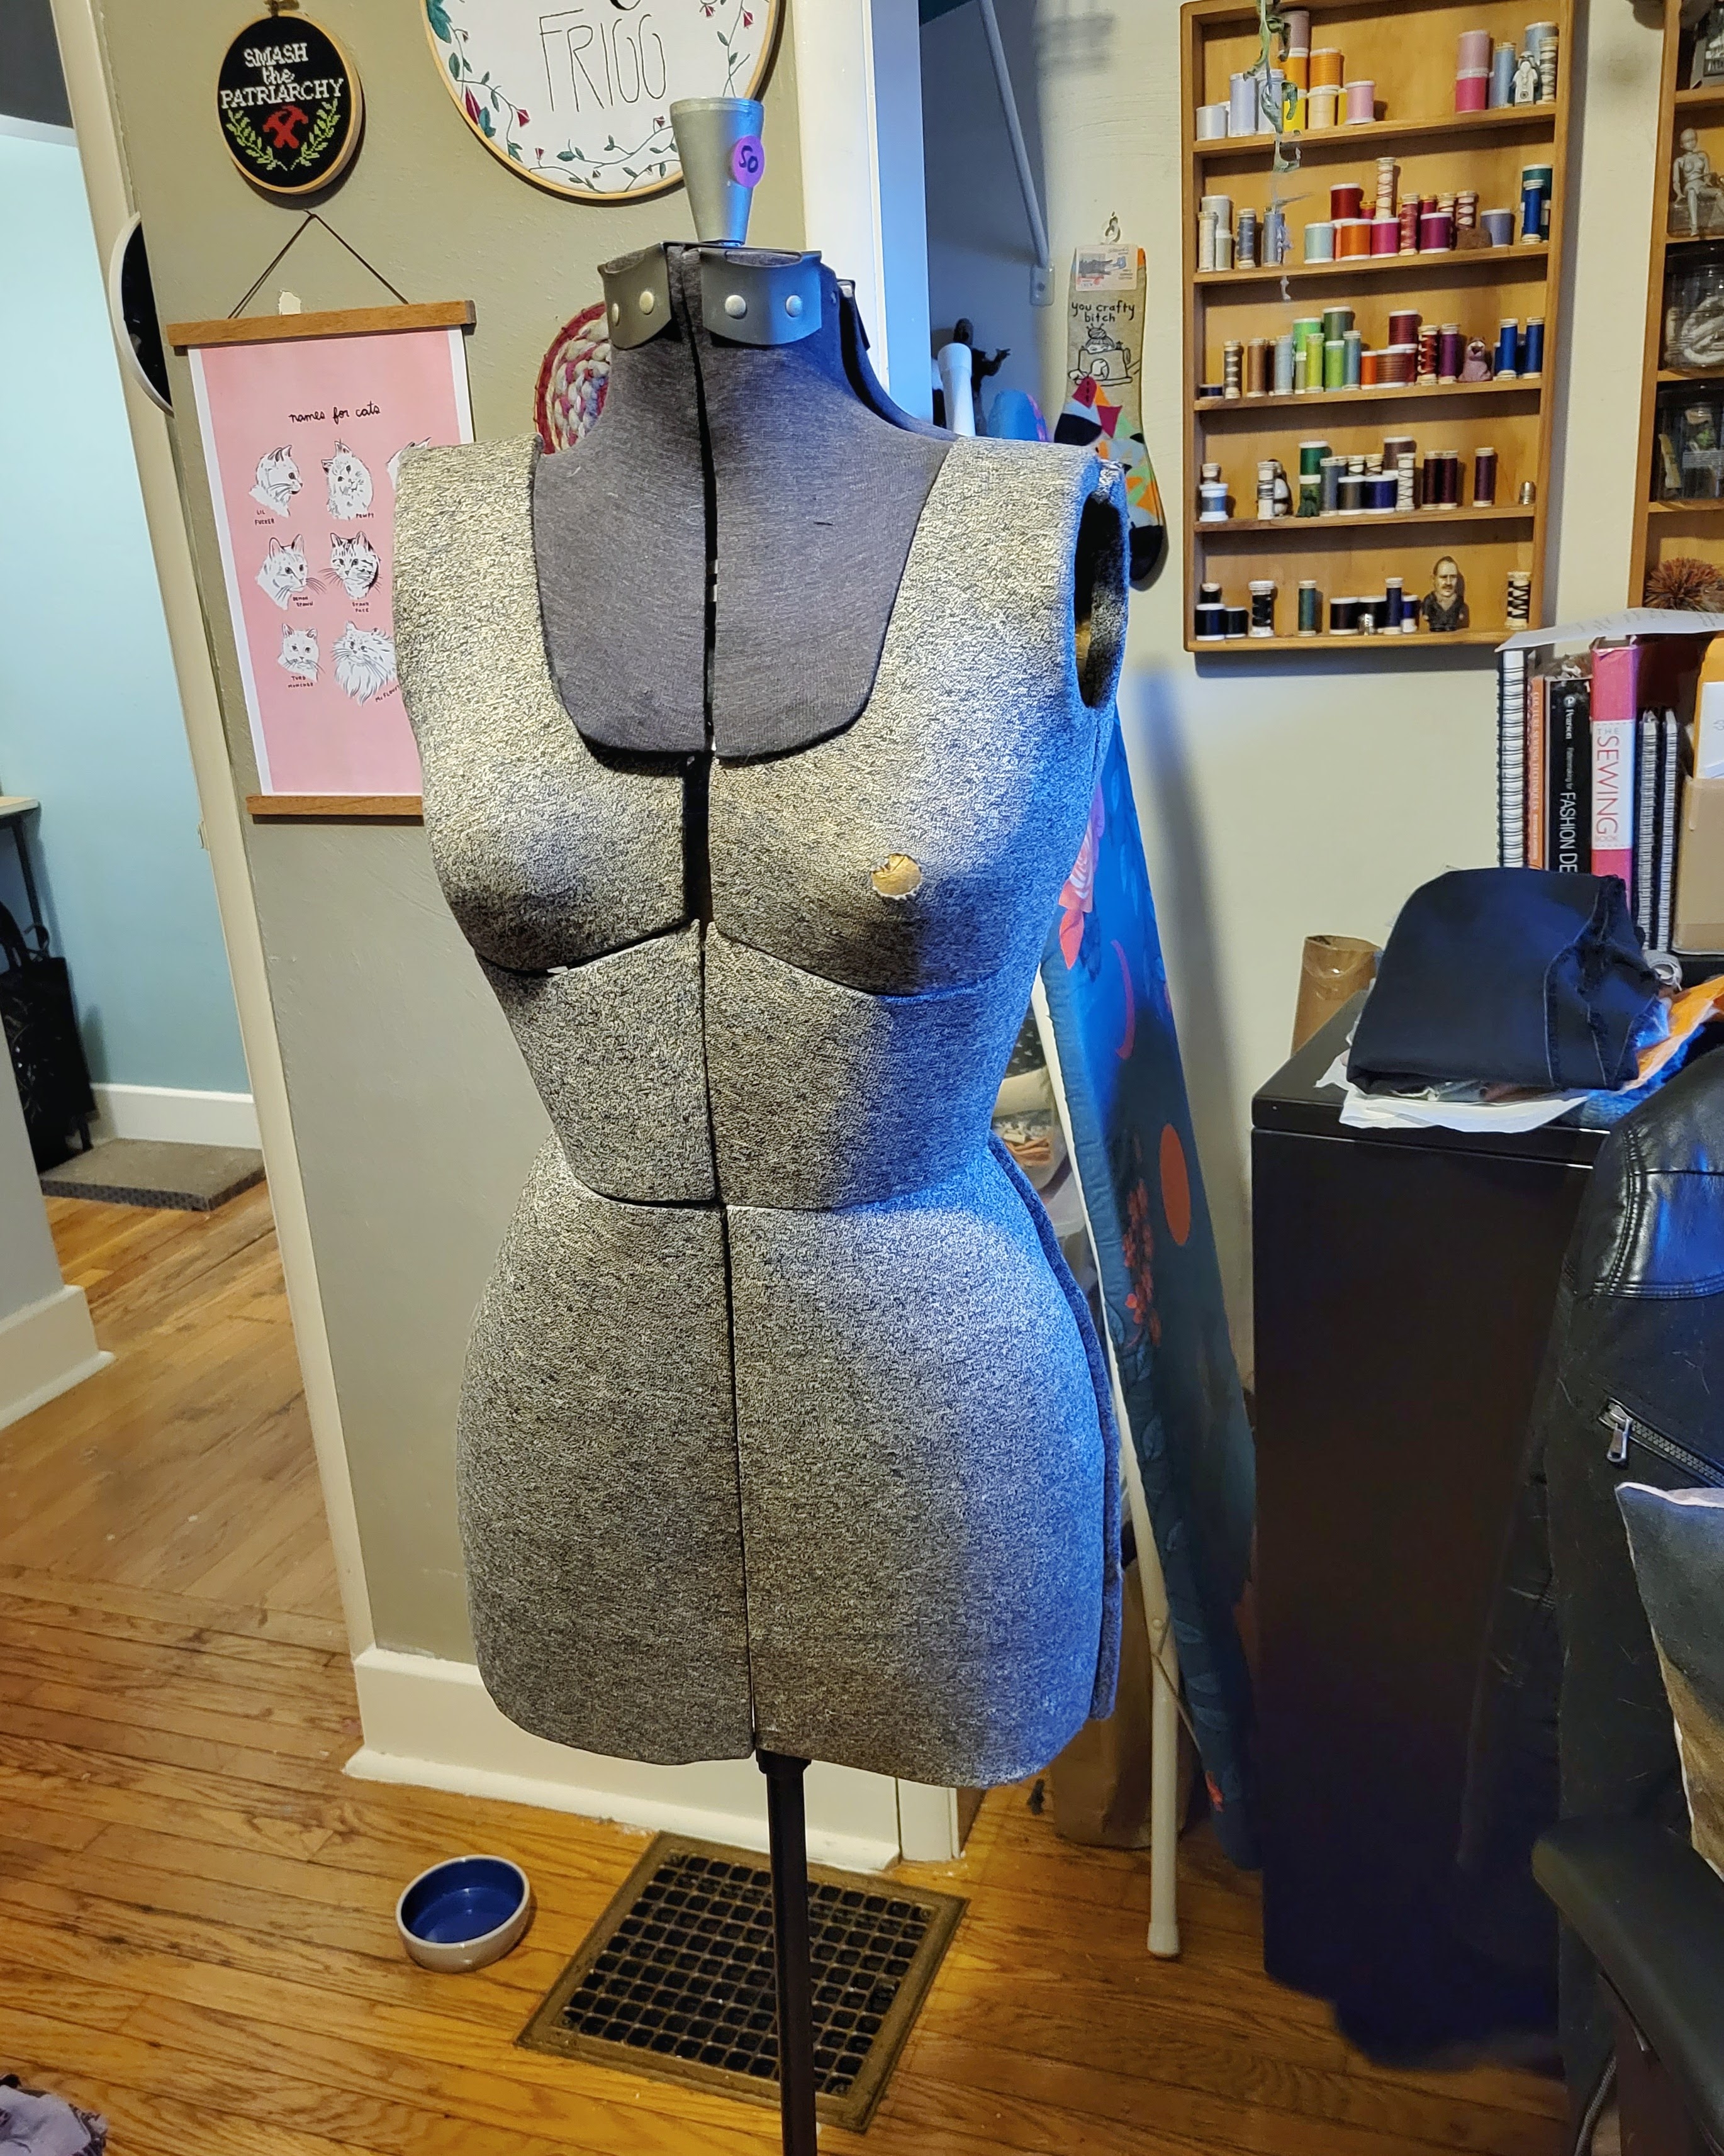
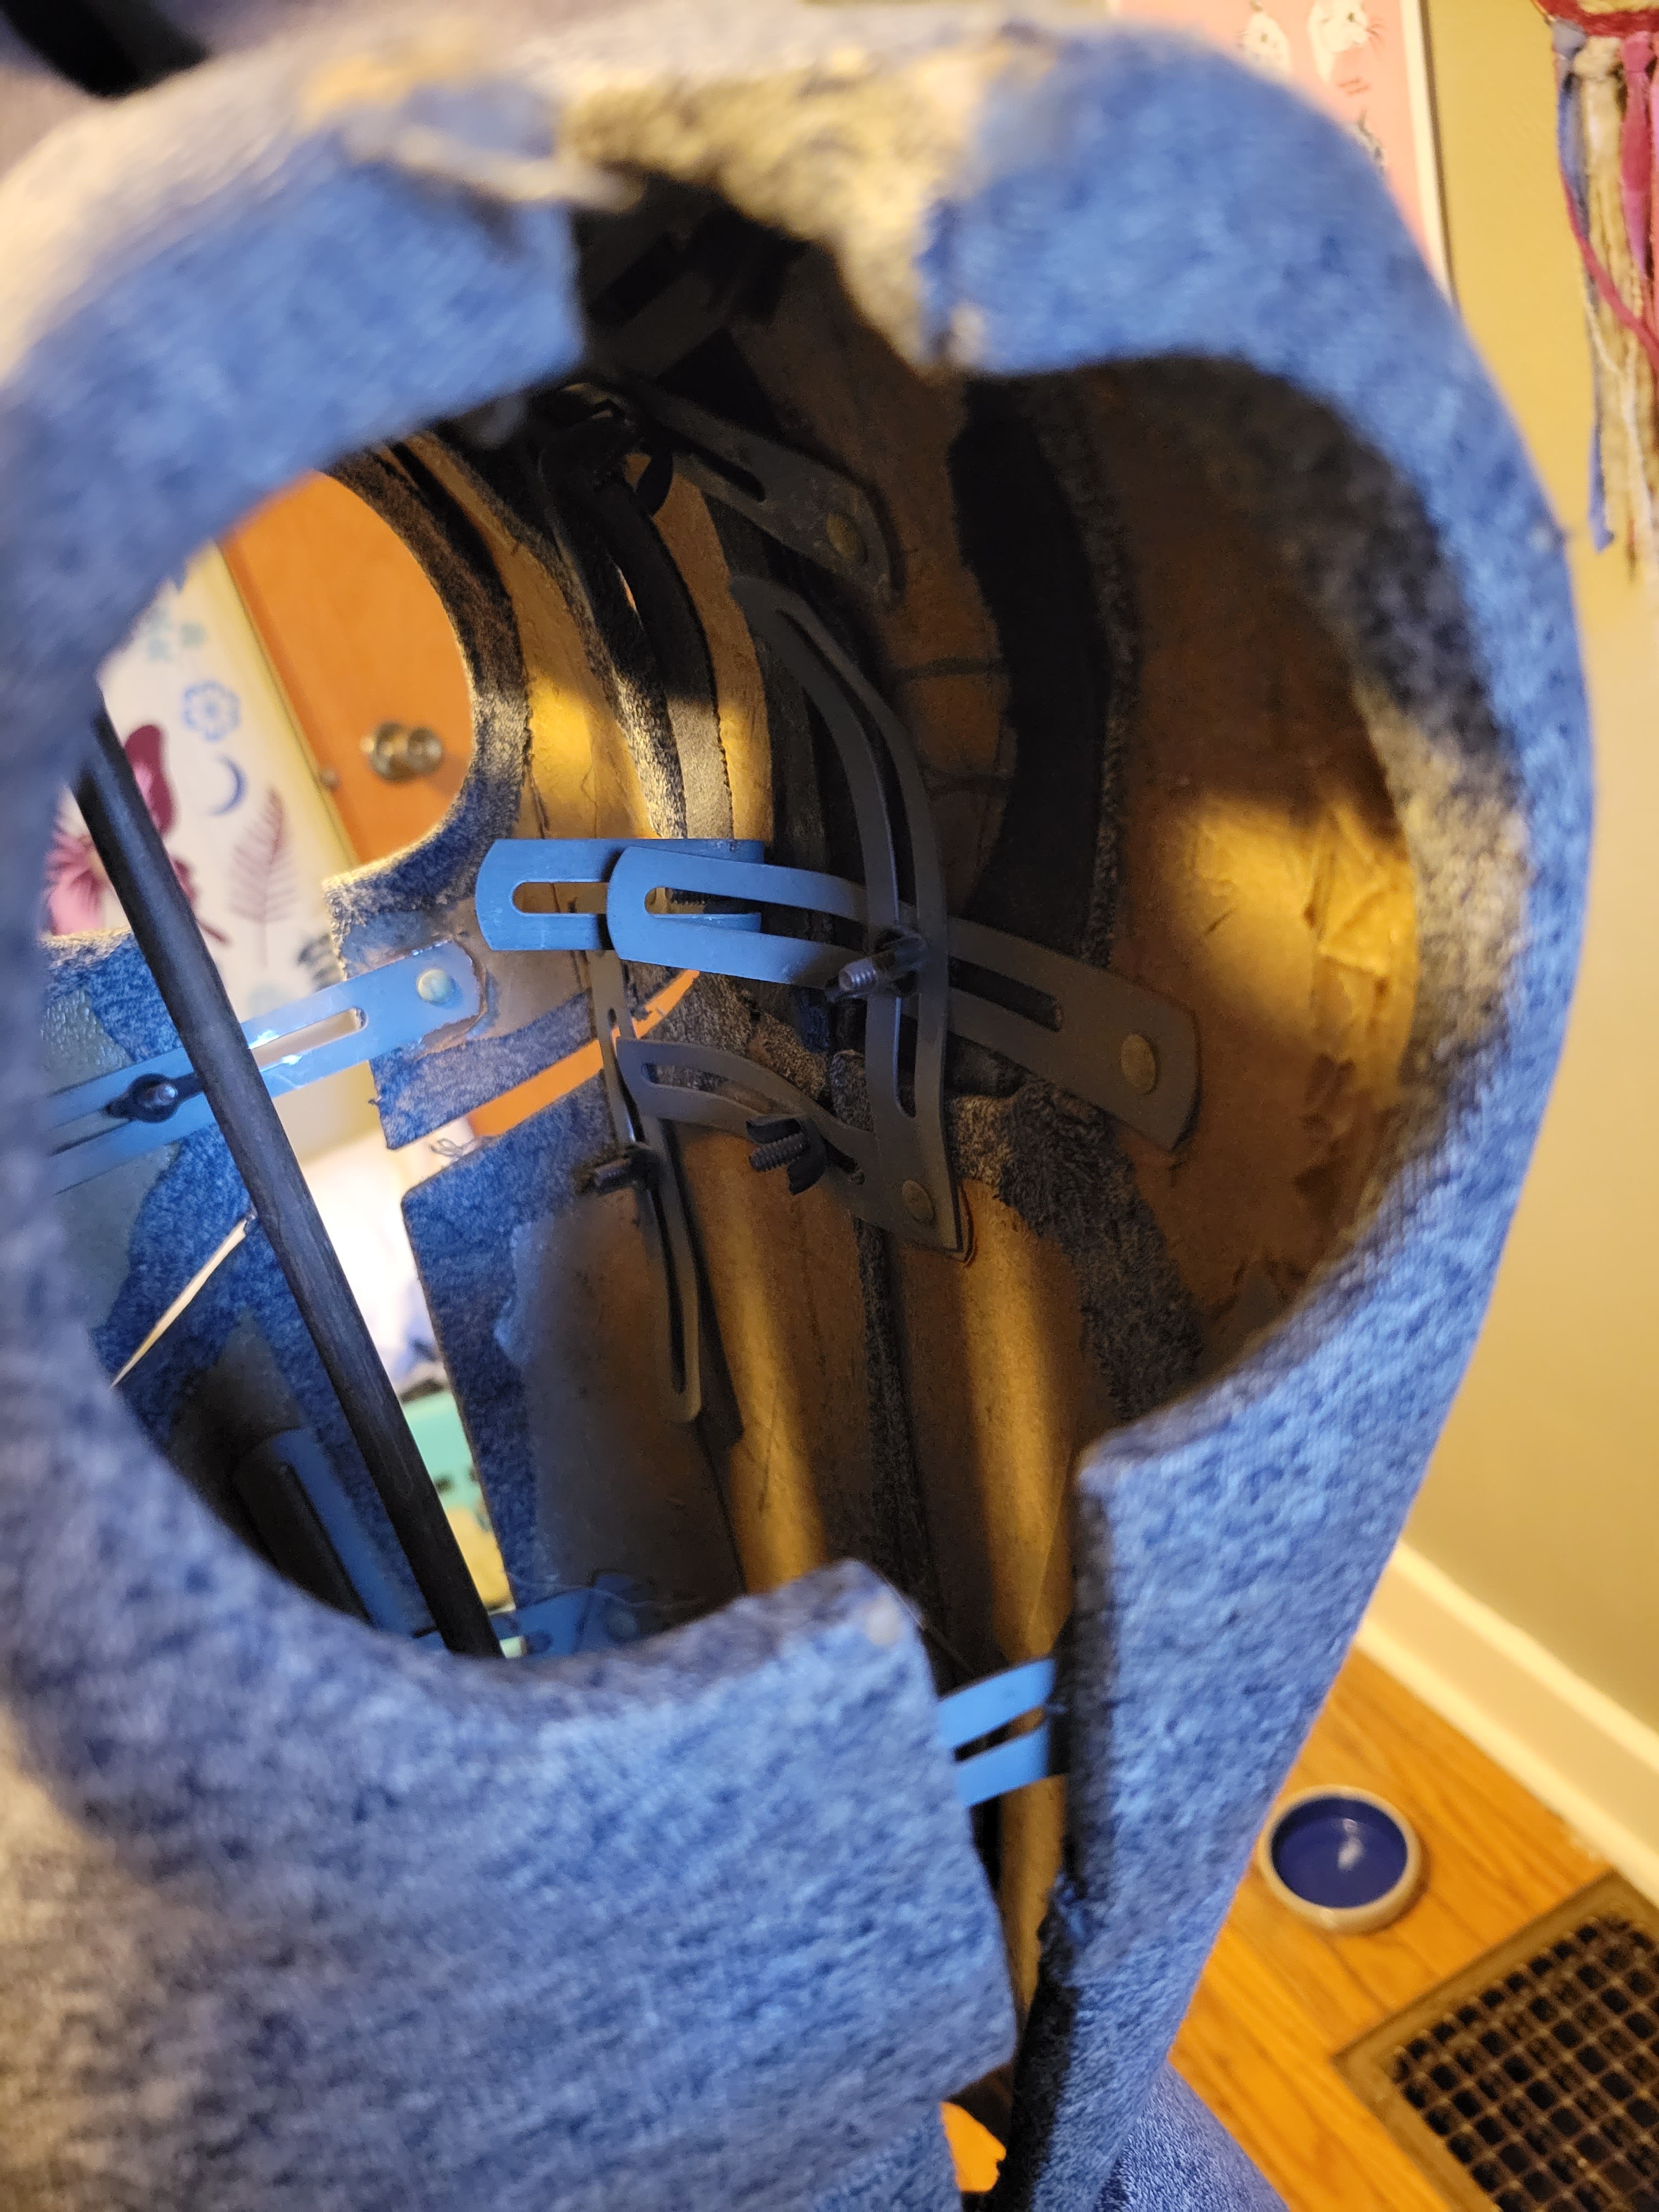
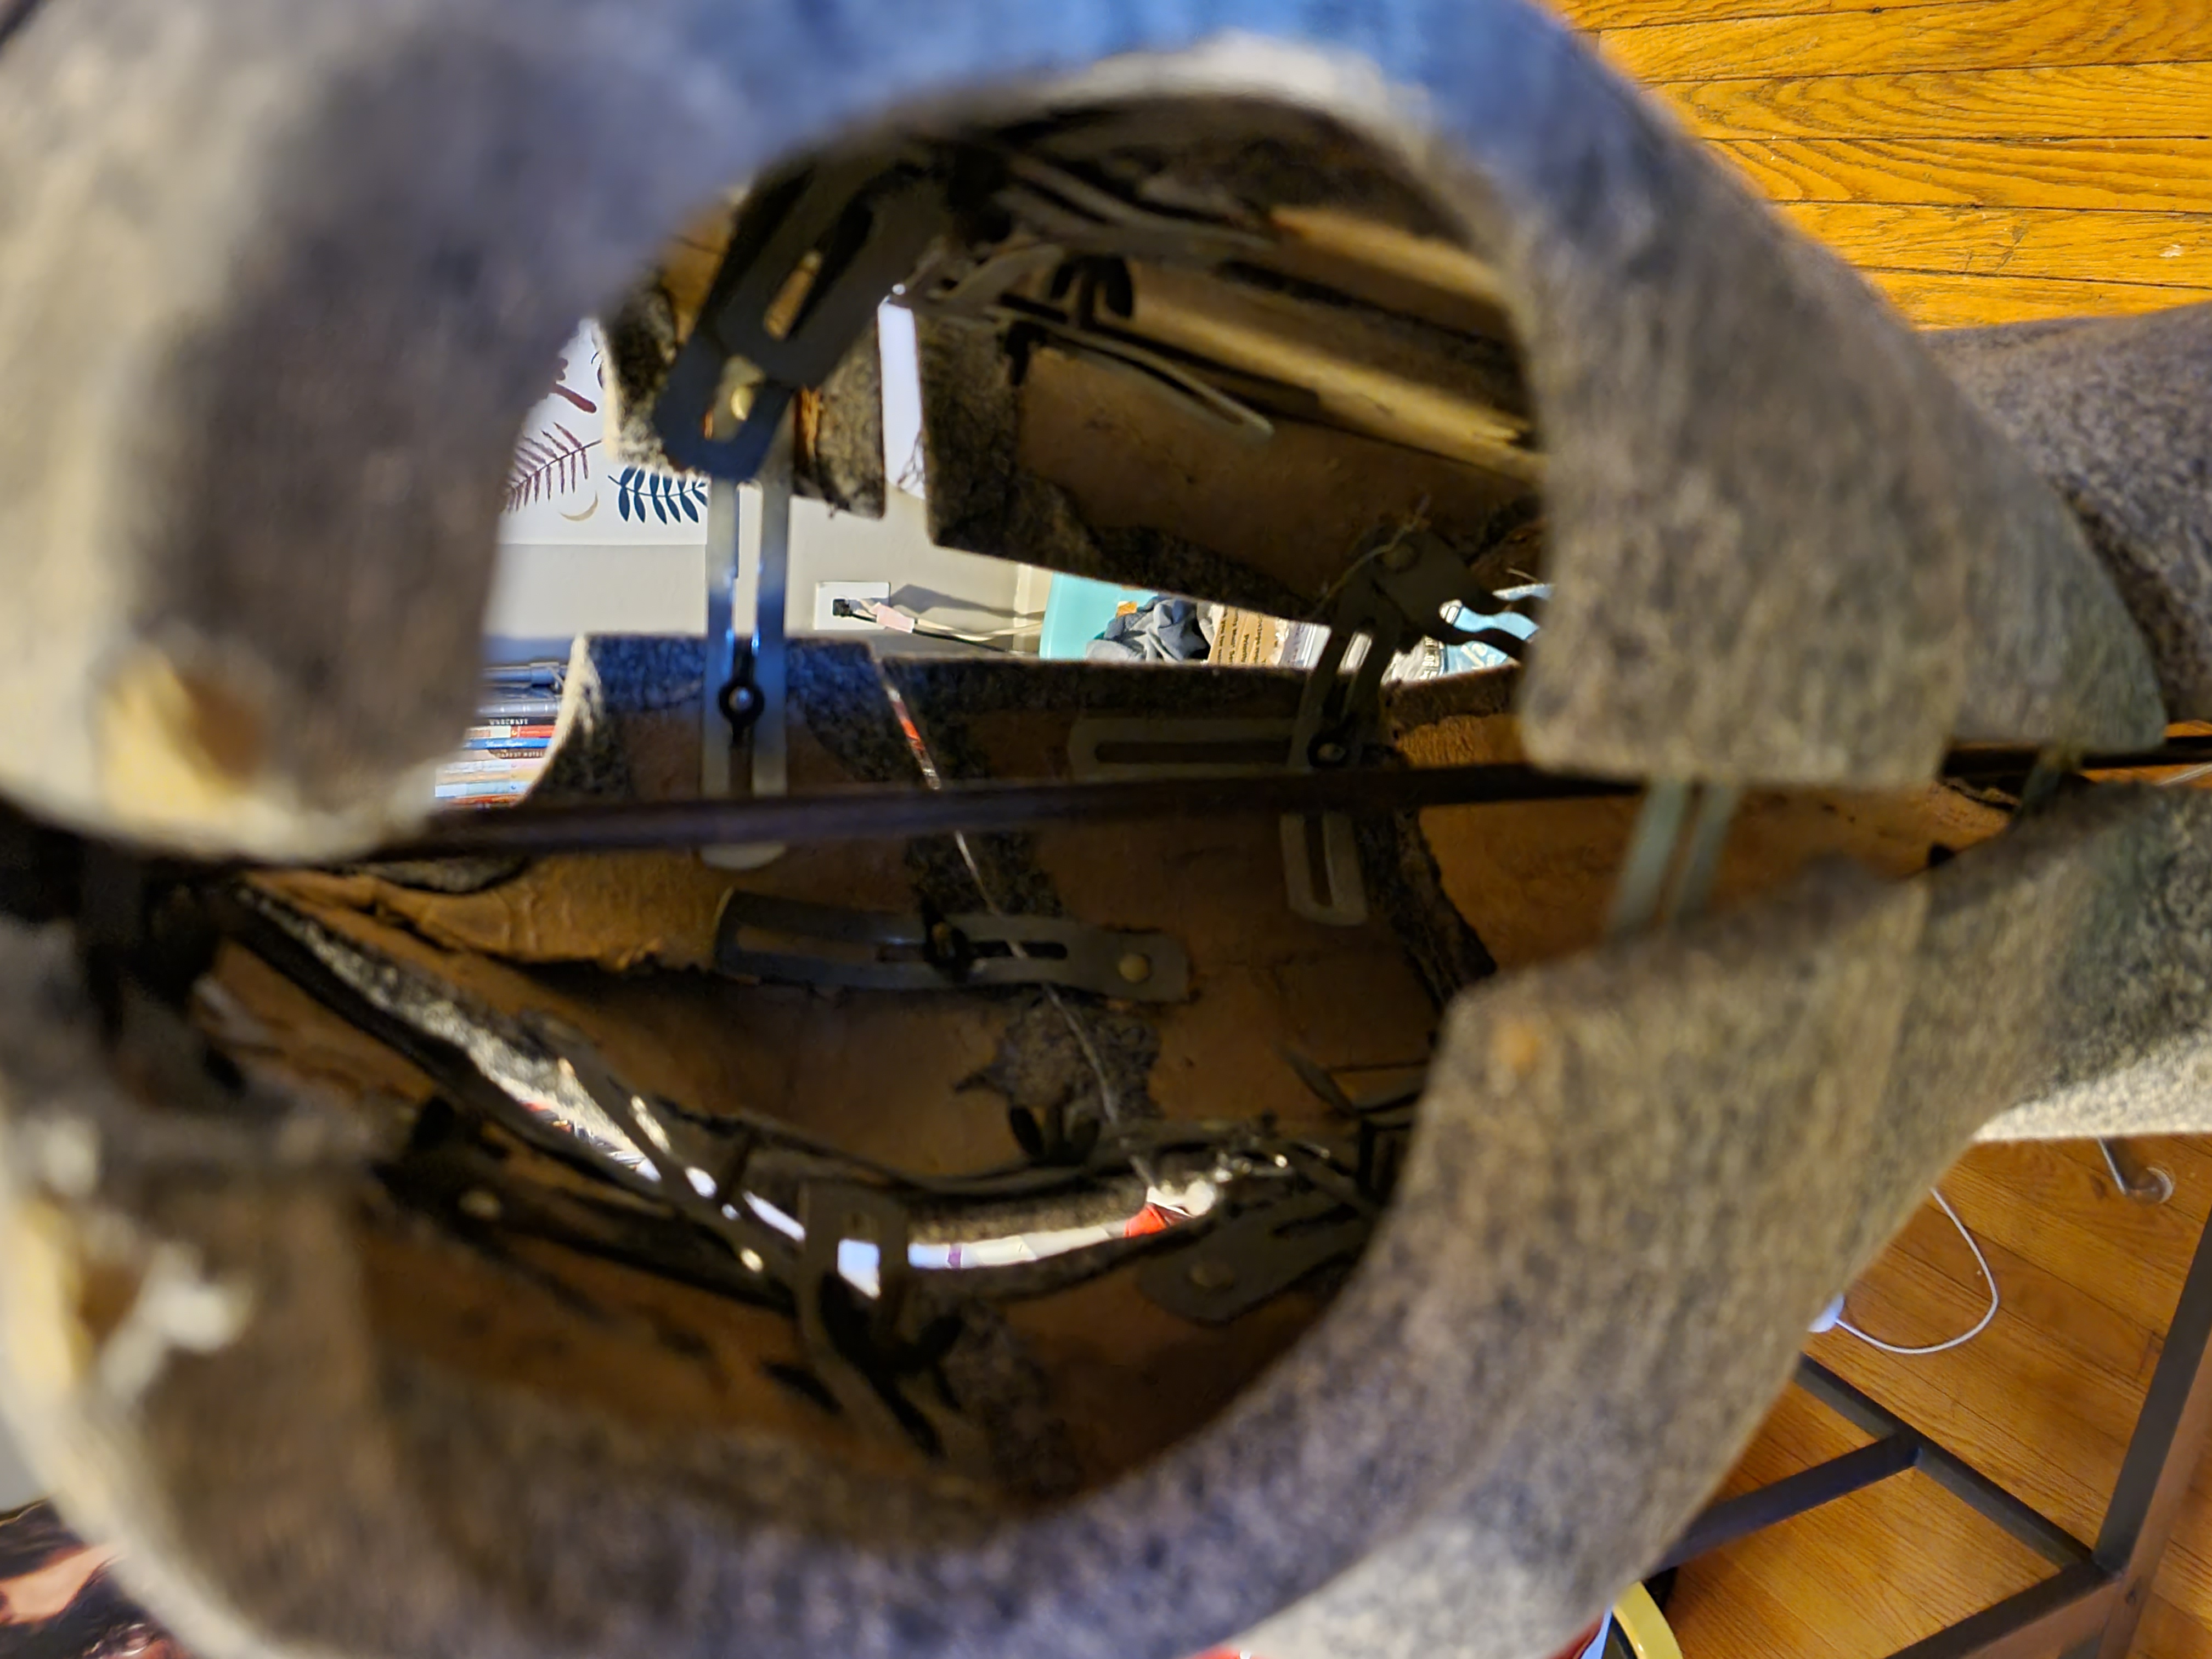
I think it’s made of papier-mache, with bolts coming out at strategic places that align with metal sliders. The sliders are about an inch wide, malleable metal with a long slot in the middle. Each bolt has a wing nut. It’s situated on a modern tripod stand.
As cool of a find as this was, it still needed a lot of work. It was missing a couple of nuts and some of the metal sliders were bent. Its cover was thin and torn and worn through in the most tawdry of places. A central metal rod running through the body, which holds the neck pieces in place, hung loose – banging around, making the dress form lean to one side.
The first thing I did, after some tinkering, was to replace the missing wing nuts and bend the sliders straight using pliers. Then I used a skinny piece of wood and some duct tape to secure the loose rod. It took quite a lot of duct tape!
Then I set about adjusting the form to match my measurements. It’s a very small form and some of my measurements pushed the range to its limit. Especially the vertical adjustments – I’m not a tall person and I feel lucky to be short!
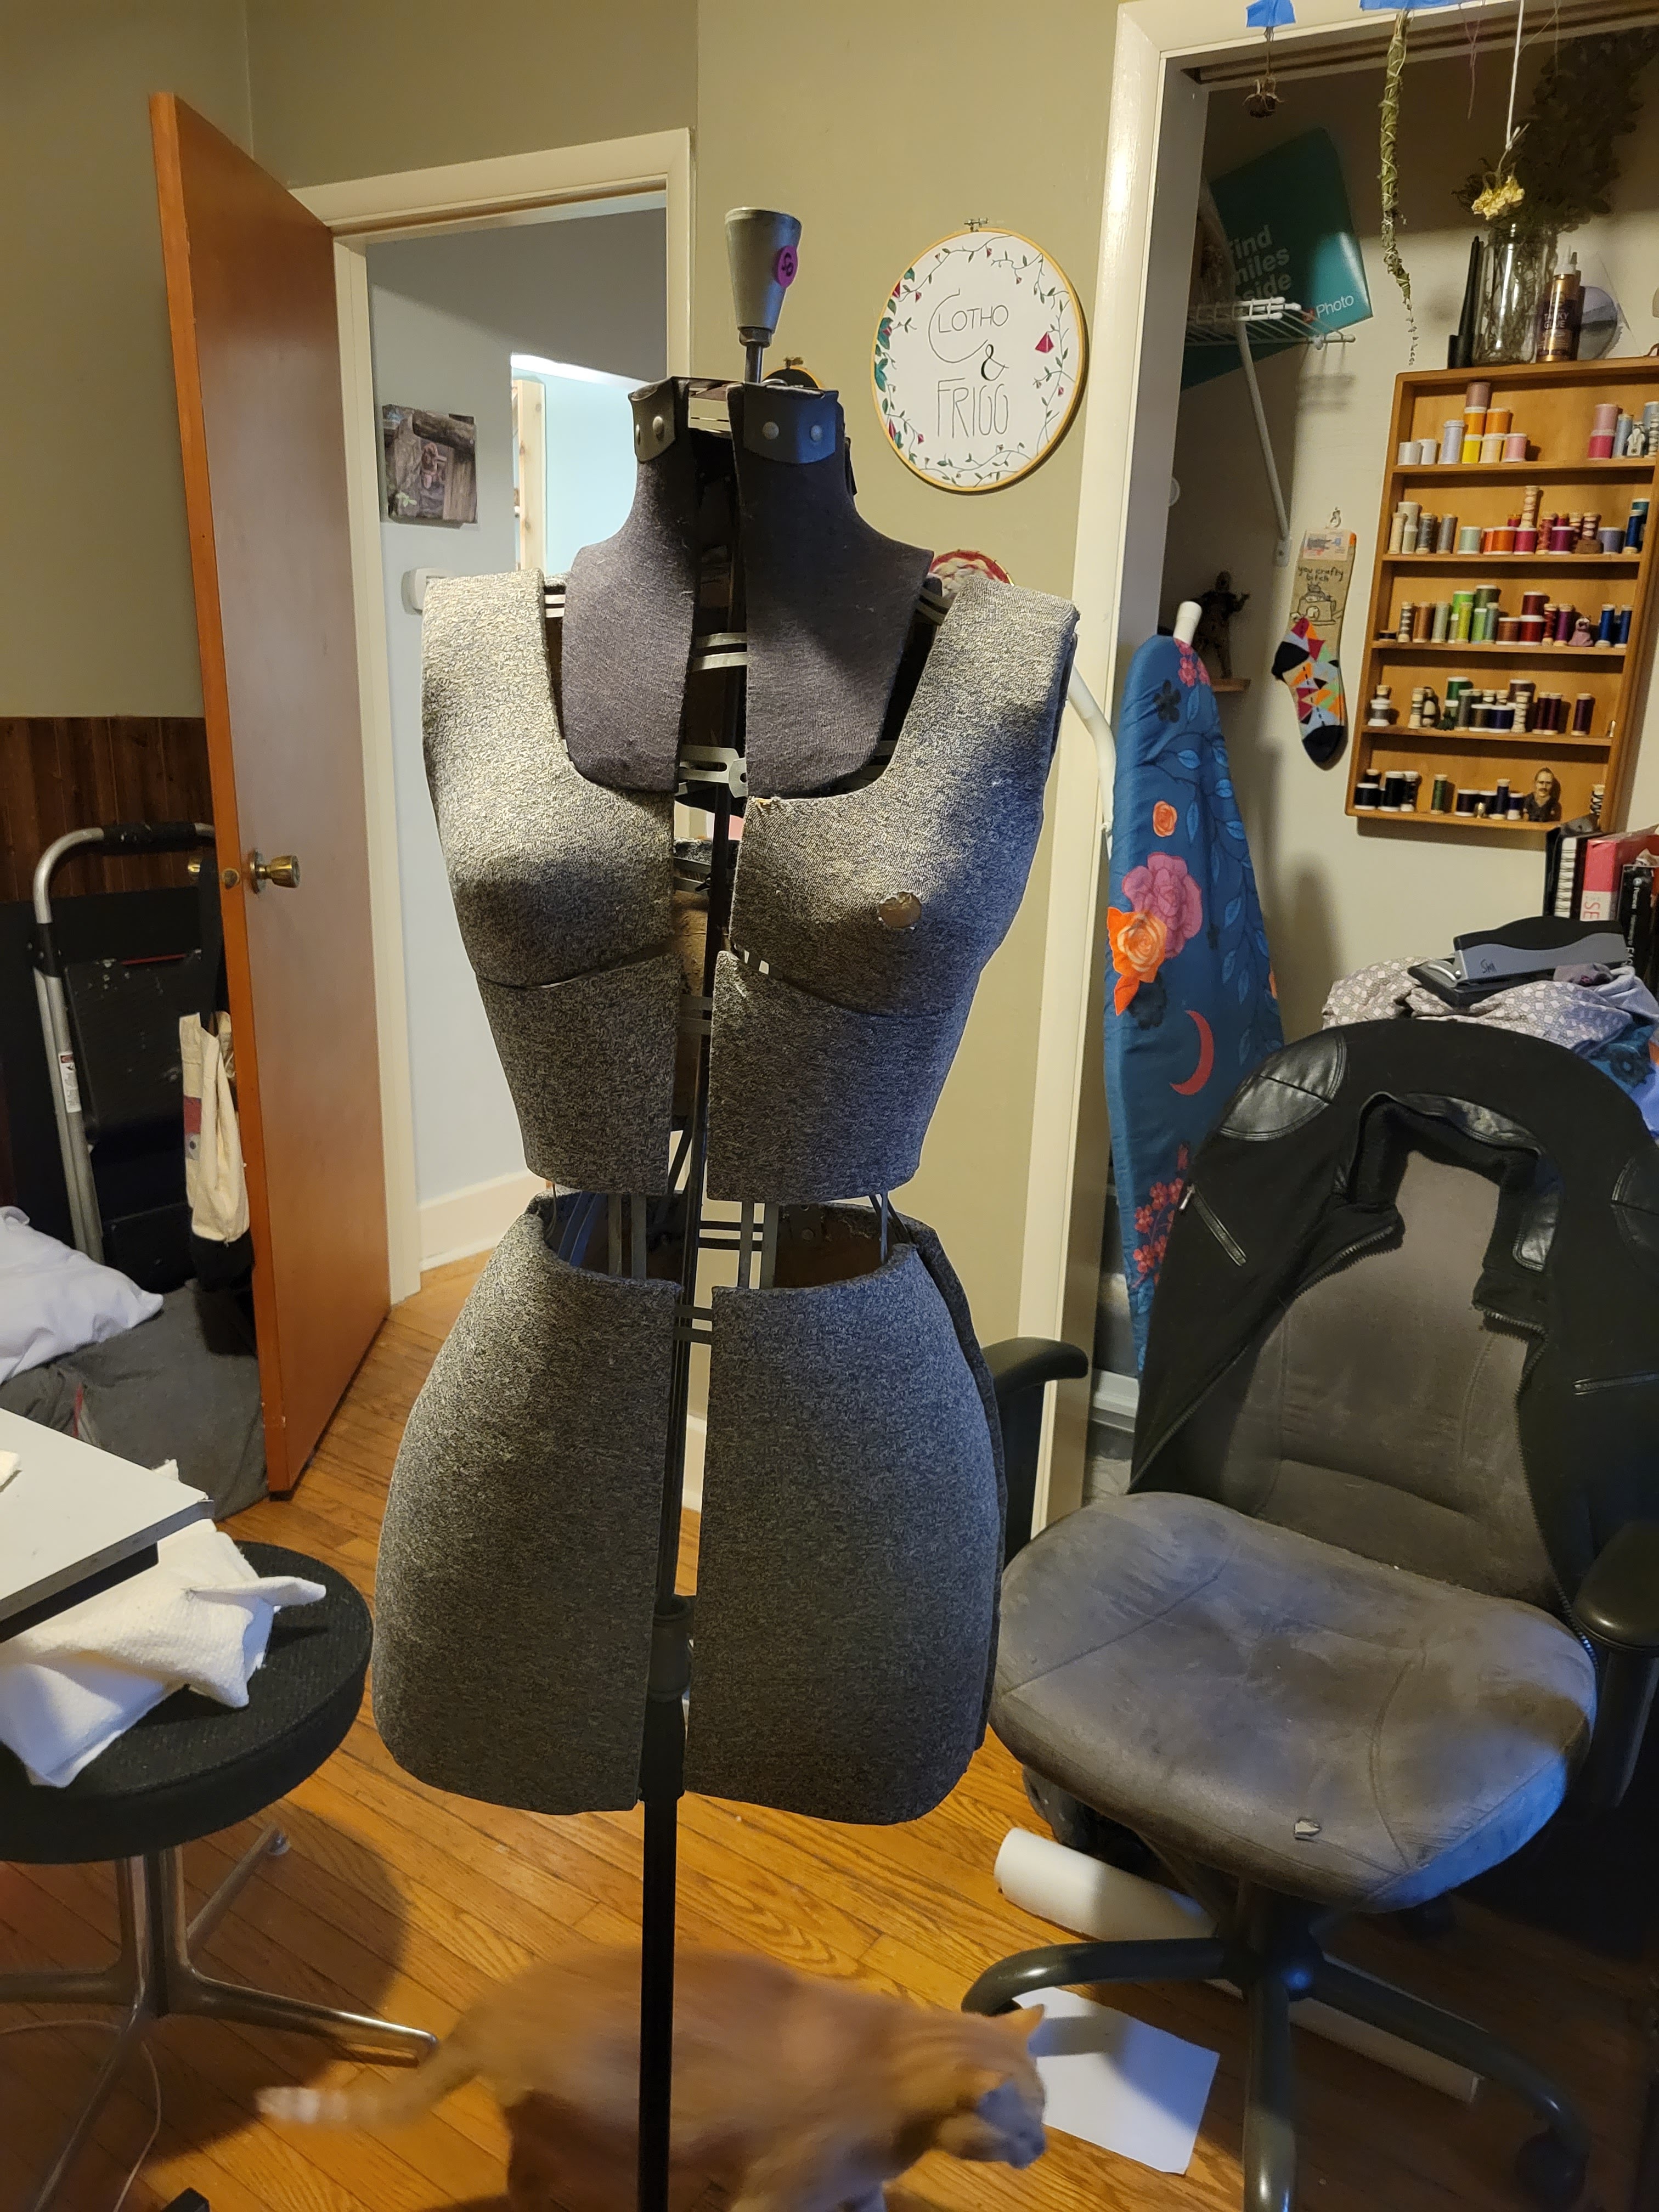
What follows are my tips for adjusting a vintage form like mine.
Do one section at a time. Only loosen the wing nuts you need to work that section. Hold the pieces in place with your free hand while tightening the nuts, so they won’t shift.
Start with the upper back and shoulder, focusing on the width. Then move to the front, adjusting the width as well. After the width, work on vertical measurements. Take a step back and evaluate the proportions, then re-adjust as necessary.
Part 2 will be about making padding and a cover.
Thanks for reading <3
