I drafted a stylish over-sized cardigan jacket! Drafting tips and all the details ahead…
My drafting process goes one of two ways: I either know exactly what I want to the smallest detail or I have only a vague notion and overthink it for months. It’s usually the latter.
This particular project took a Pinterest board, several lists, a reddit comment, and a flock of sketches before I figured it out.
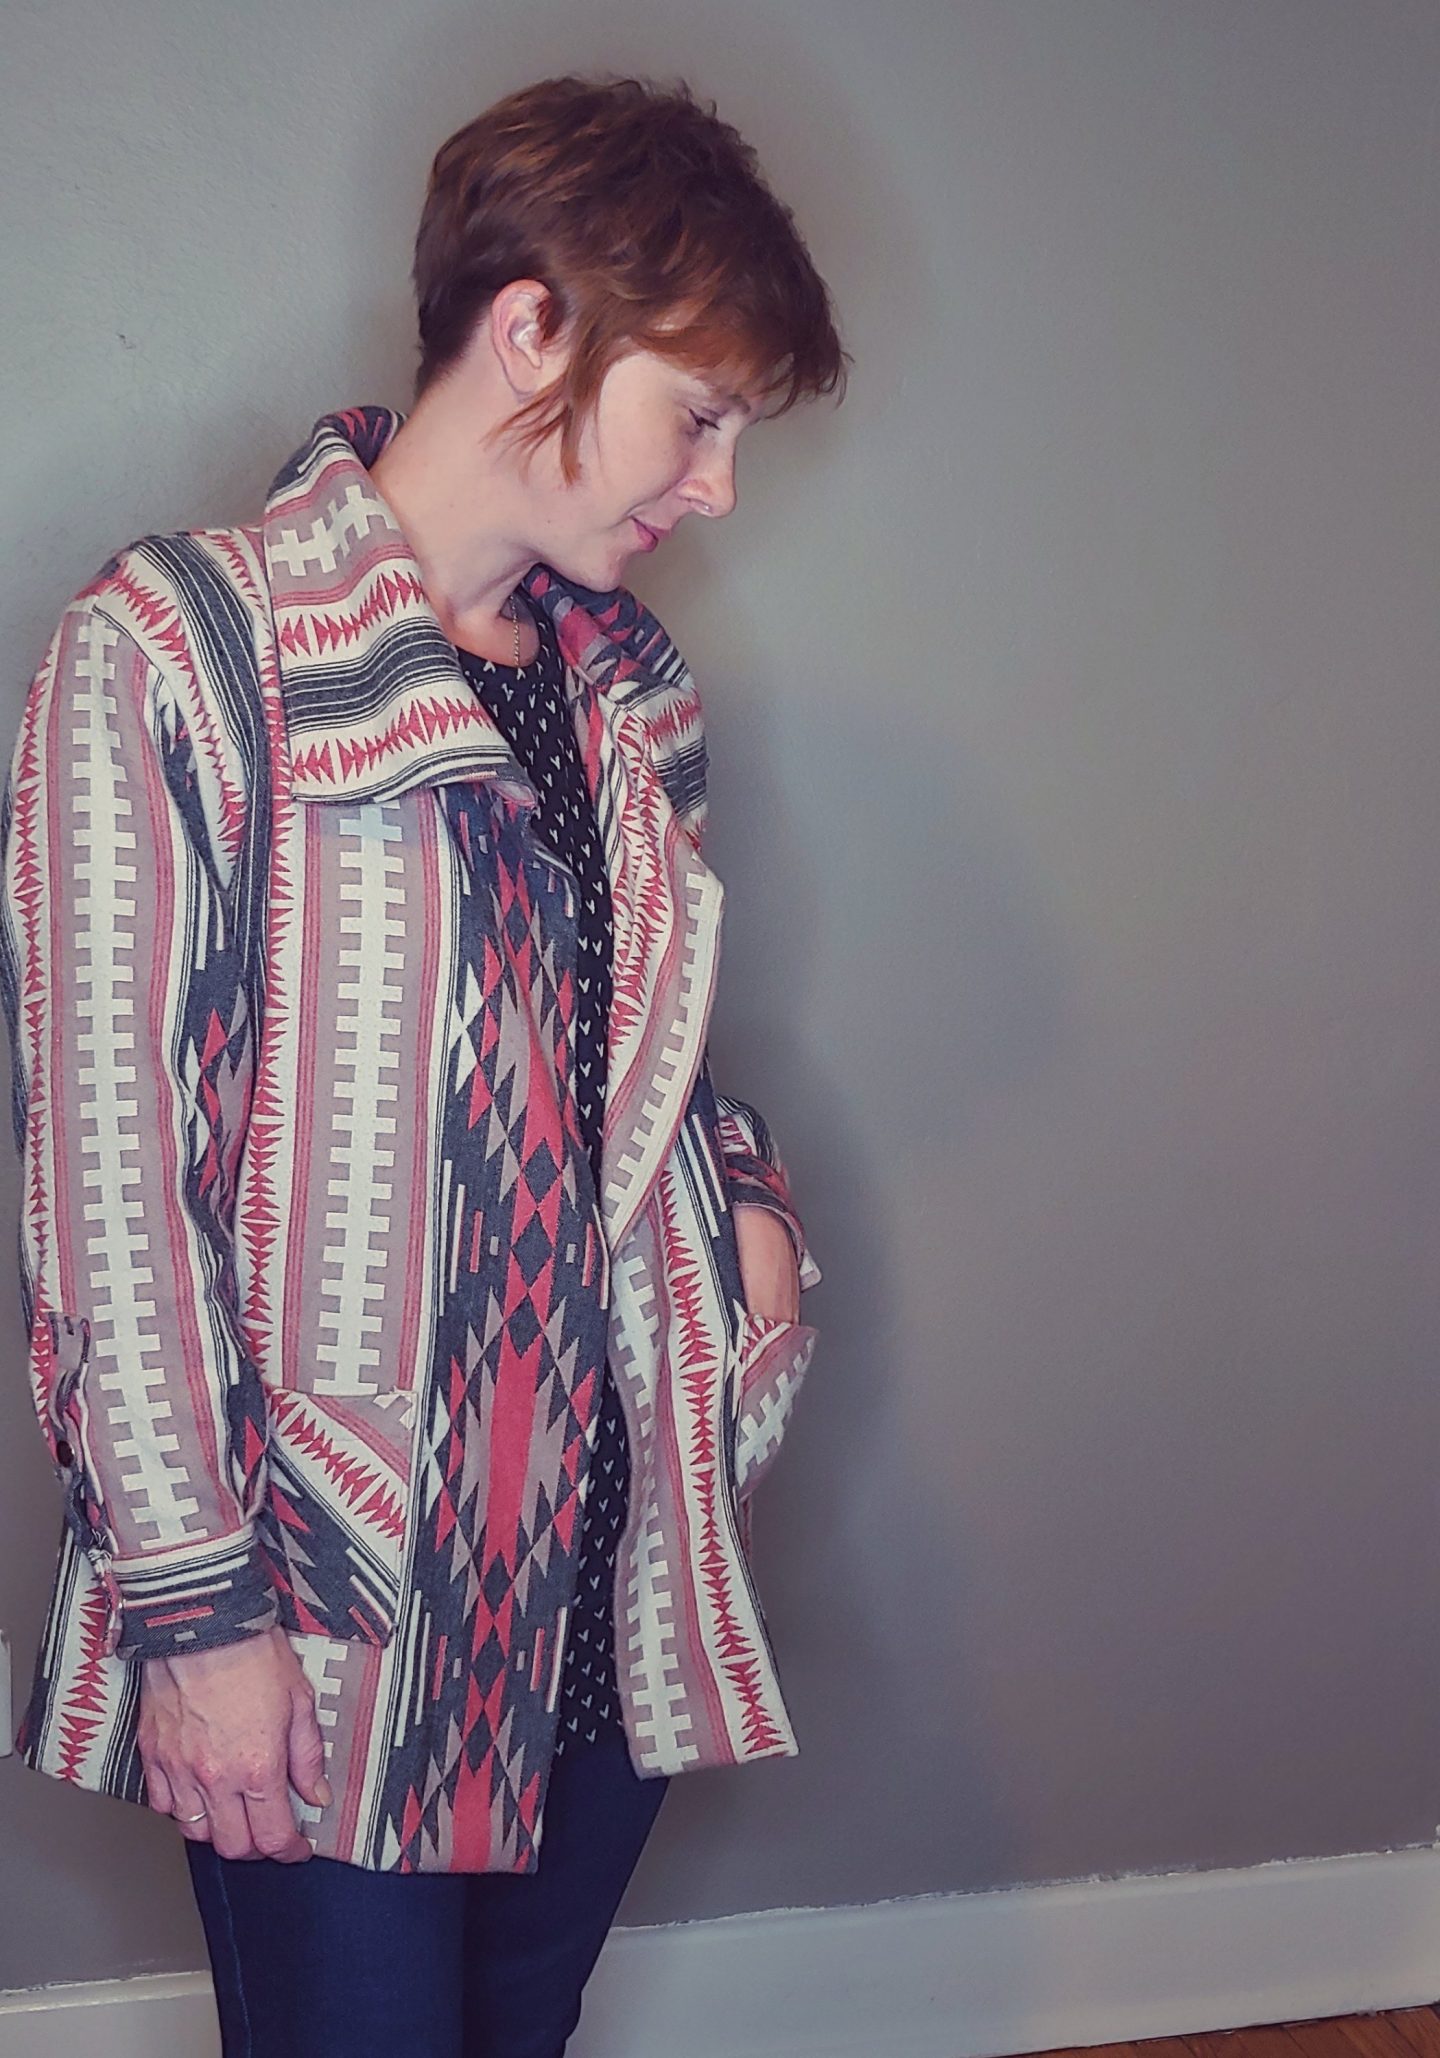
The fabric – oh, the fabric! – is a sumptuous flannel in a beautiful South-western print. It’s so soft on both sides and it’s about medium weight, although it’s on the high end of medium. It’s so nice that I’ve been hesitant to use it, in case I ruin it. It’s been years since I ruined a project, but that pain goes deep!
I didn’t want something basic, especially with the neckline. But I didn’t want to over-design it either and had to keep the fabric weight in mind. I tried a built-up neckline, but it wasn’t quite right. I made one final list of features I needed vs. features to avoid and got an idea!
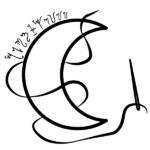
First, I took my torso block and eliminated the bust dart. I made an illustration for how this is done!
If you find it handy, click on the image above to open it in a new tab and save it!
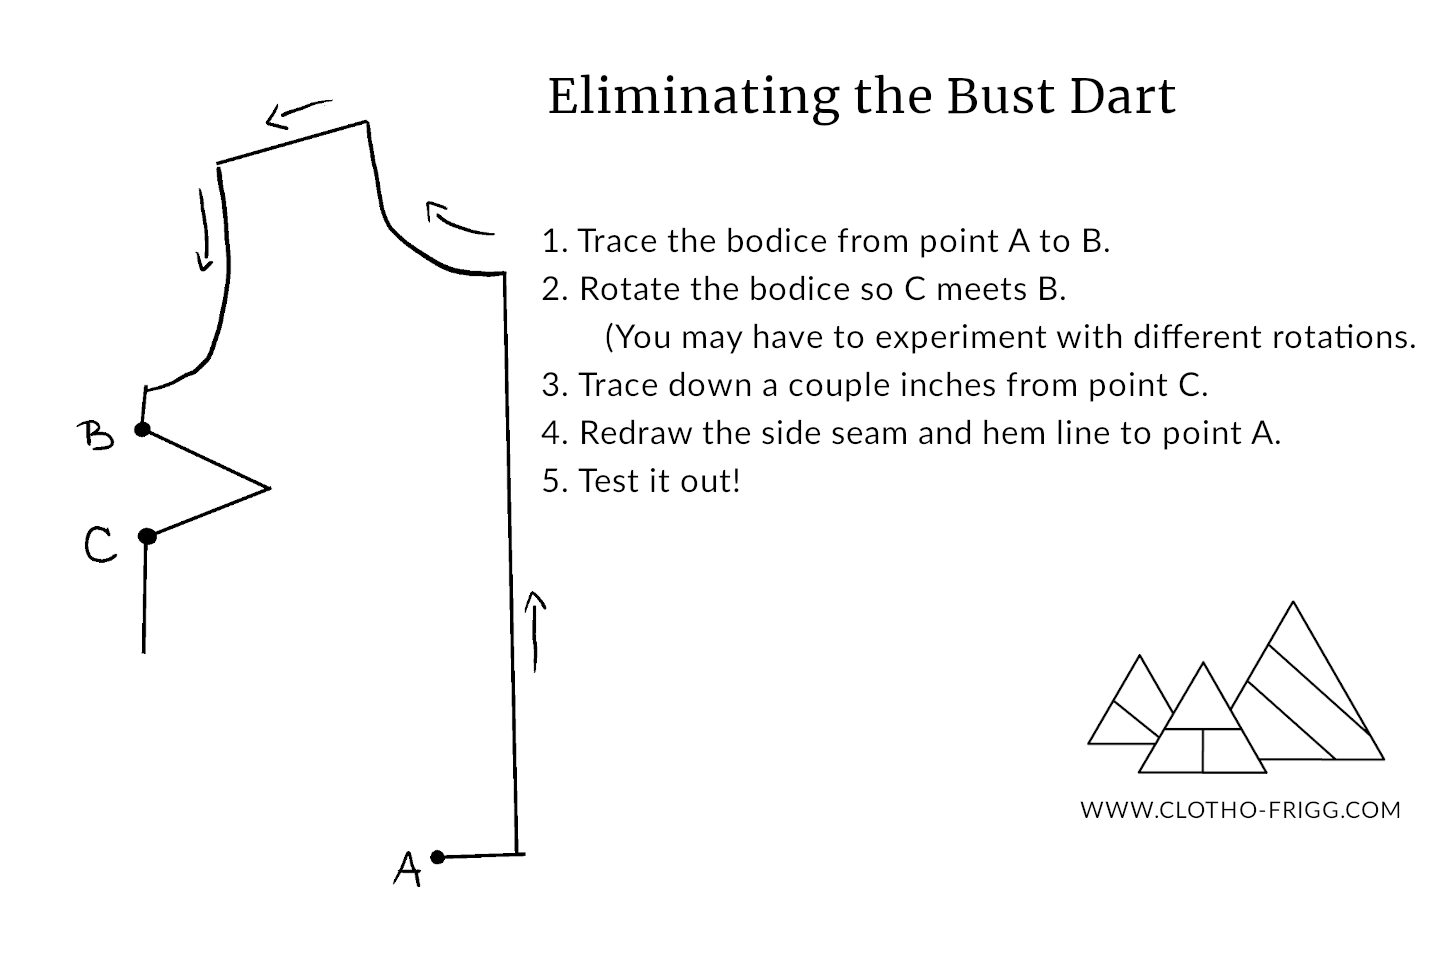
To make it oversized, I widened the bodice including the shoulder seam and dropped the armscye. I drew a line down from the shoulder seam that was parallel to the center front. Then I cut along the line and spread the pieces apart.
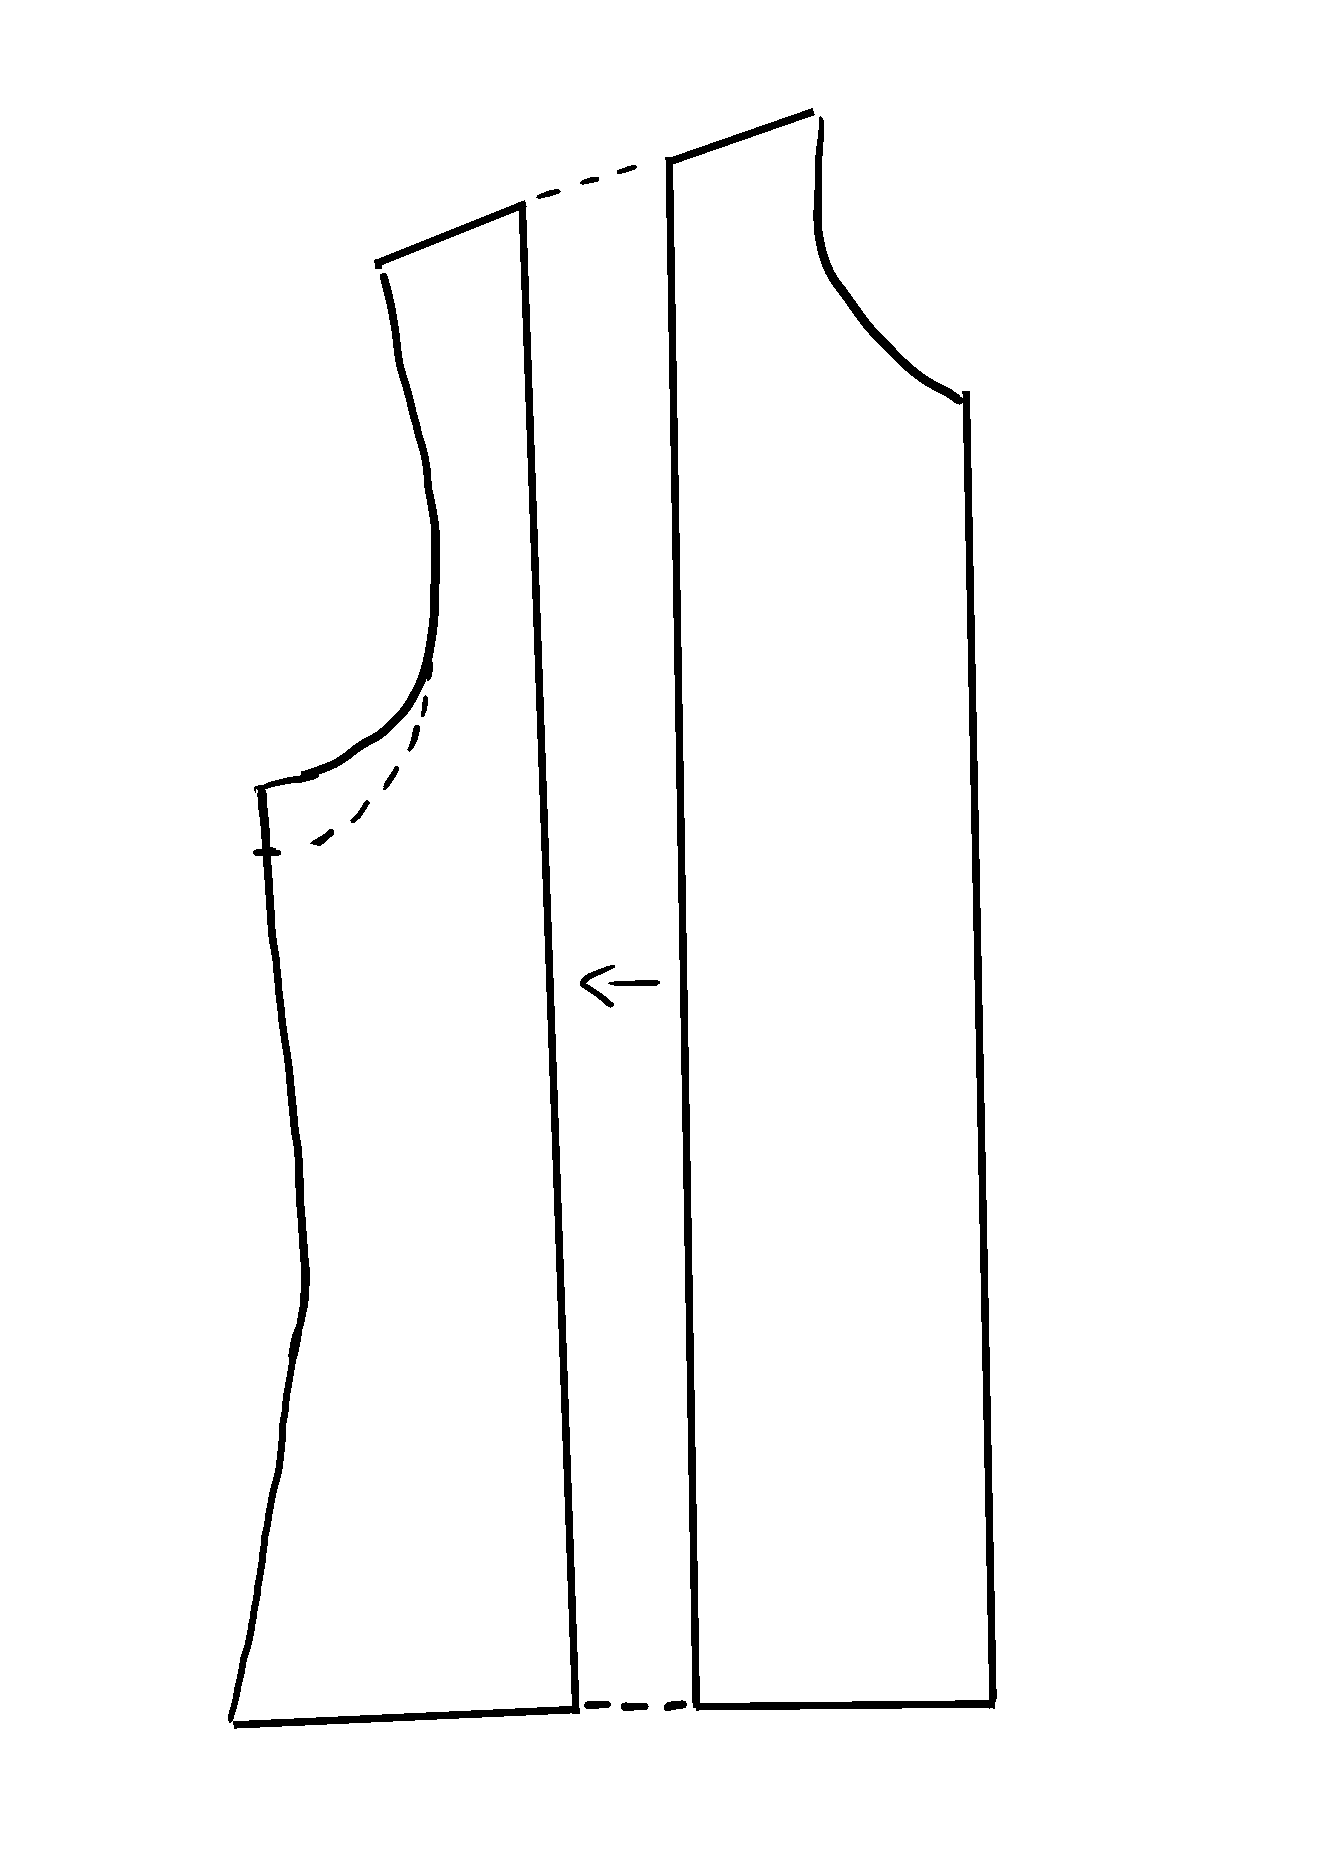
In this drawing, the dotted line represents the new pattern.
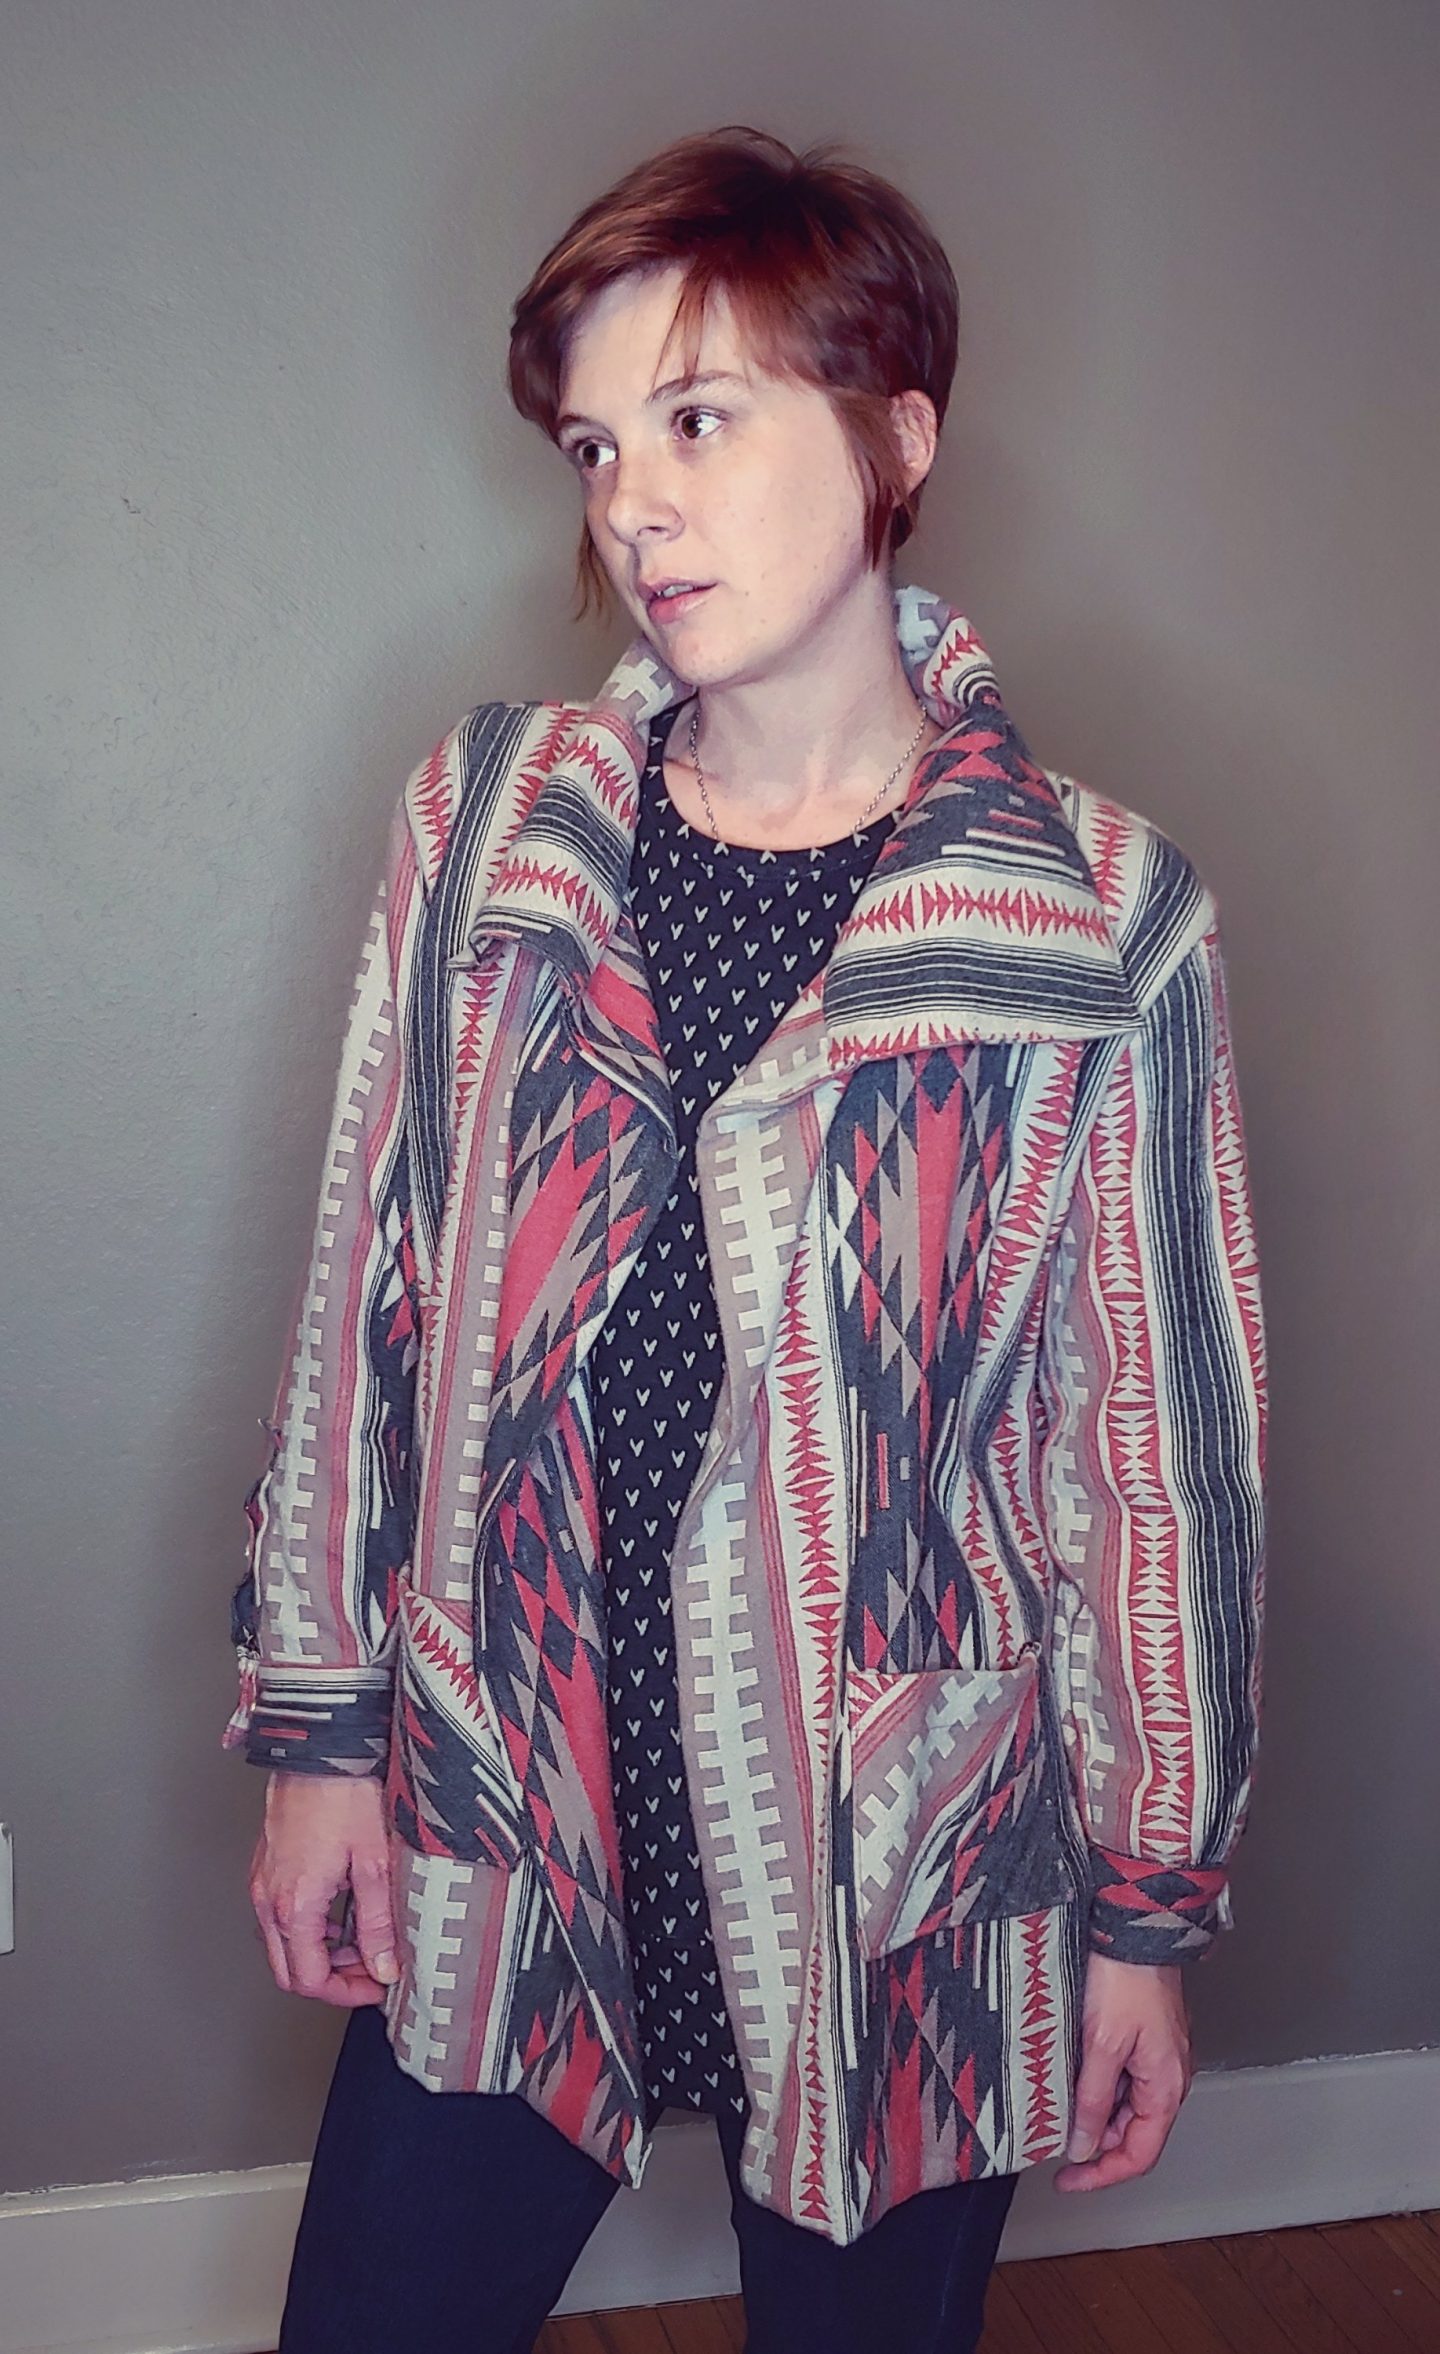
I also extended the center front. For the collar, I used my collar stand as a base, lengthening it to match the extended bodice. And widening it…alot.
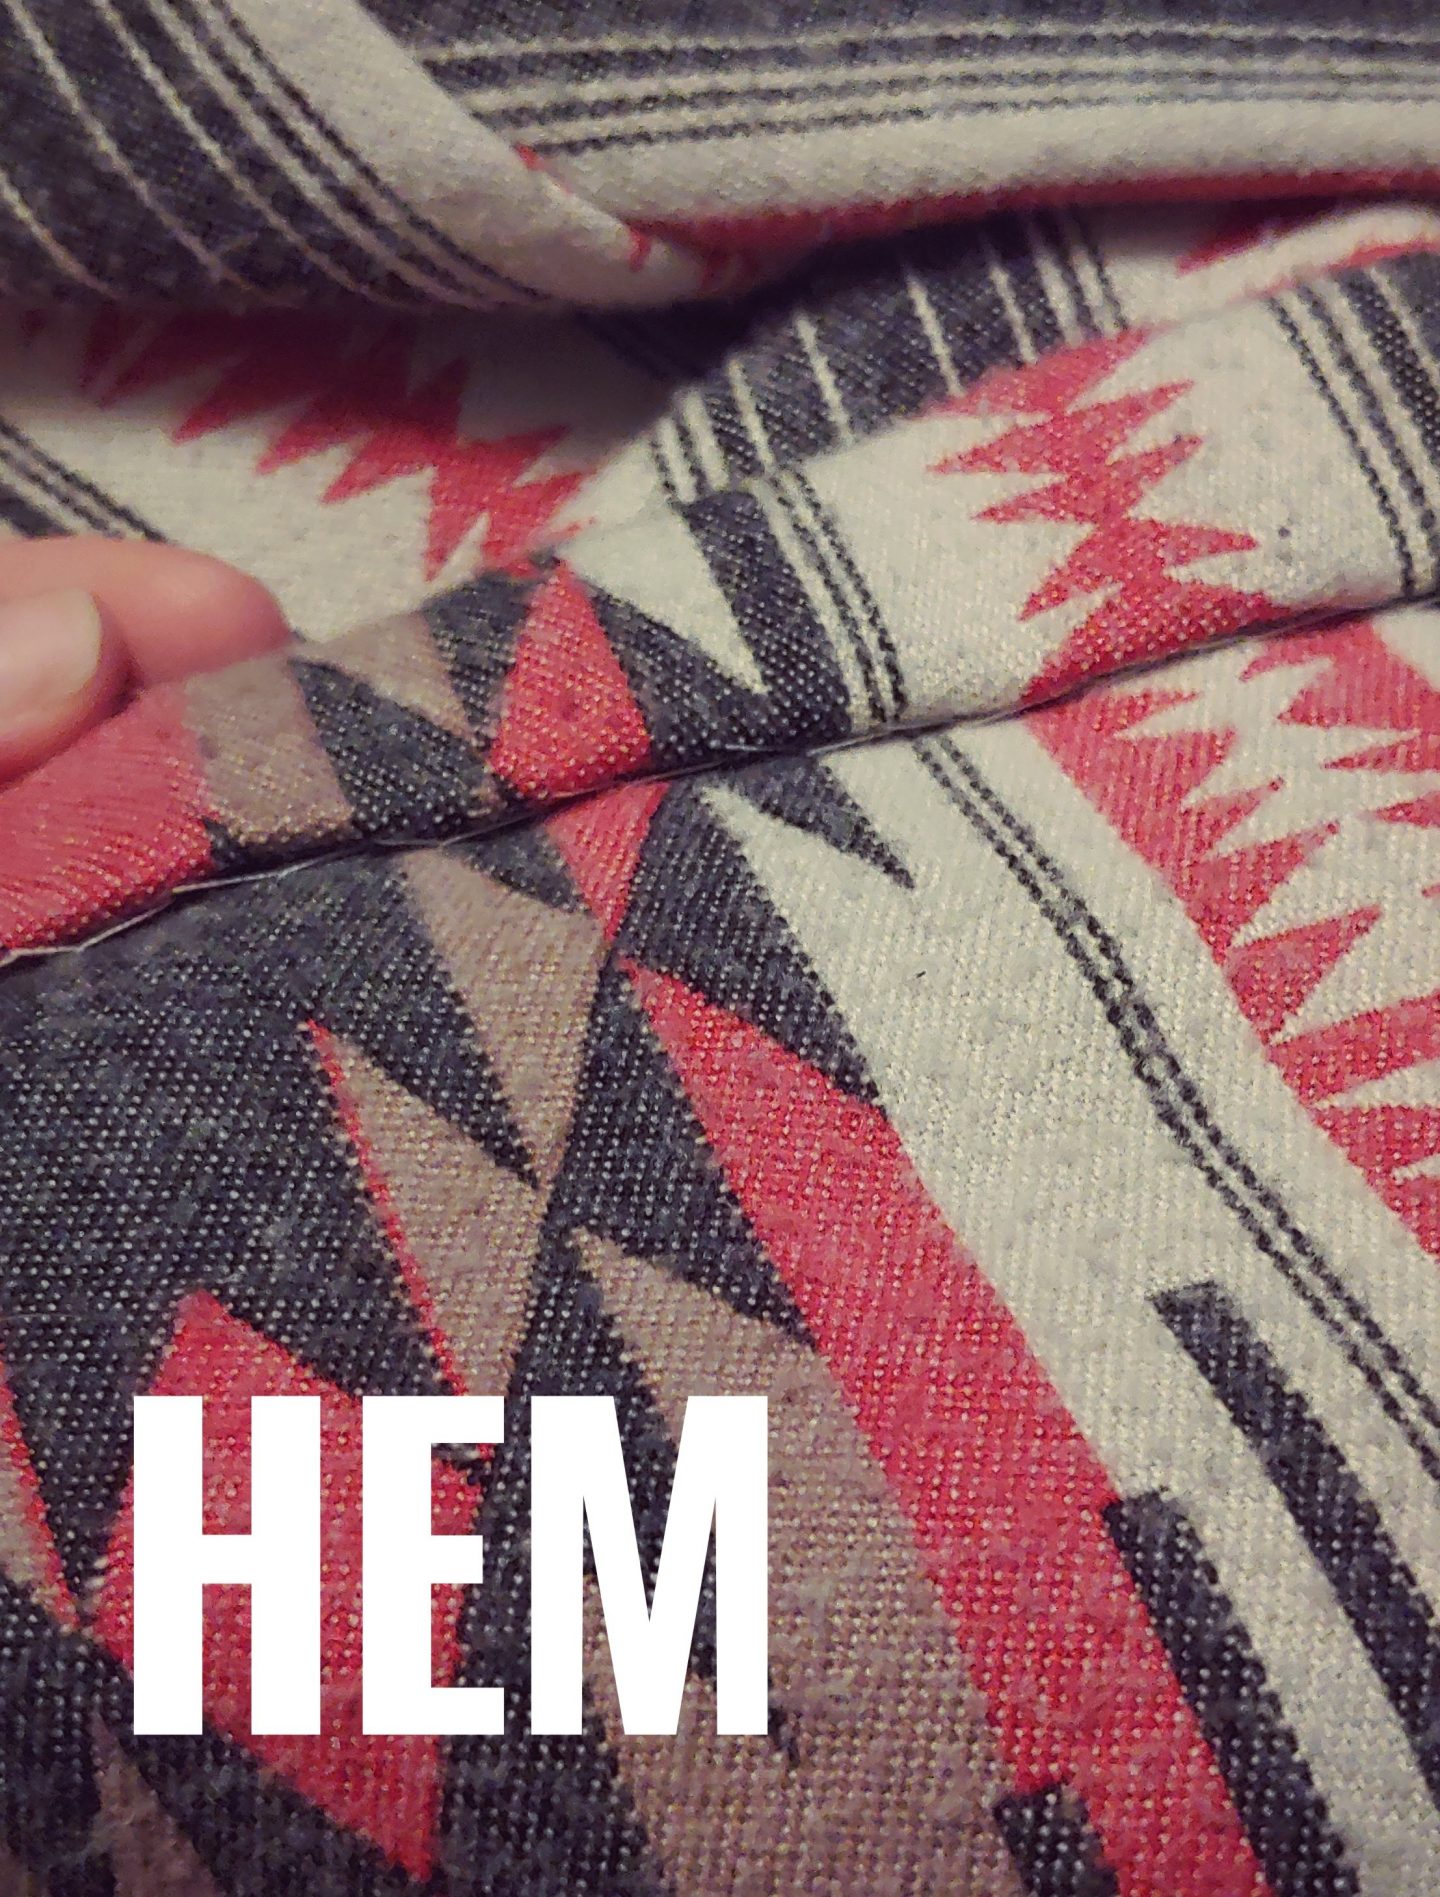
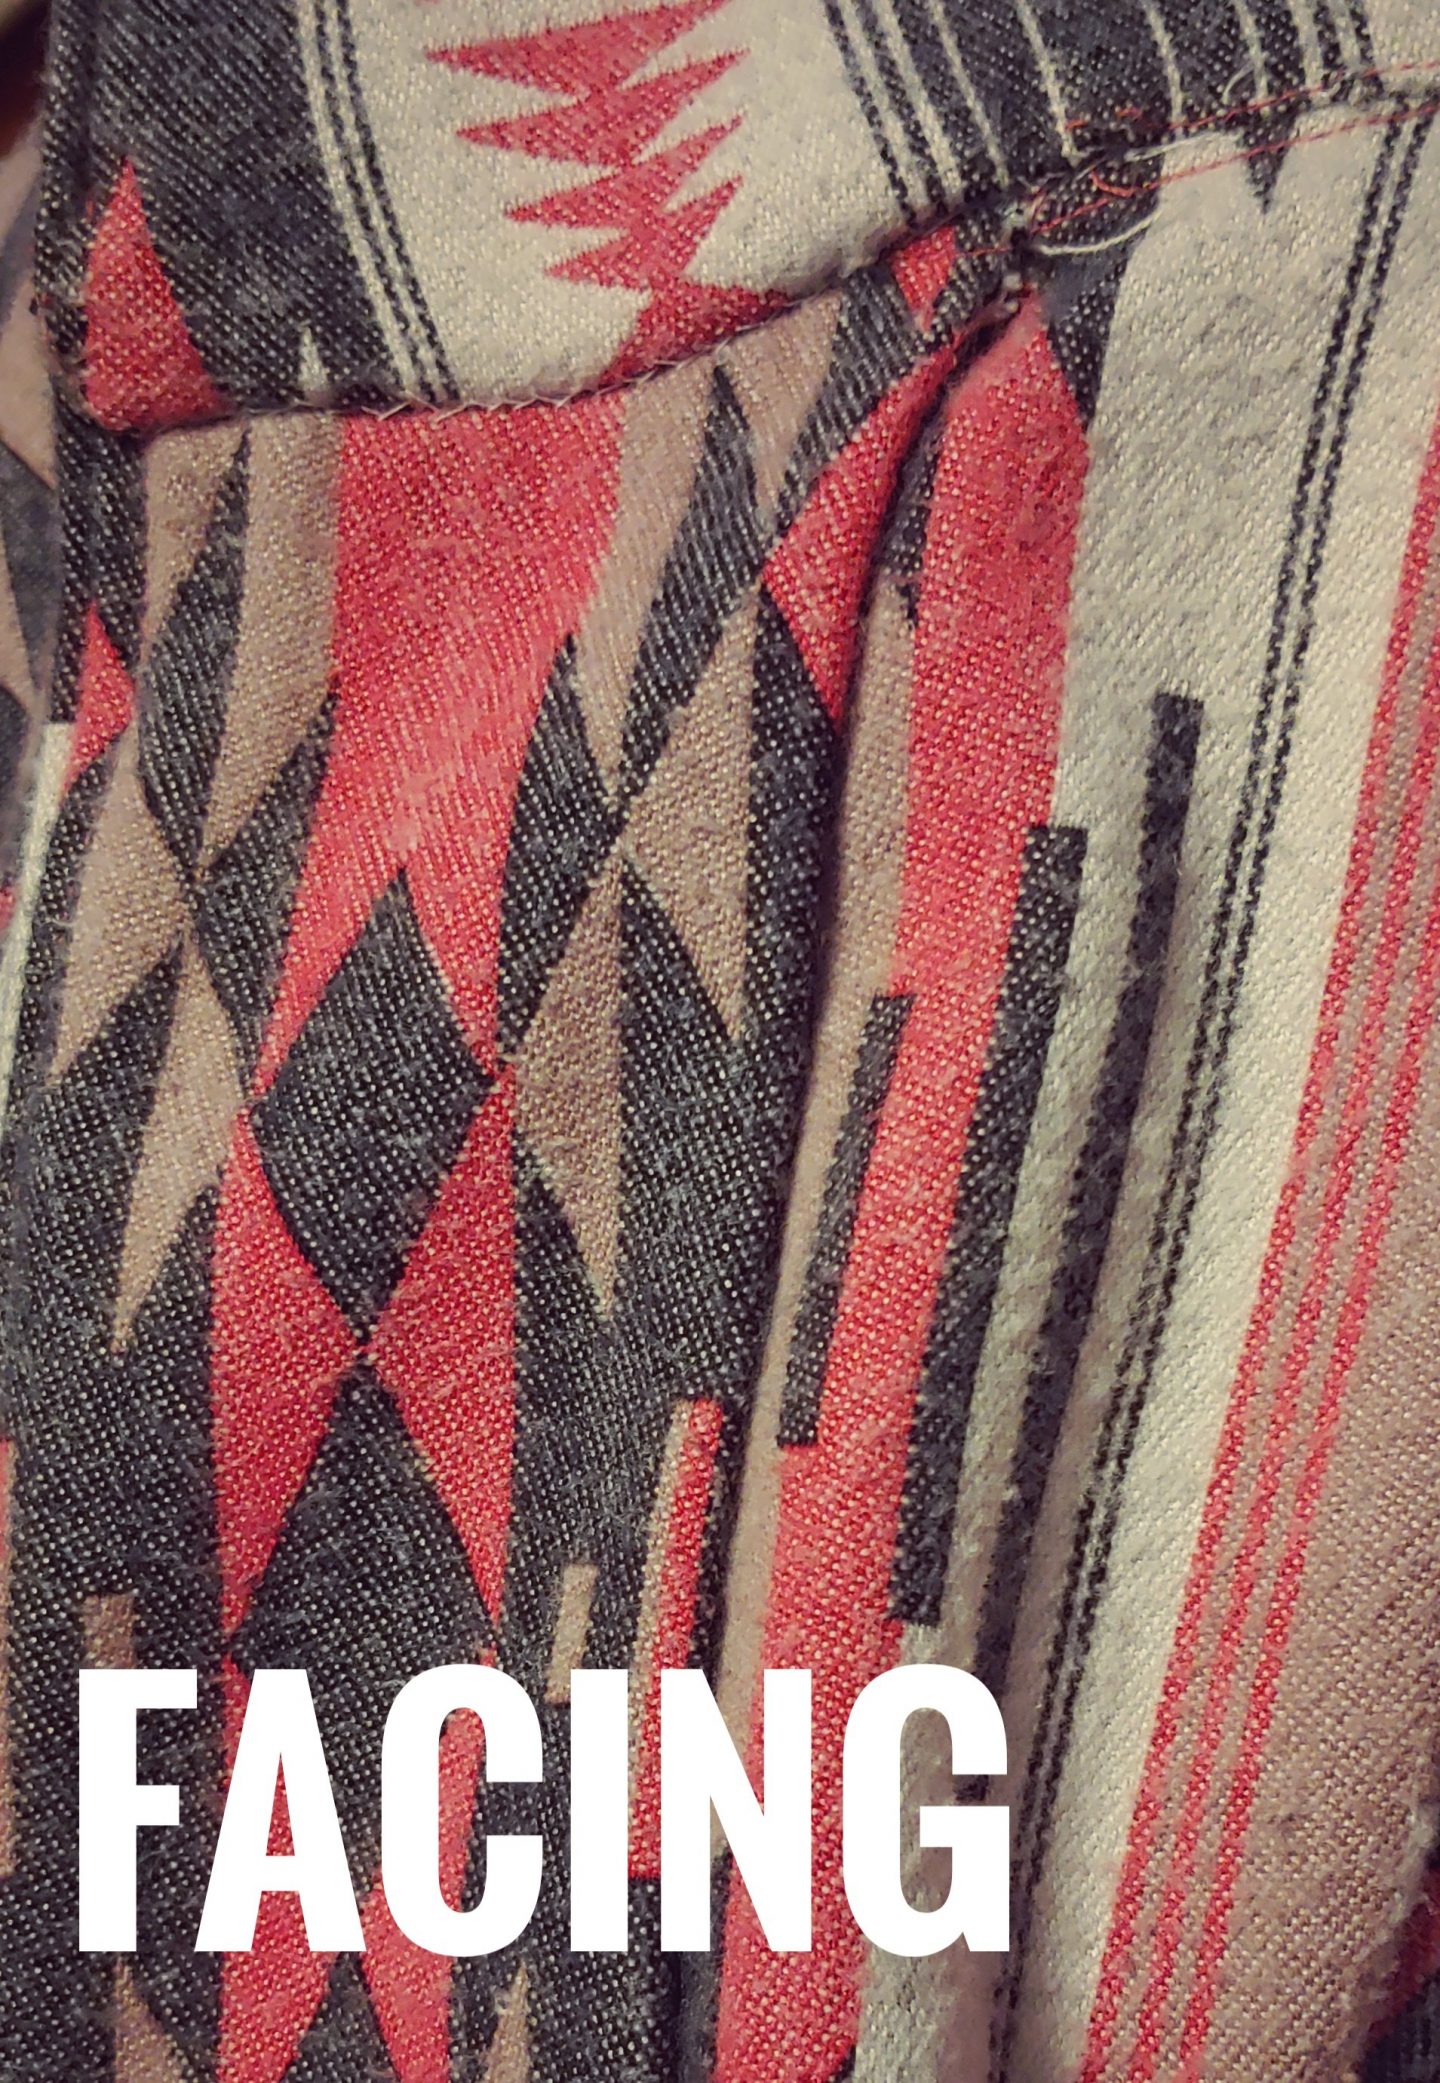
The center front of the bodice is finished with a facing. I used a herringbone stitch to secure it. On one side, the fabric along the hem was white so I used white thread. The other side was black, so I switched to that! The hem is also hand stitched. It looks very nice and I think well worth the extra time!
There are 2 patch pockets in the front of course!
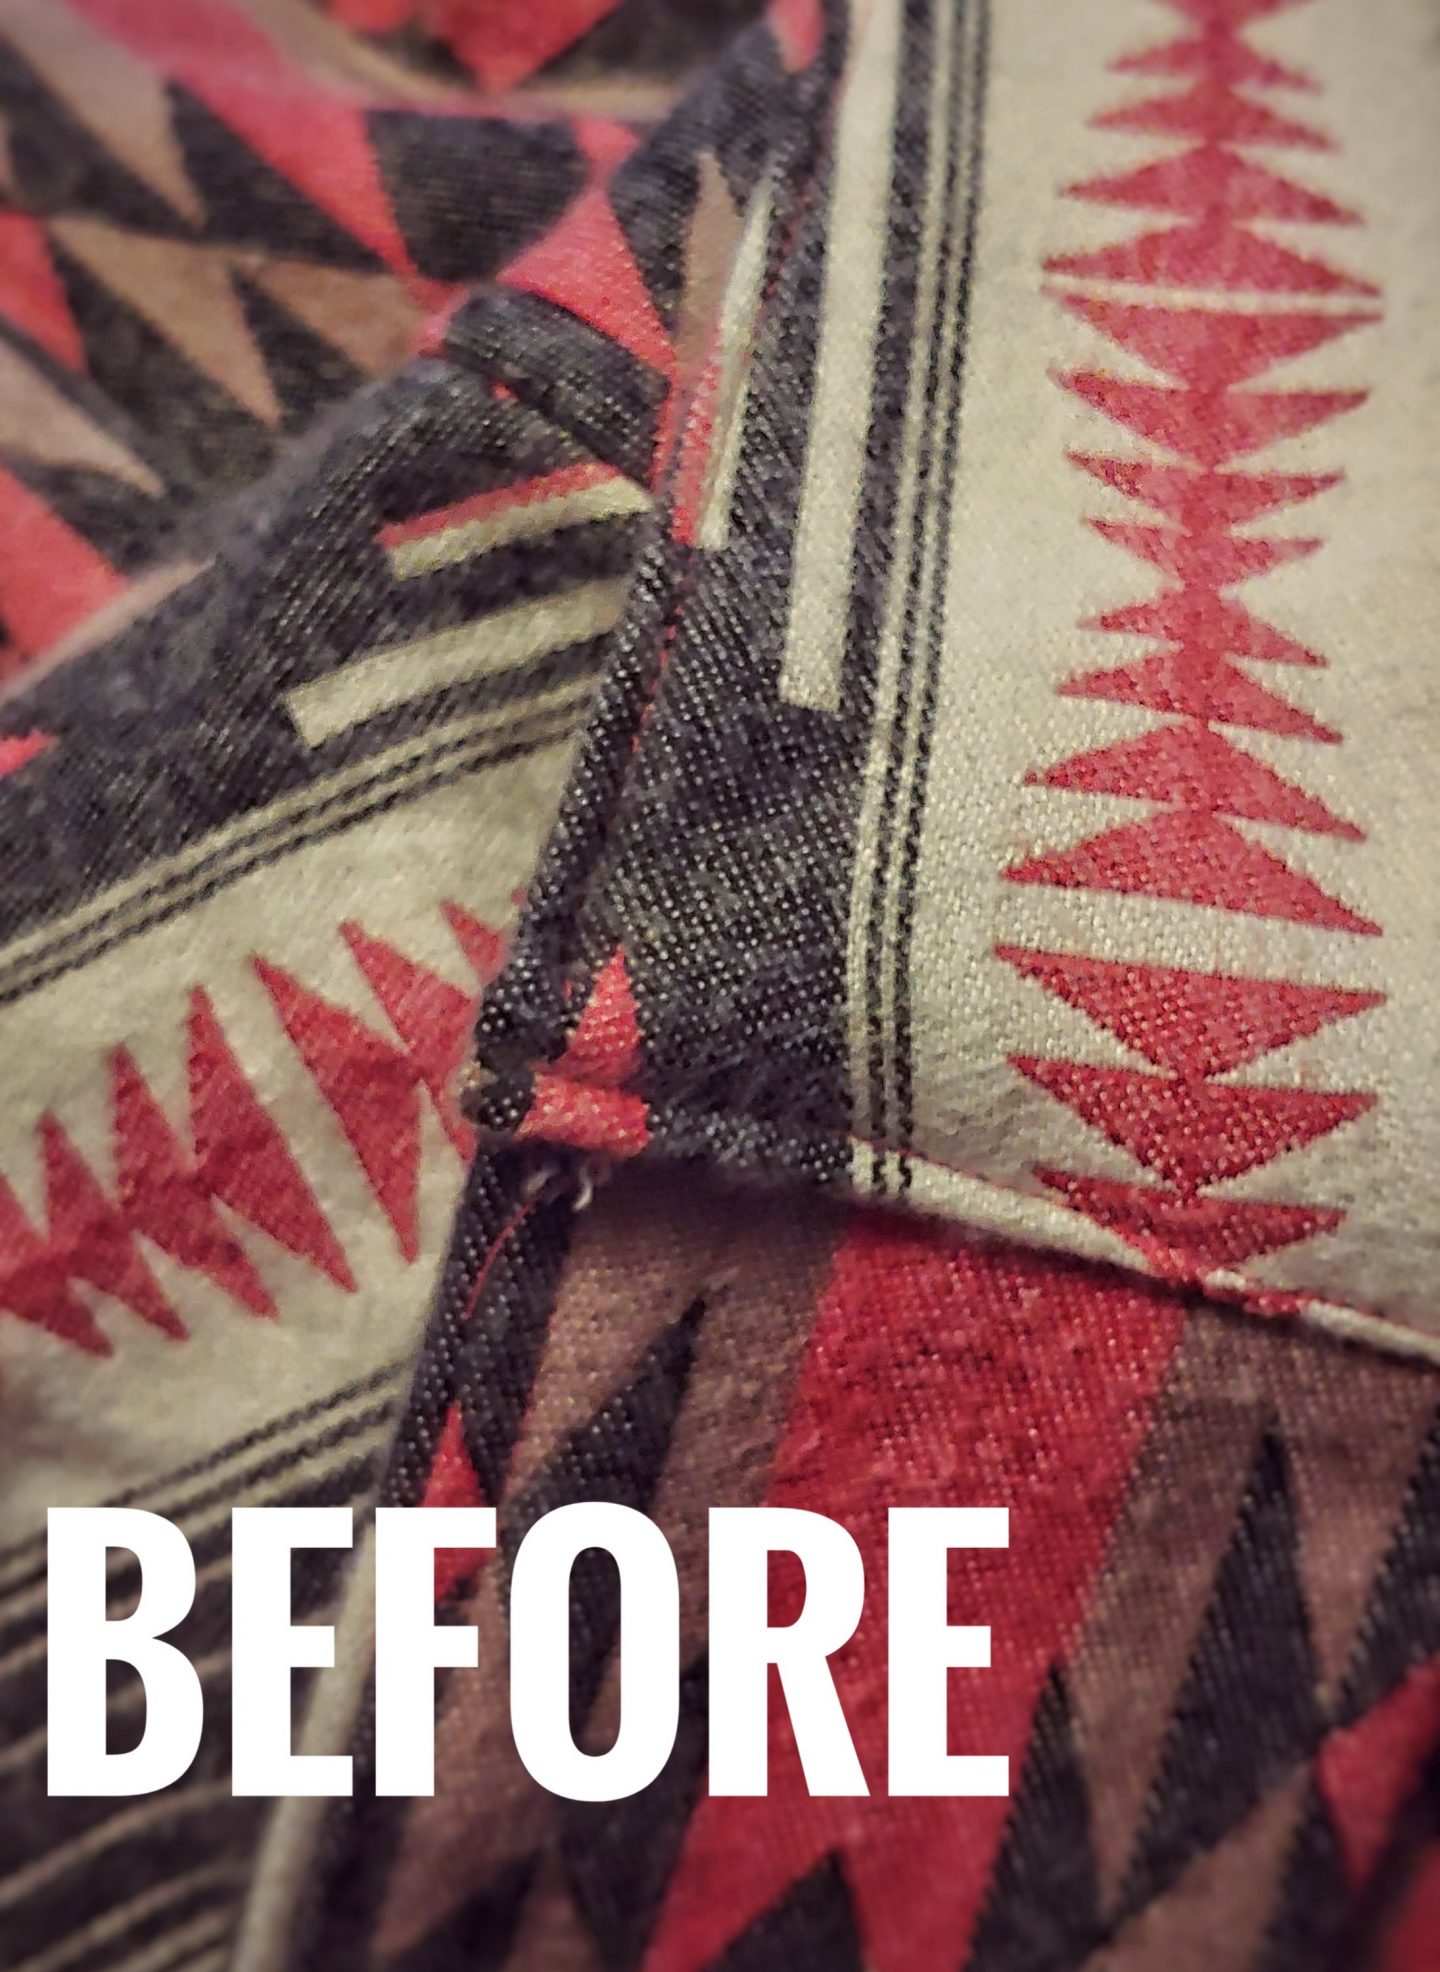
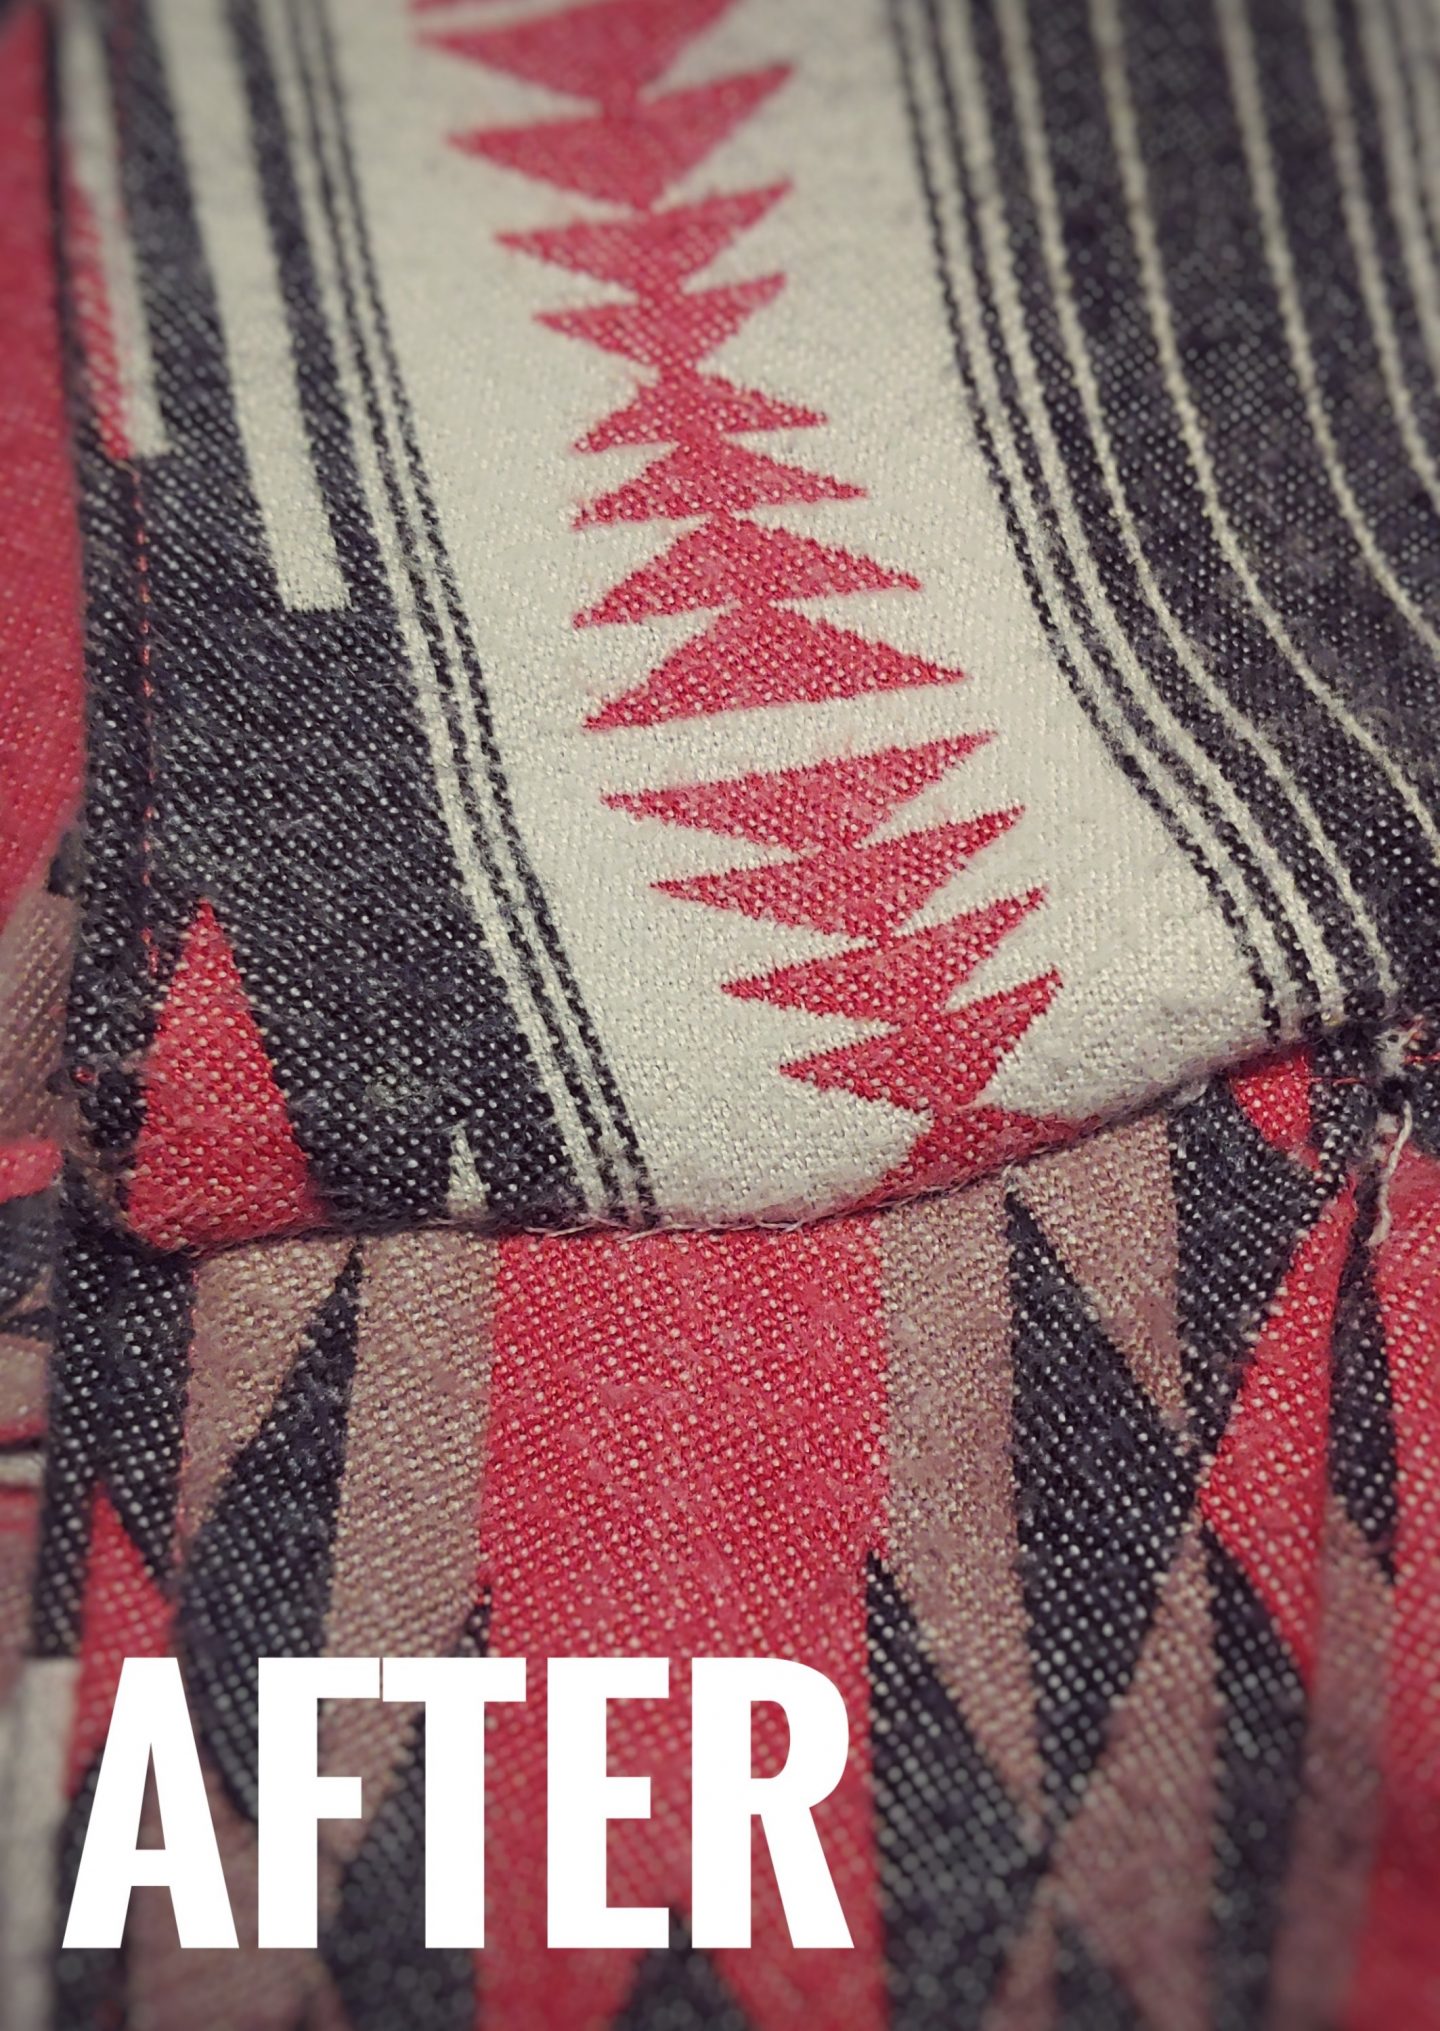
One thing I didn’t account for is the weight of the seam at the center front where the collar meets the bodice. I sewed this like a normal collar and it flopped sadly at an awkward angle. To correct this, I unpicked the seam a few inches. Then I refolded the seam allowance at 1/4″ and hand-stitched it in place. The new stitches are below the troublesome intersection, lending it some strength. Now the collar flops as it should. I’ll be altering the collar piece to accommodate for this in the future!
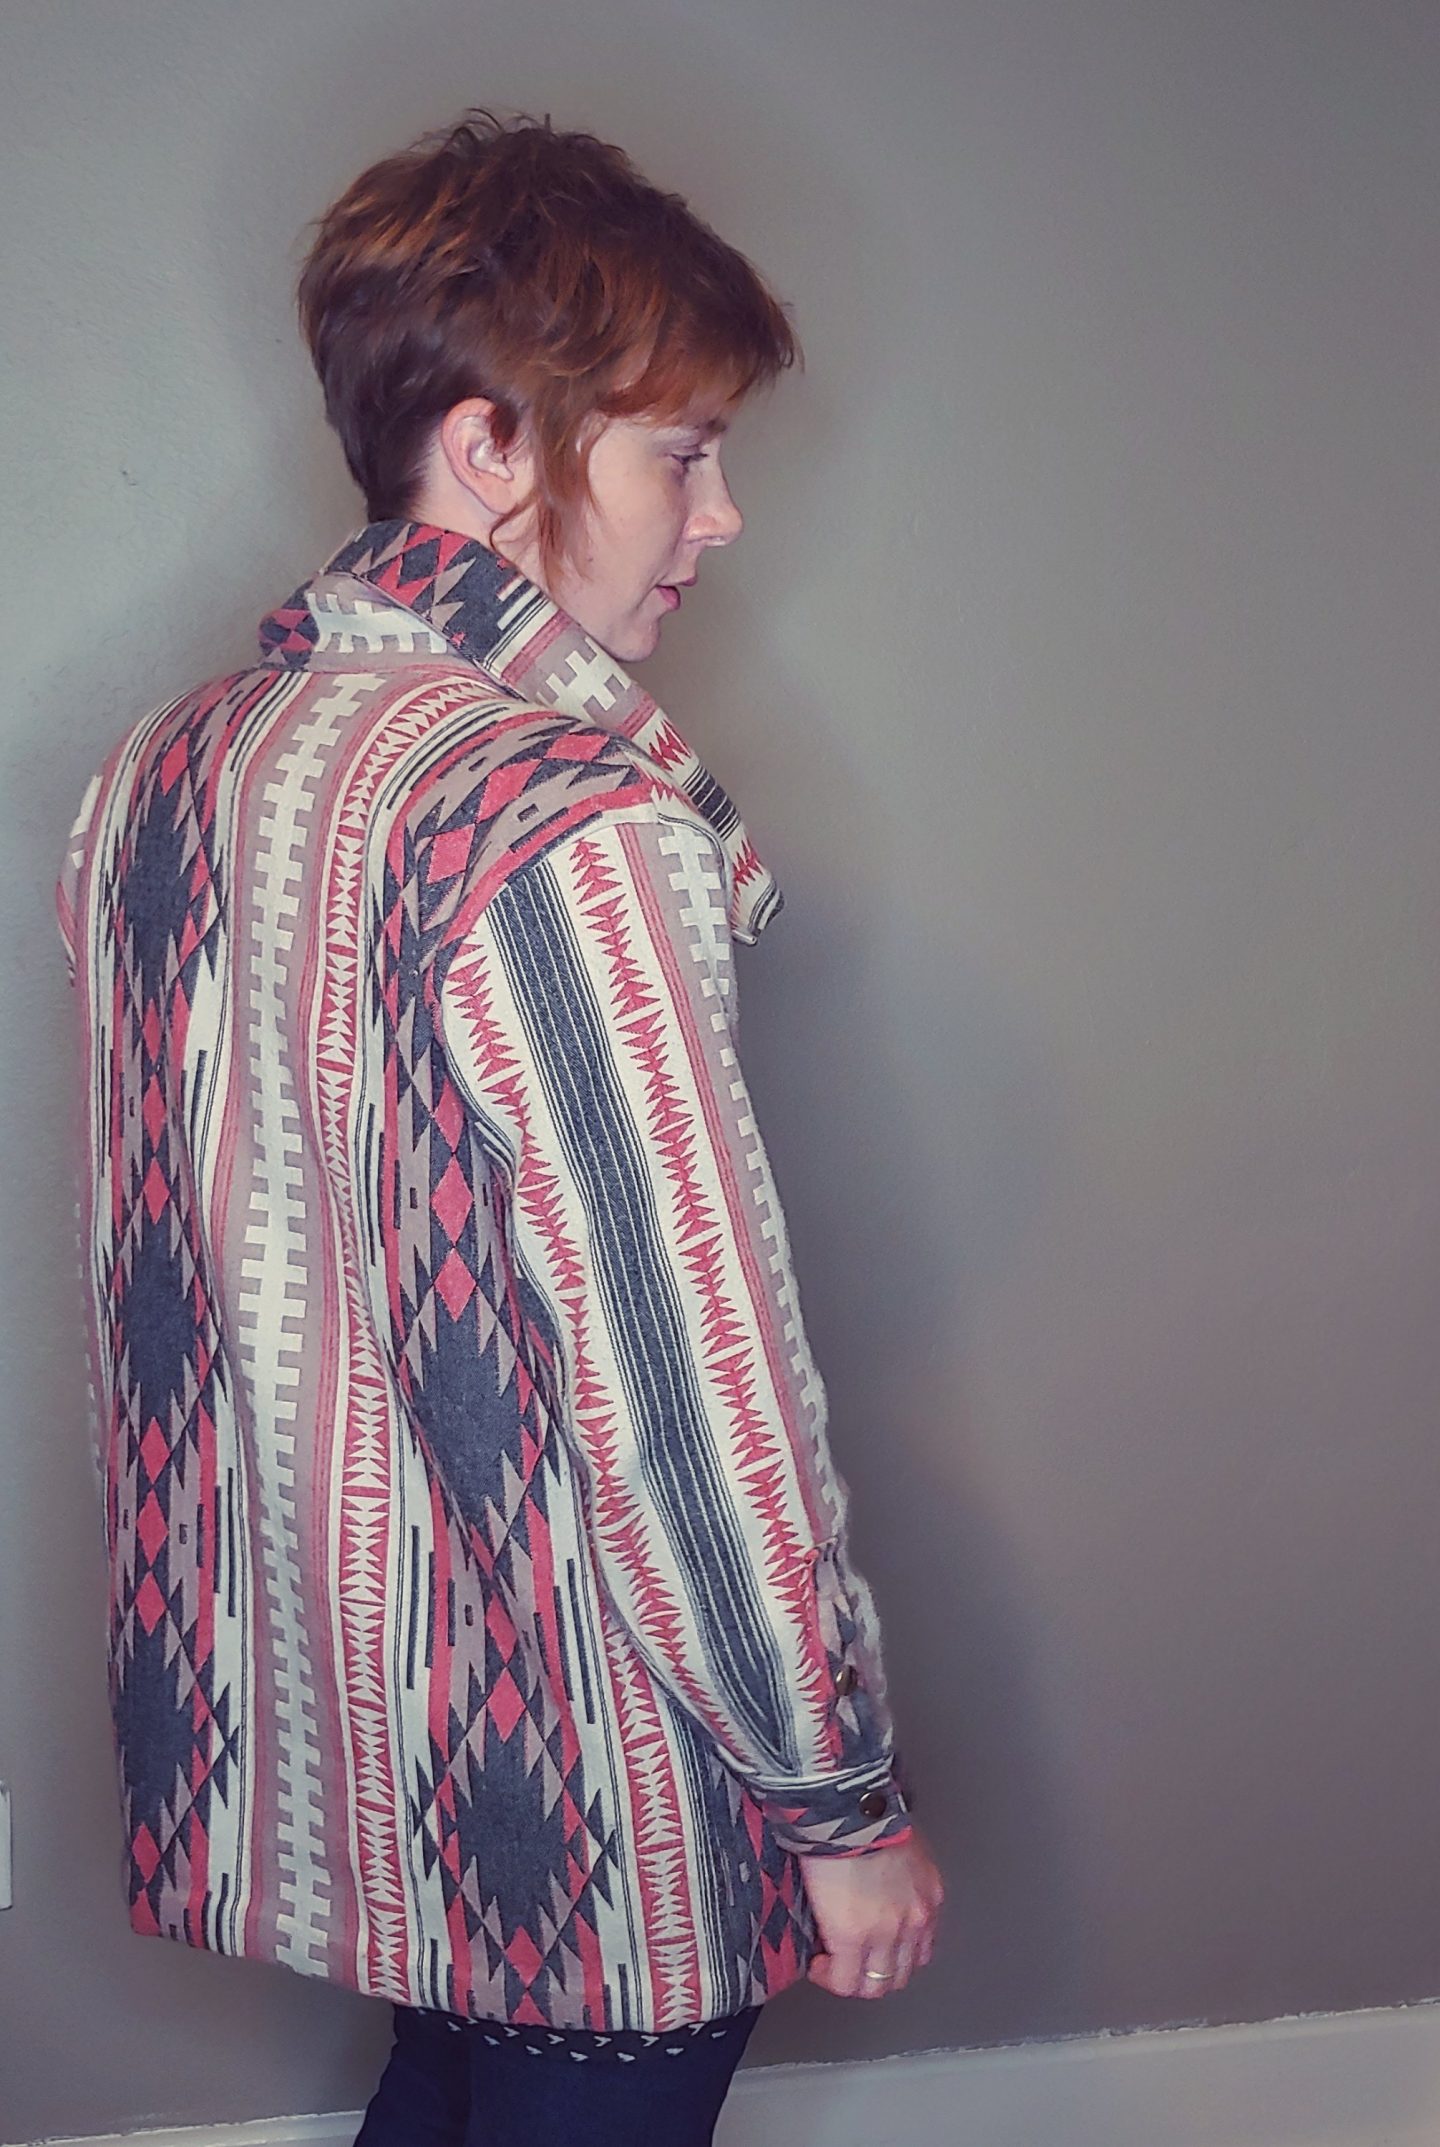
The sleeves have a placket for which I am grateful, but I originally intended to have a placket-less cuff. When I sewed the cuffs, I automatically sewed them as you would for a placket so I just rolled with it. I like it better with the placket – the sleeves are easy to roll up.

It has snap-button closures on the placket and cuffs. I made a boo-boo and sewed the plackets in the wrong direction!! They open towards me instead of facing out. It’s too much of a pain to unpick, so I’m living with it.
Adding the snaps was super easy. I bought a small tool from the fabric shop. I think they’re way easier than rivets and jeans buttons!
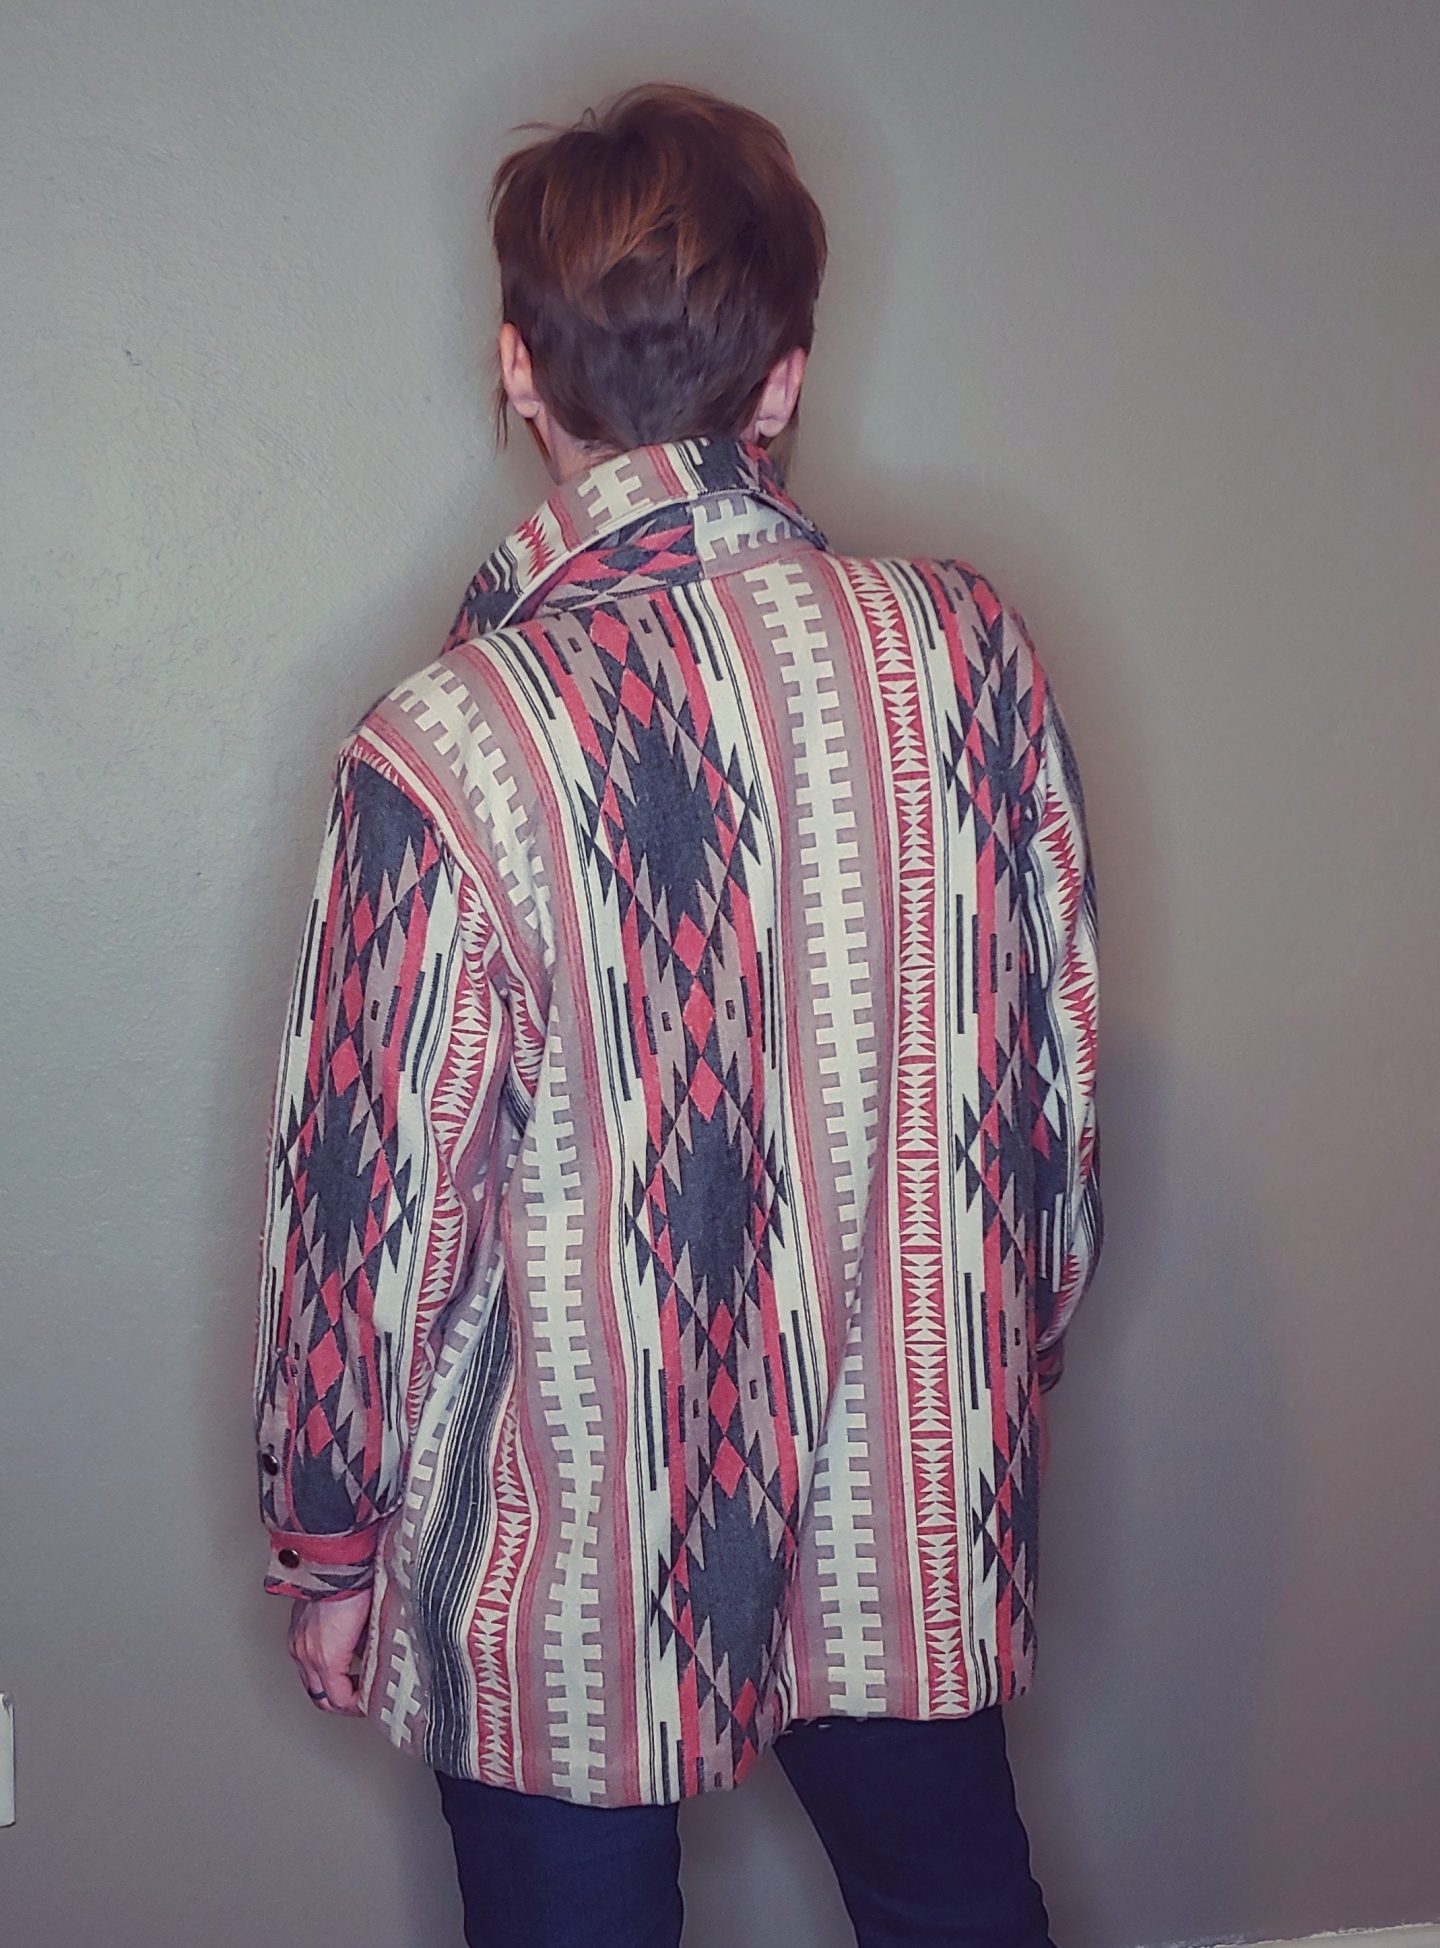
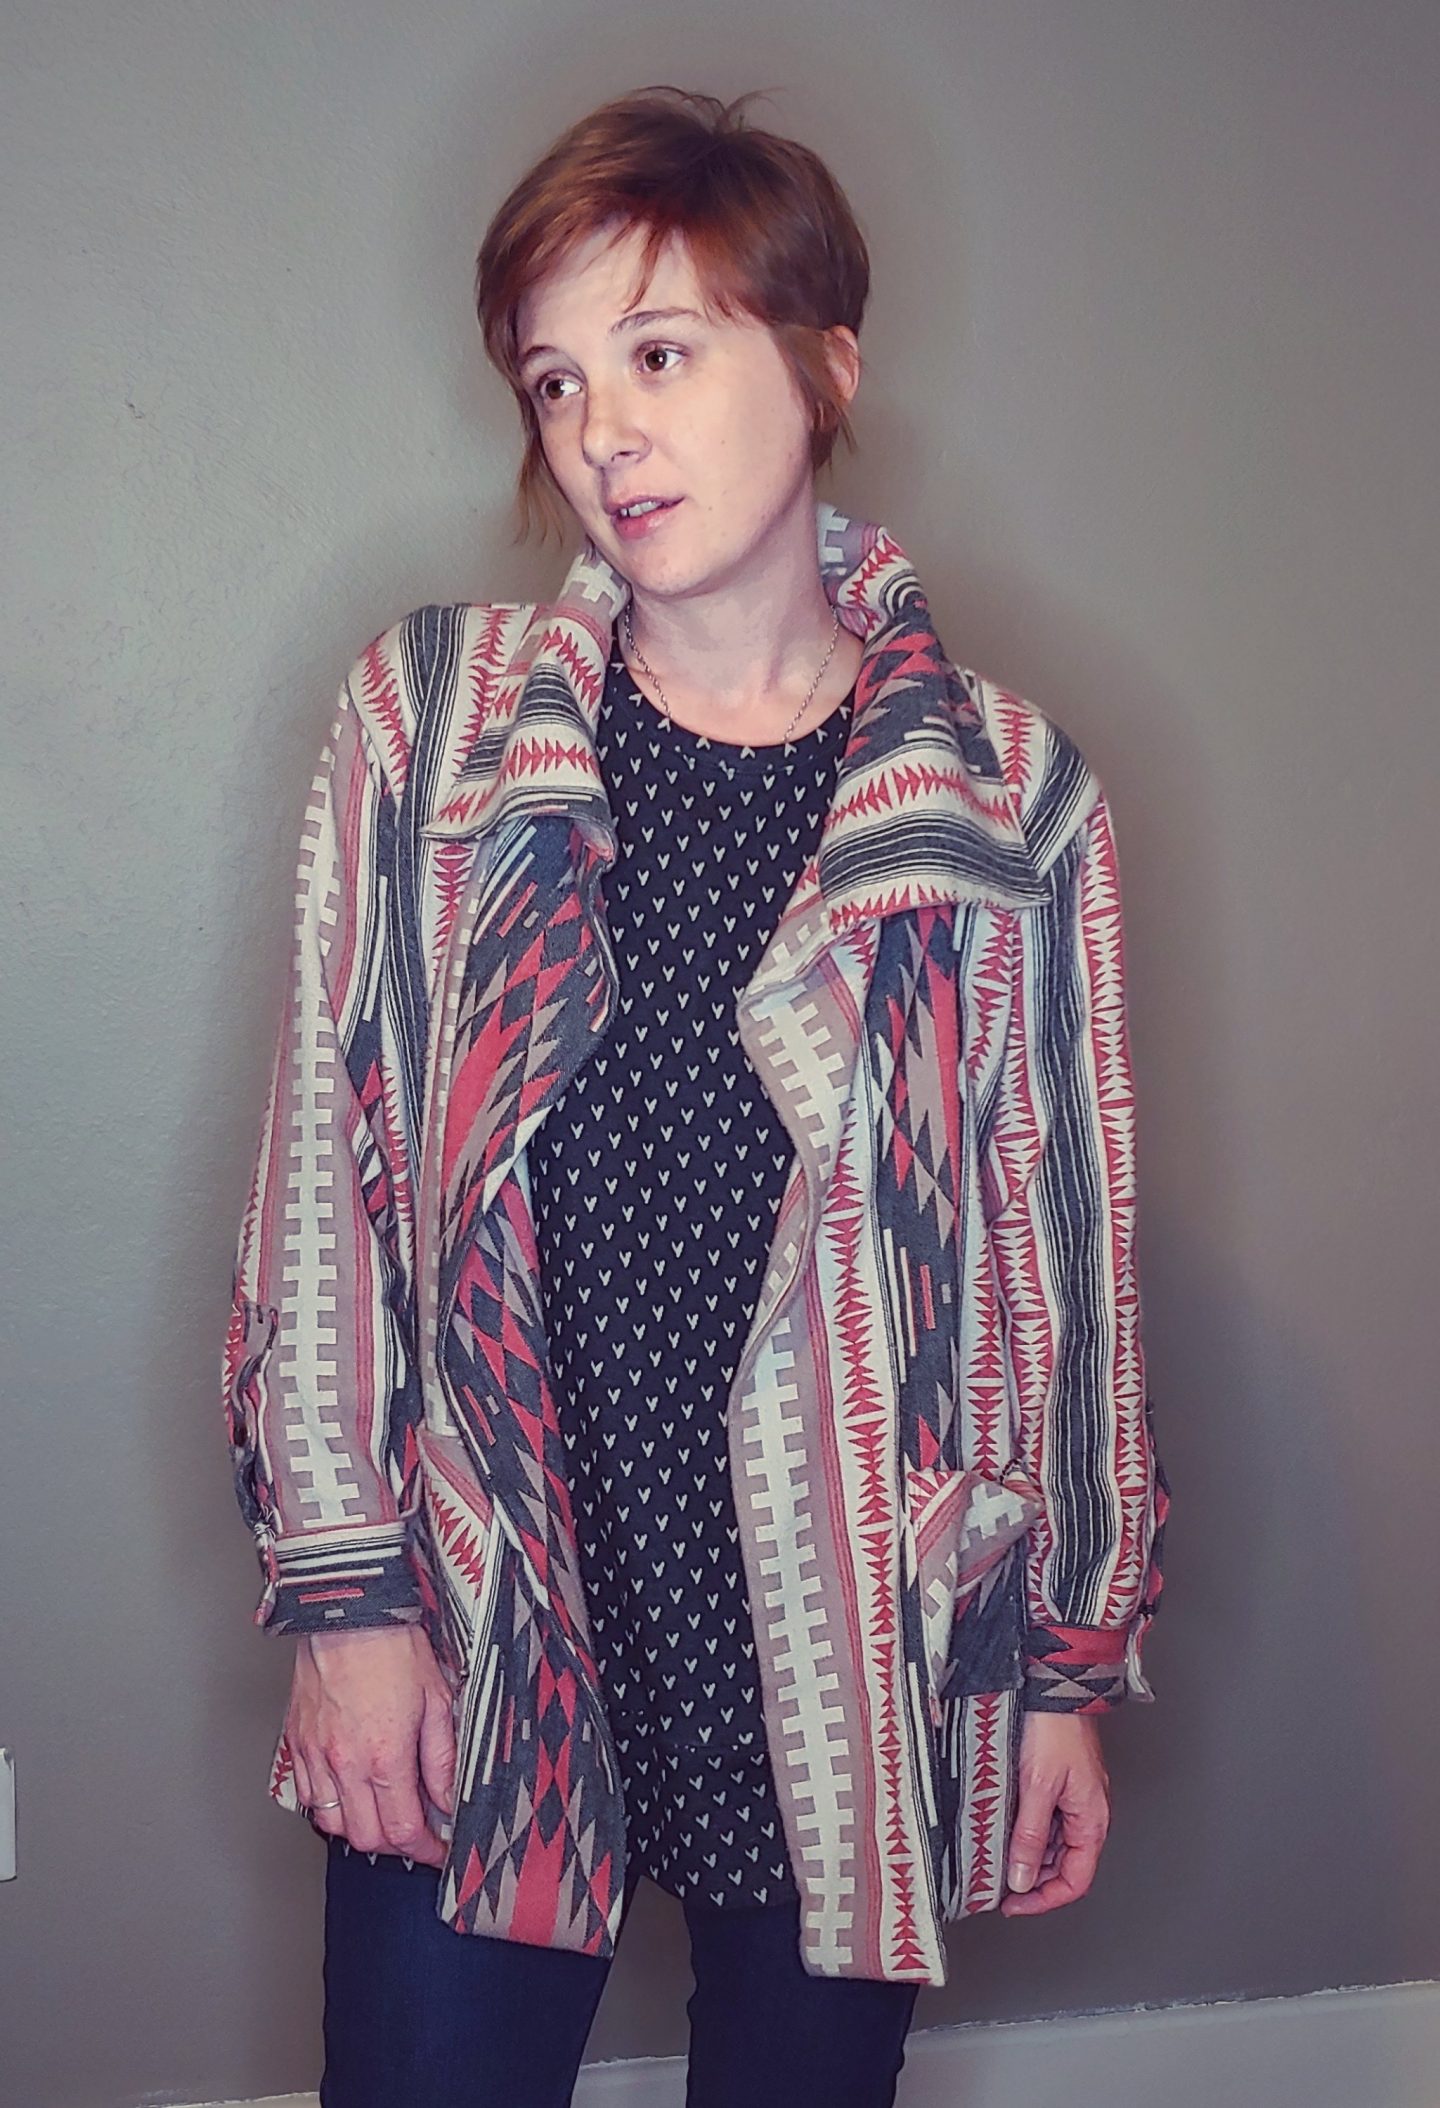
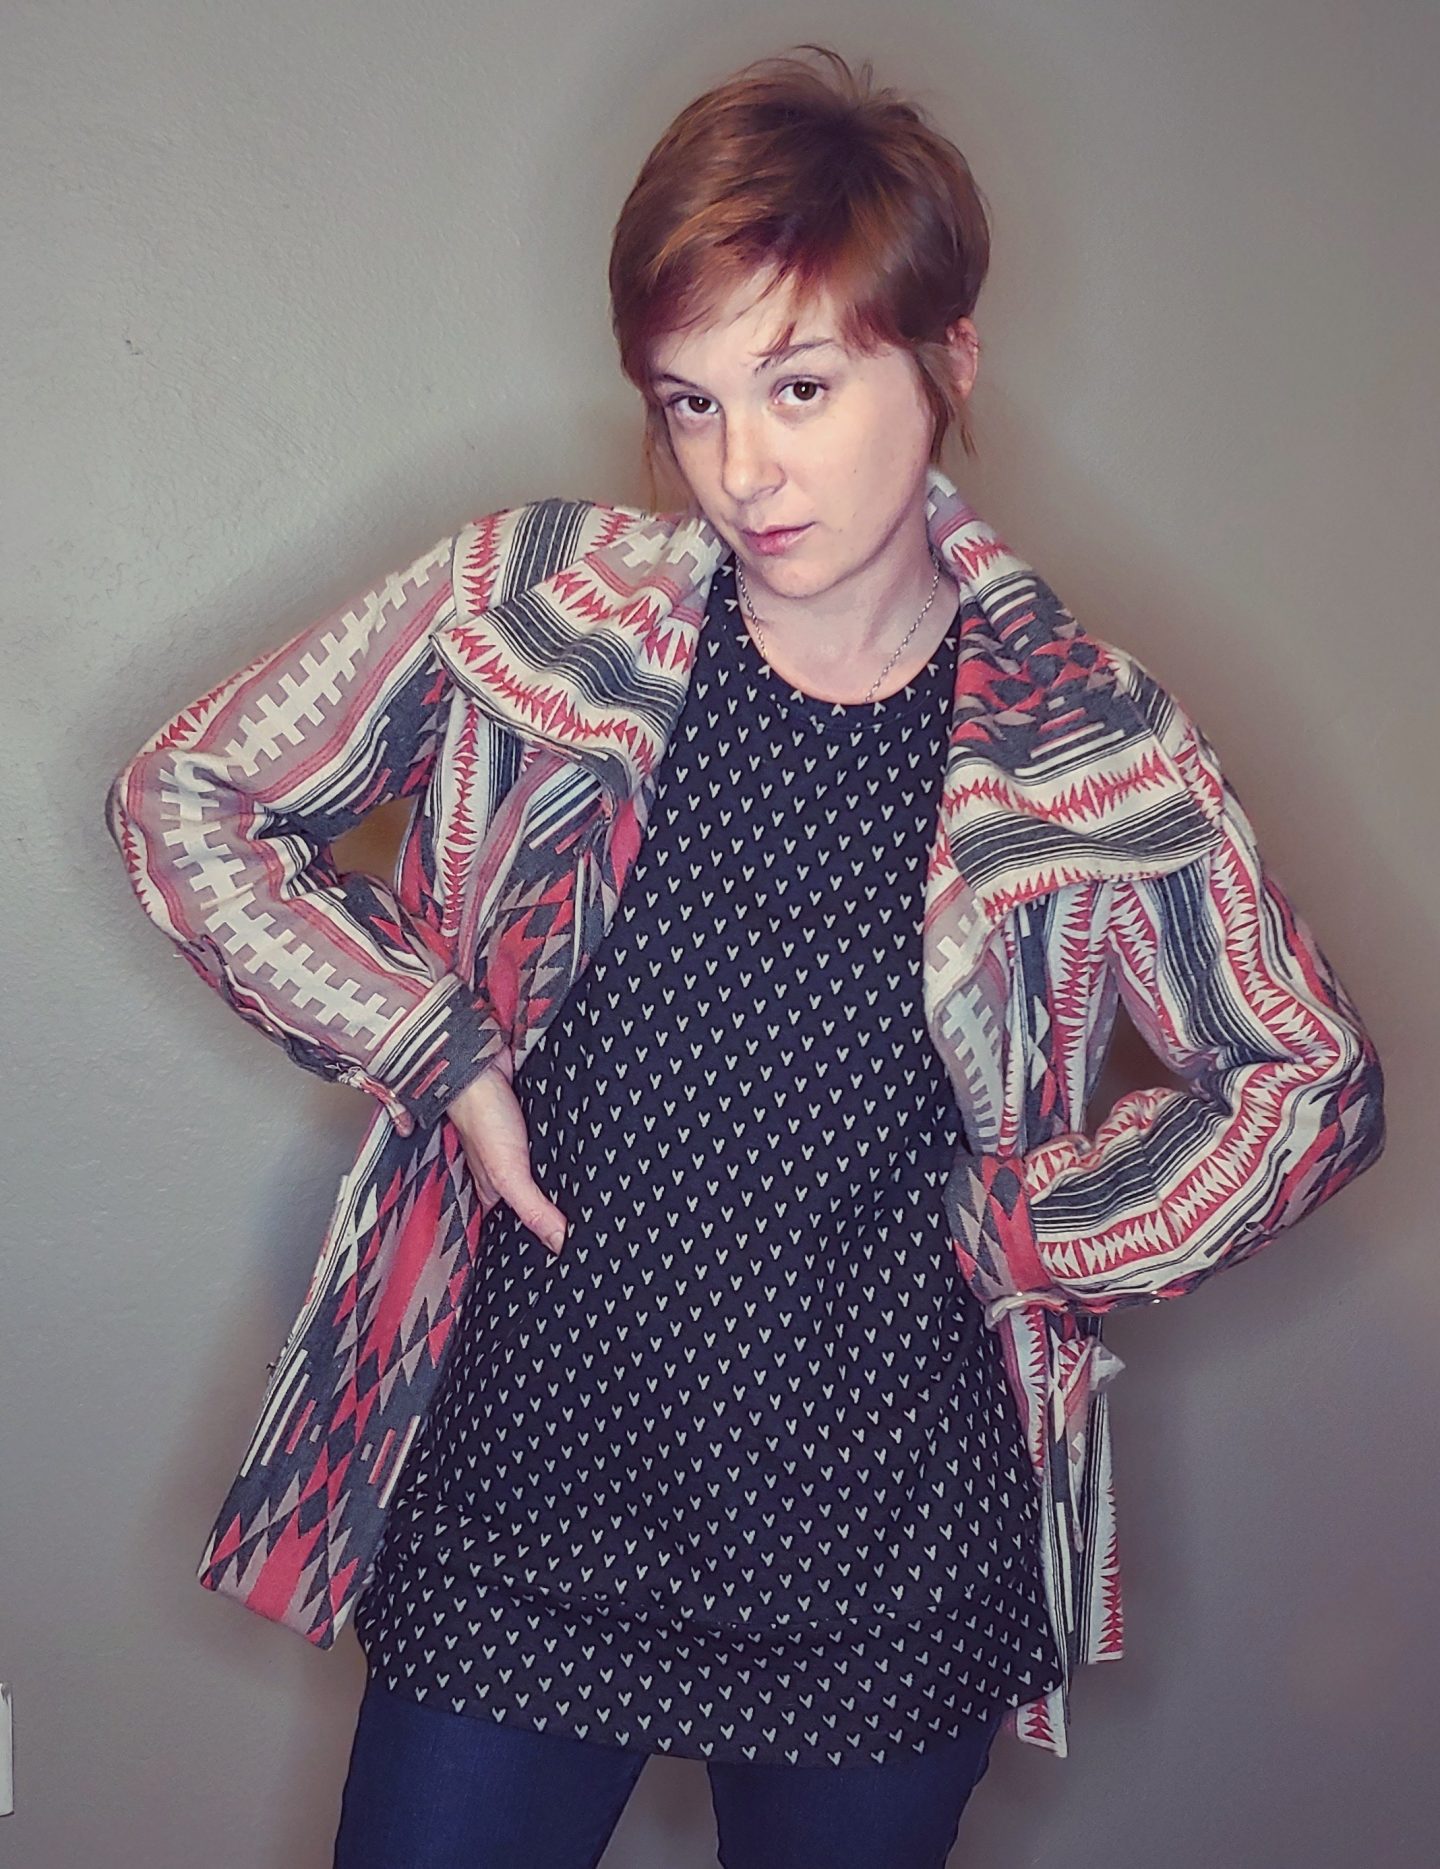
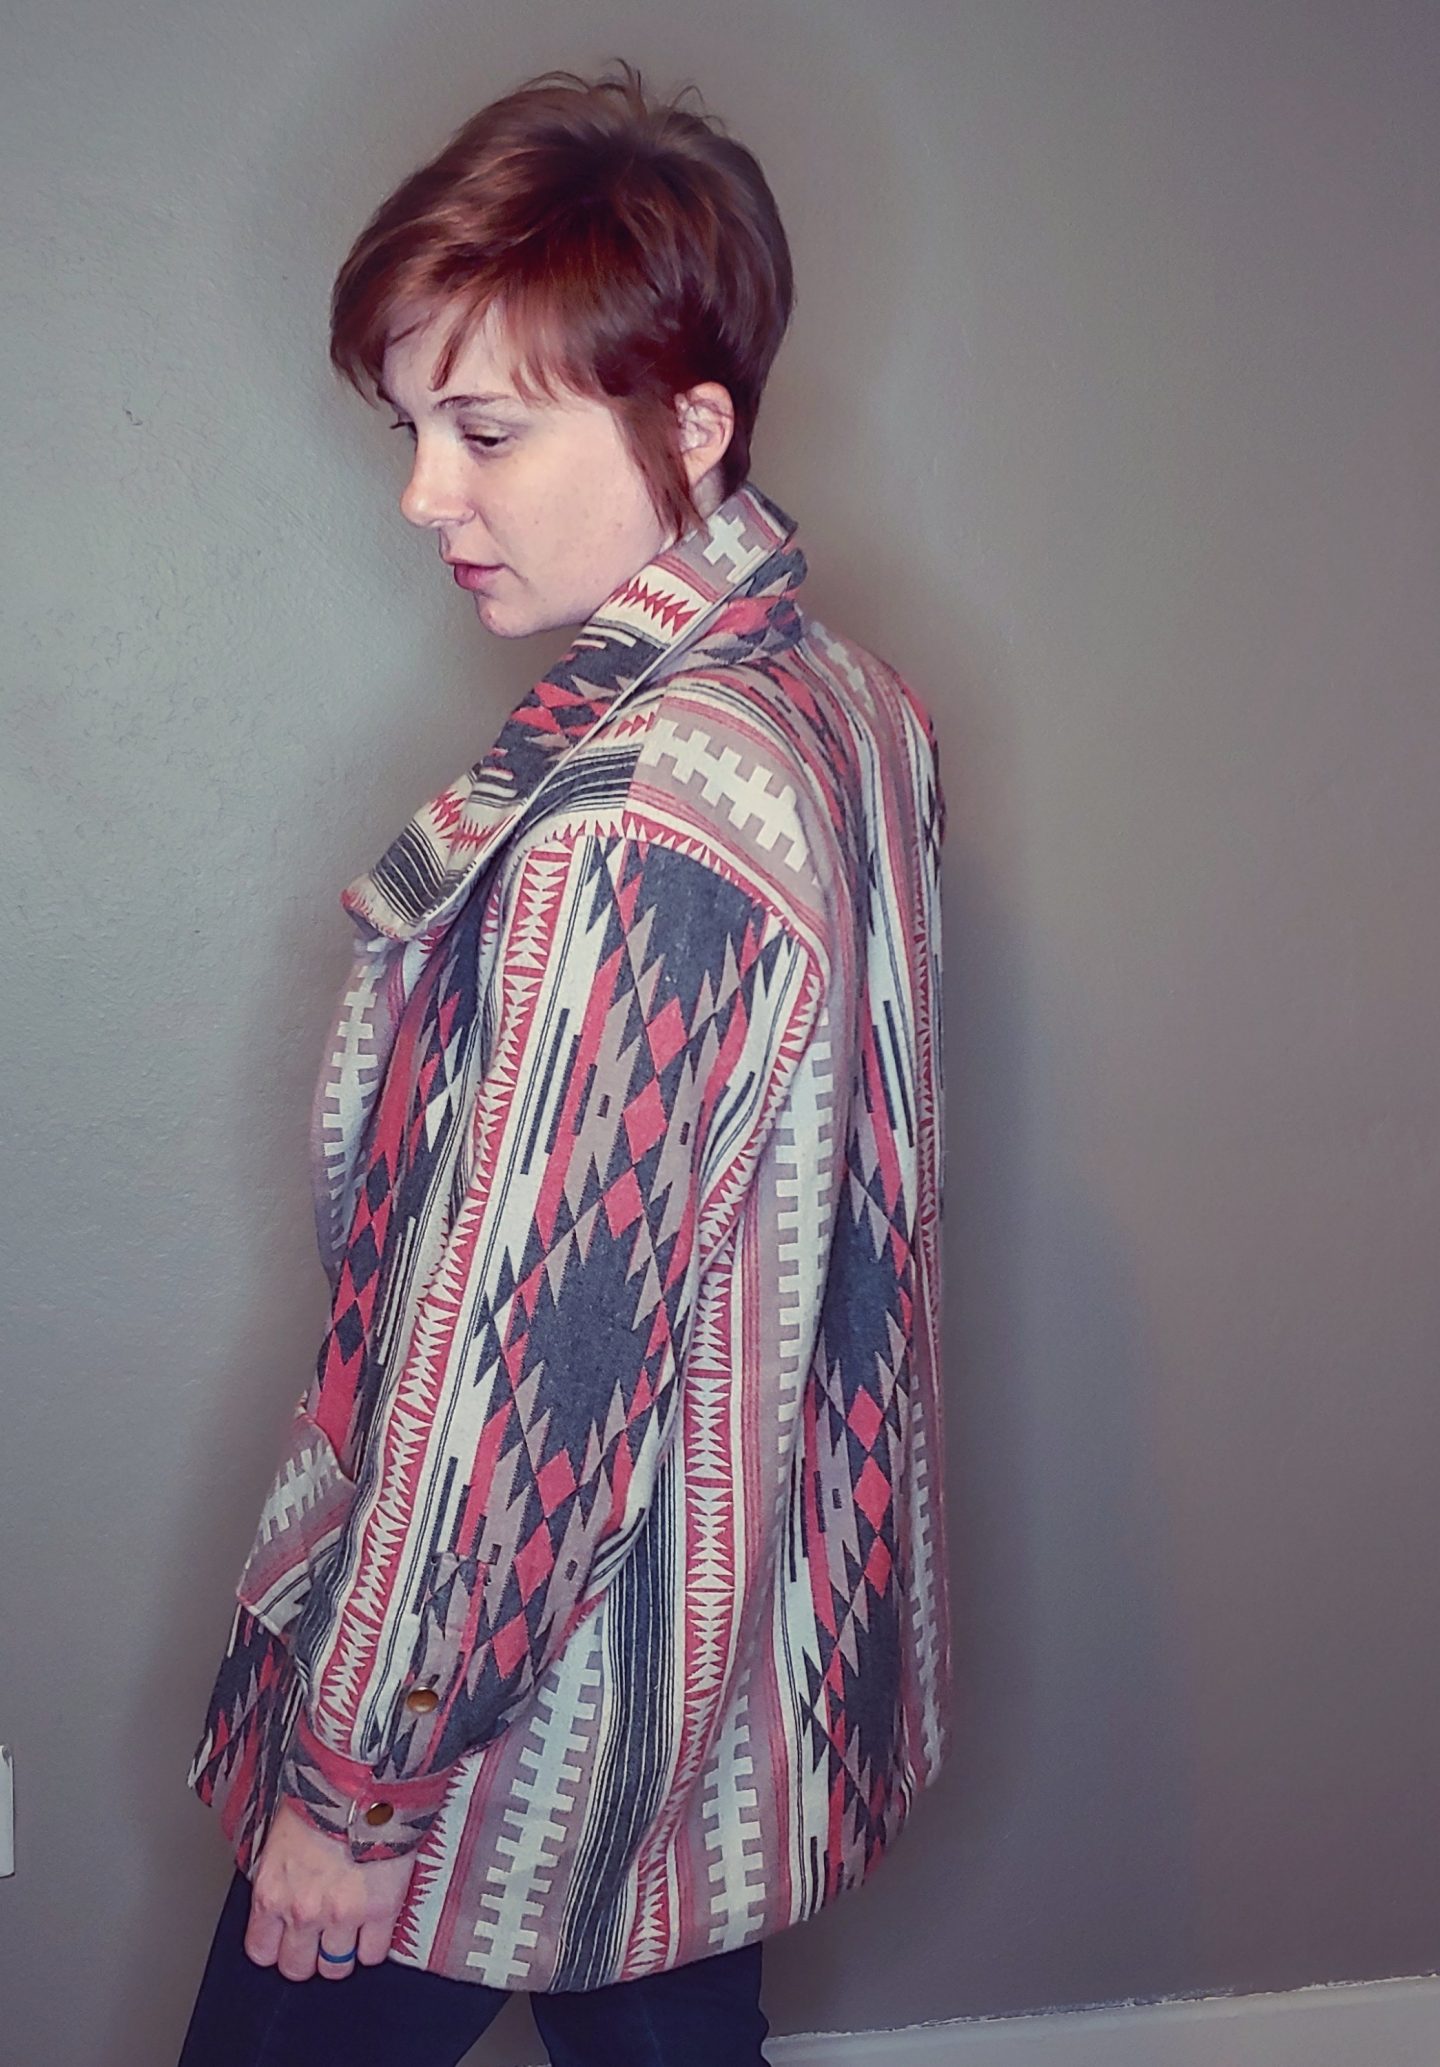
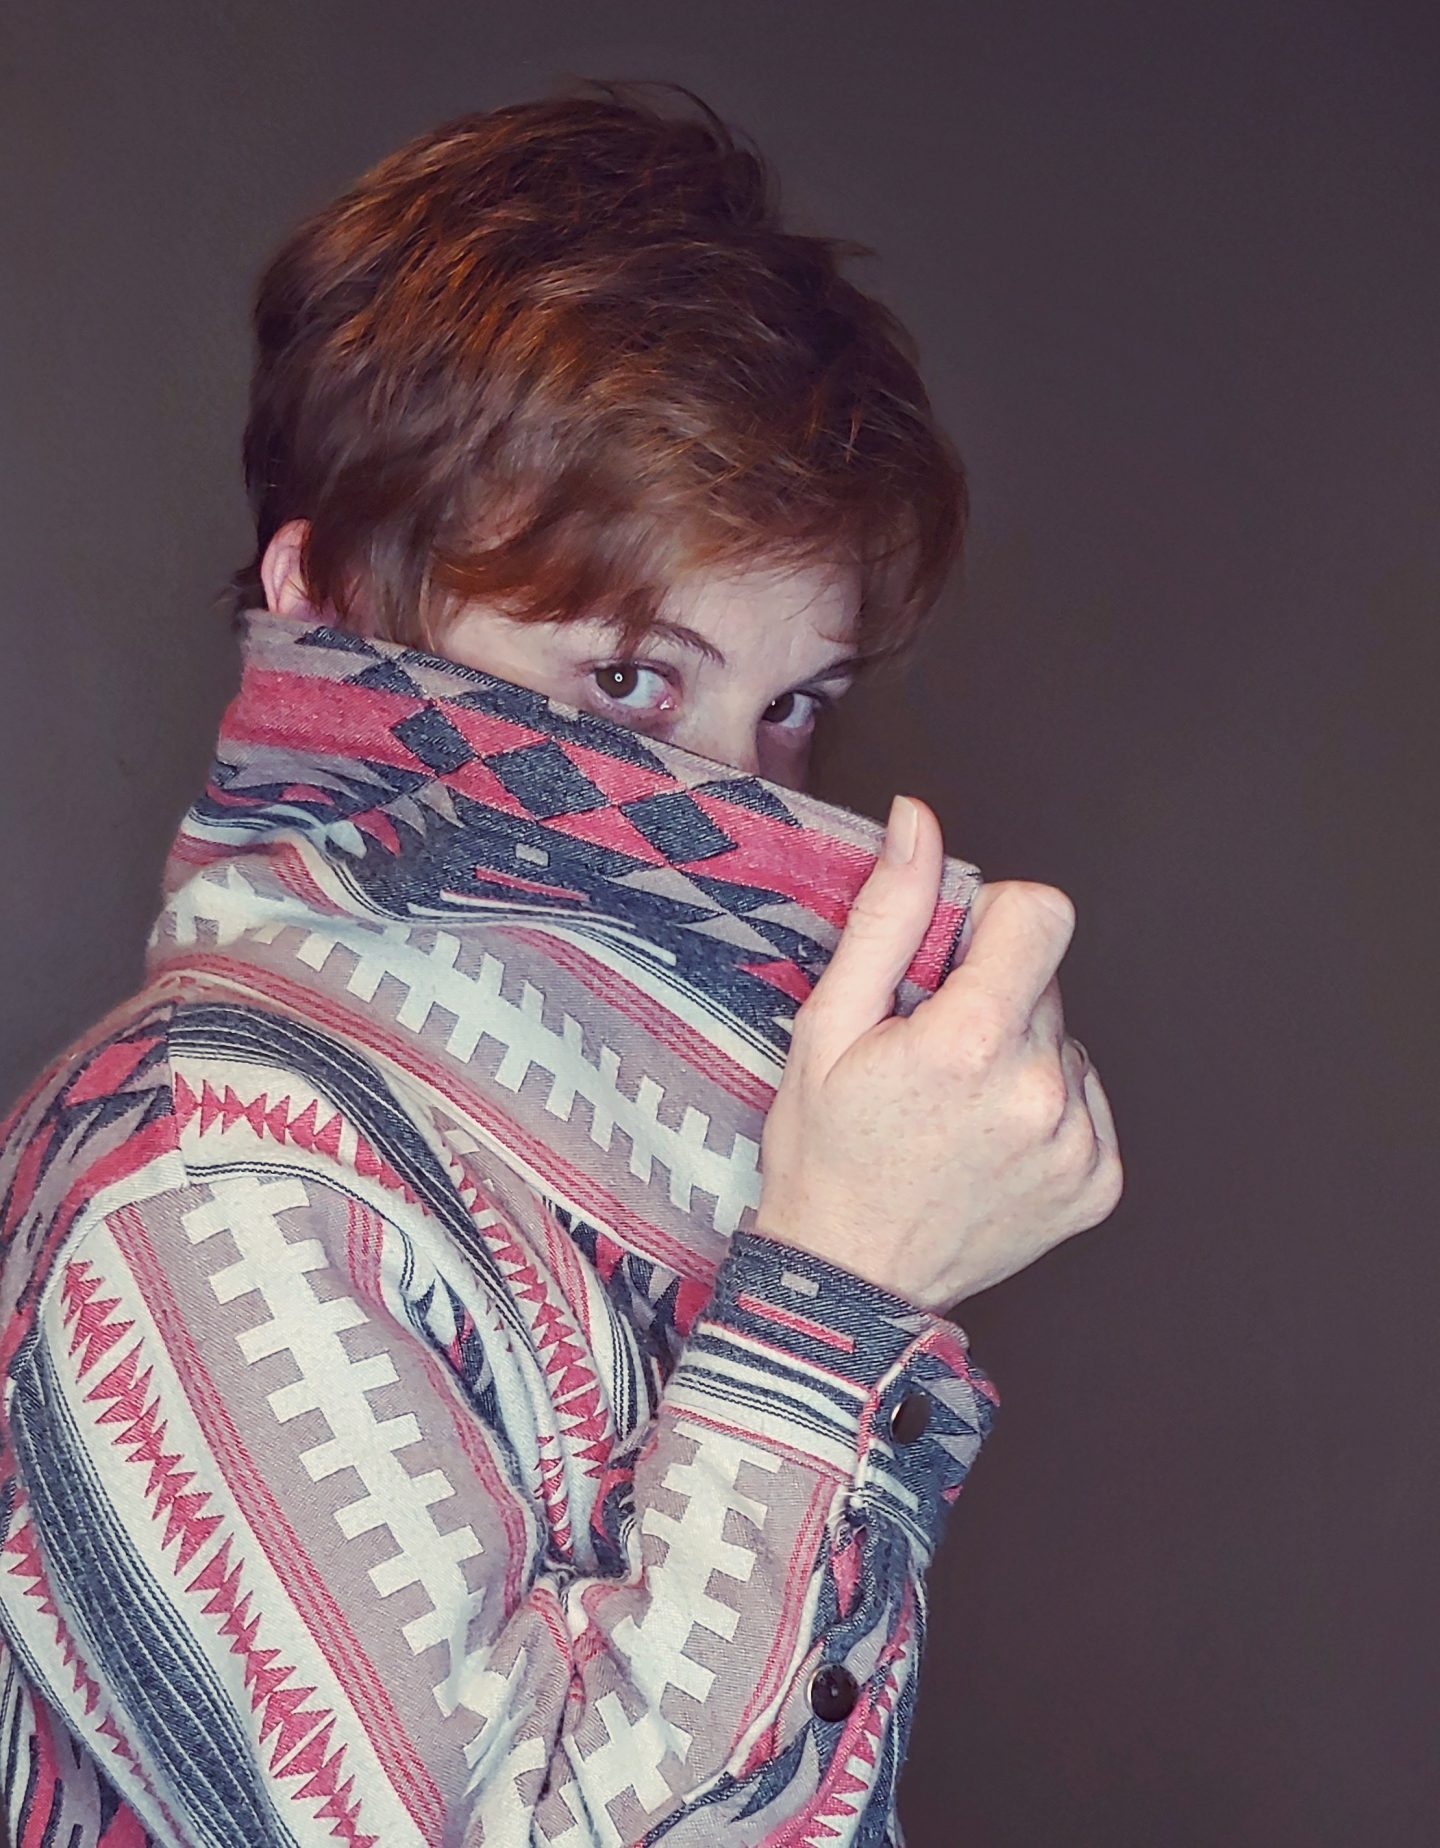
I really, really love this cardigan. It’s more like a jacket but I don’t mind. It’s warm and cozy. The big collar feels like I’m wearing a scarf. I love rolling up the sleeves when I want to work on something, too. After wearing it while, I decided it’s to be called The Captain’s Cardigan.
Thanks for reading <3