
Confession: I’ve never made a proper Melilot shirt.
I always change the rounded collar and cuffs to square ones; I forgo the hidden placket, ignore the pocket, and sew the bottom hem out of order.
But I must have been feeling mighty proper recently, because I finally made one as Eleanor intended!
Never having made a hidden placket before, I was perplexed on how it would work, but it wasn’t as complicated as I expected. I ended up with 2 rows of stitching next to the placket, which I hope is correct!
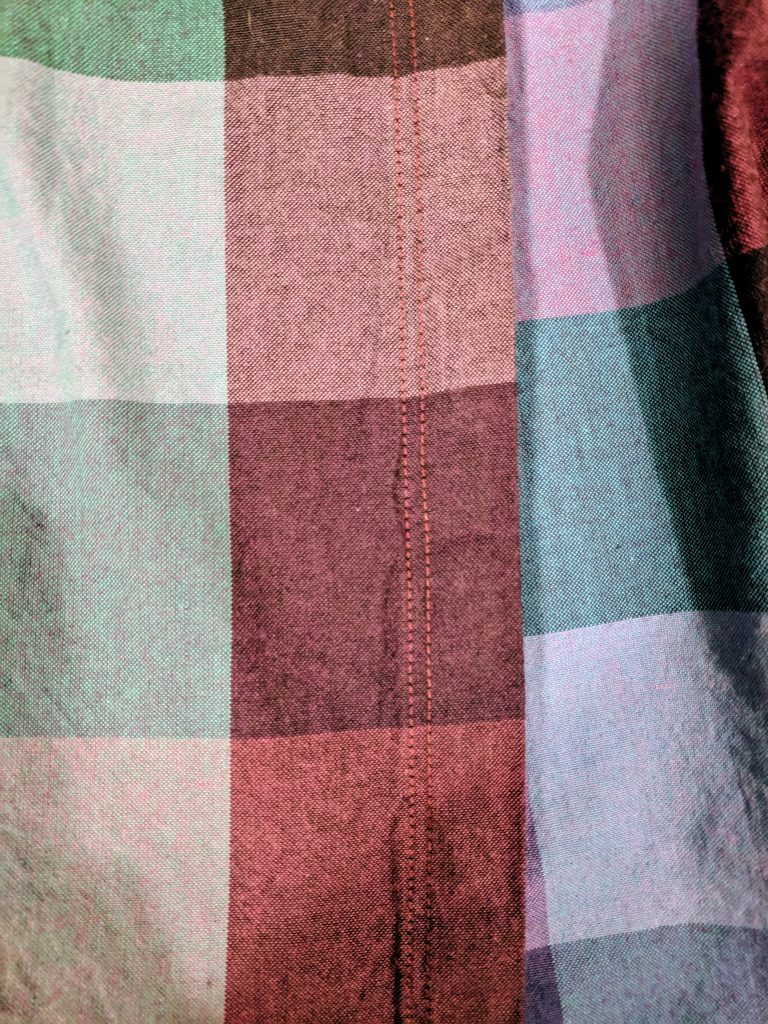
I love the hidden placket! It gave my buttonhole foot a crisis though. The foot kept getting stuck, which makes it think the button hole is finished when its not.
So I manually made the buttonholes with my machine, using a narrow zig-zag stitch for the sides and a straight stitch for the top and bottom.
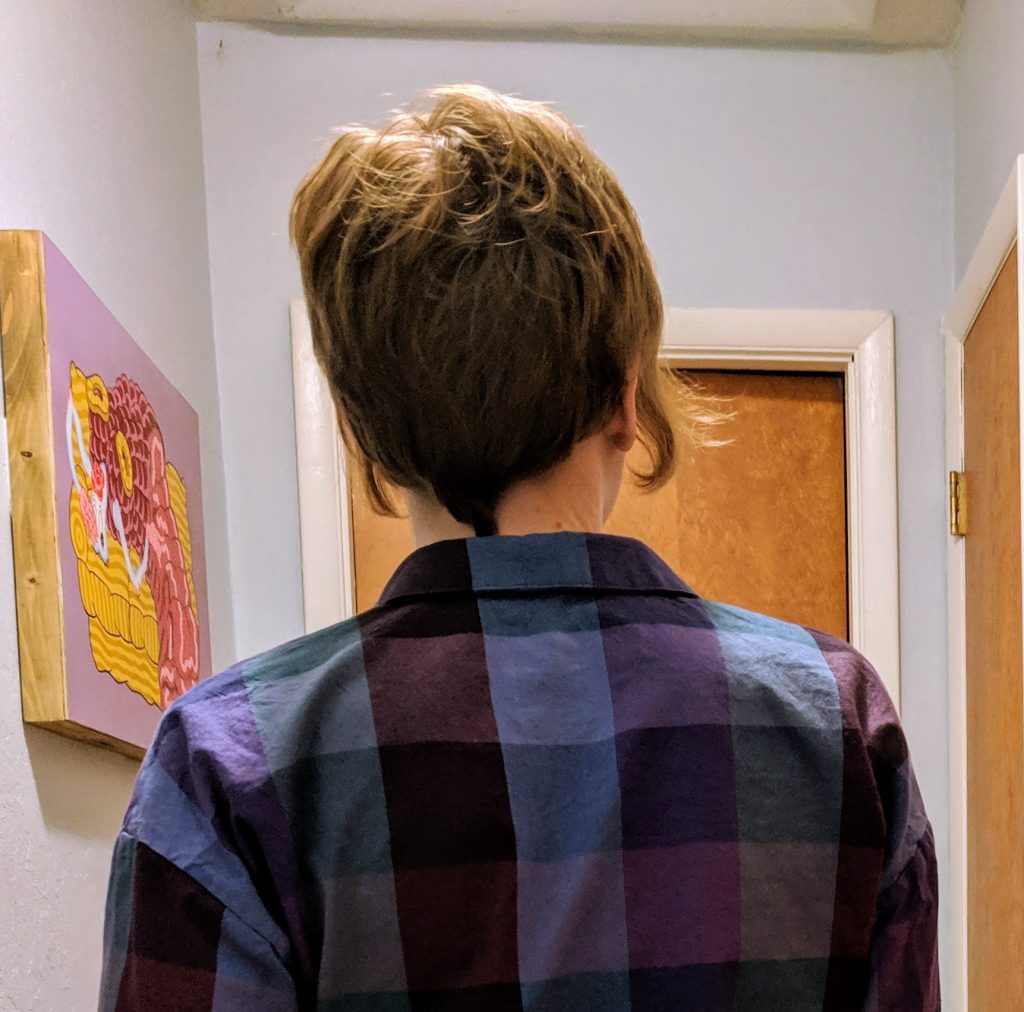
I tried extra hard to match the pattern across the center front, meticulously pinning my fabric together before I cut. Apparently, I made a perfect match of the collar and the back, which I didn’t realize until I was going through the photos!
The pocket is cut on the bias. It’s small but perfect for stowing notes during work! I’m happy I added it.
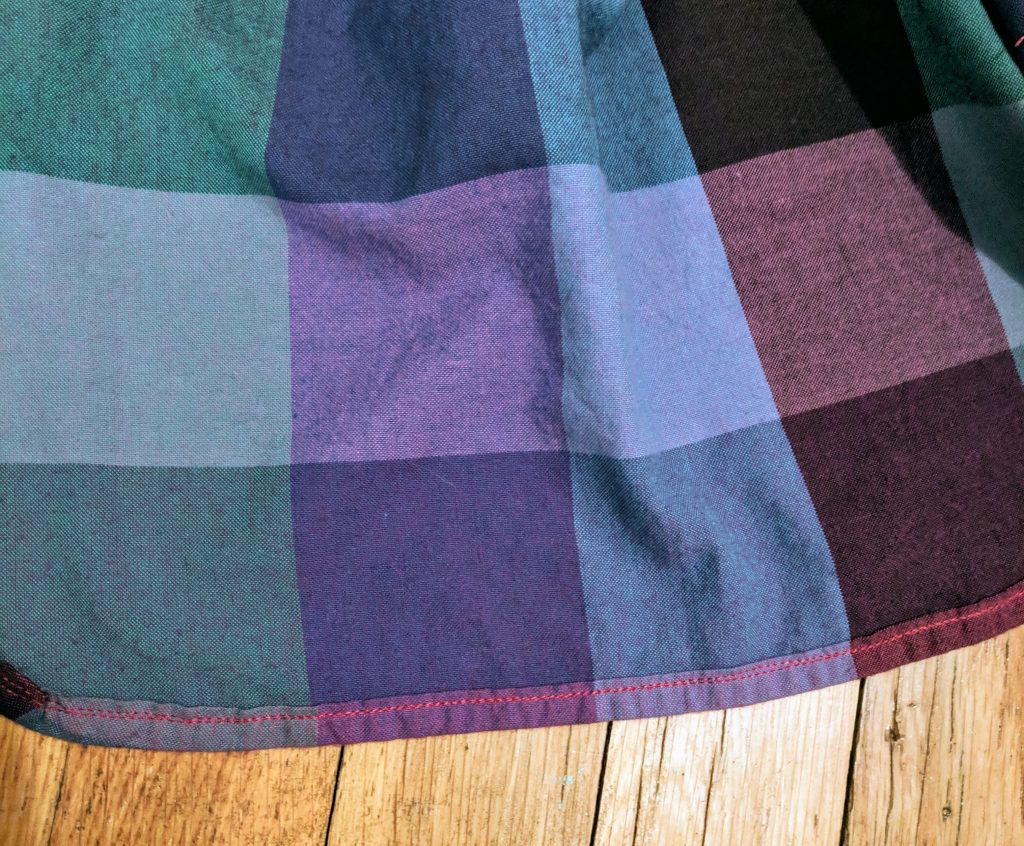
The hem on this shirt had always been a problem for me. I’ve folded it too wide before, which causes pointy folds in the hem, and I’ve cheated by using bias tape. This time, I kept the fold tiny and did the extra row of stitching to ease the double fold. It turned out well but I actually prefer the bias tape method because it has a really clean look from the inside.
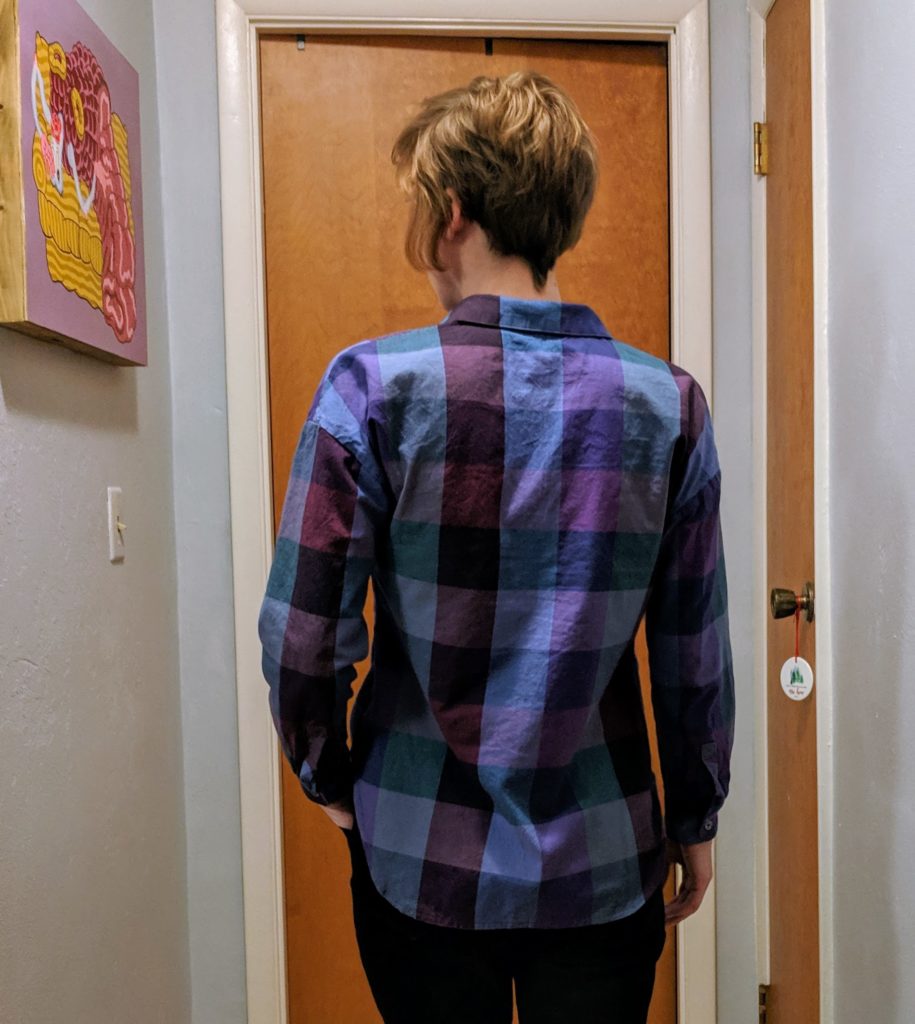
The Melilot is one of my favorite patterns and this fabric has all my favorite colors, so this shirt is a winner!


Thanks for reading <3