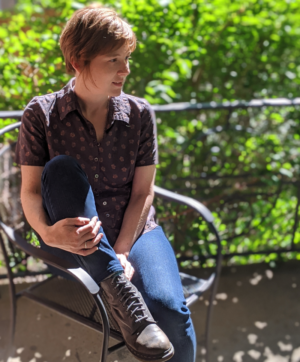
Drafting the coat of my dreams from scratch!
My old Winter coat was a Colette Lady Grey with lengthened sleeves and skirt. I love it but it’s getting worn. Plus, I’ve learned so much since I made it 2 years ago, it’s time to upgrade!
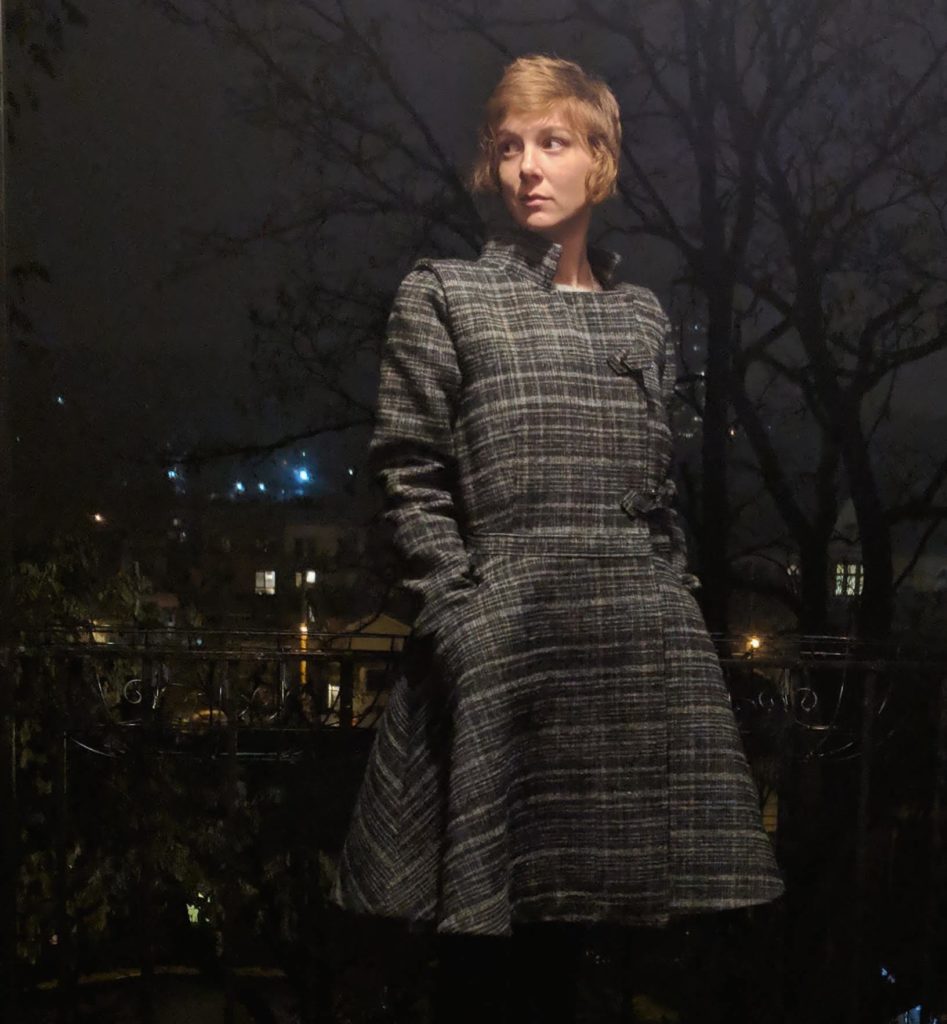
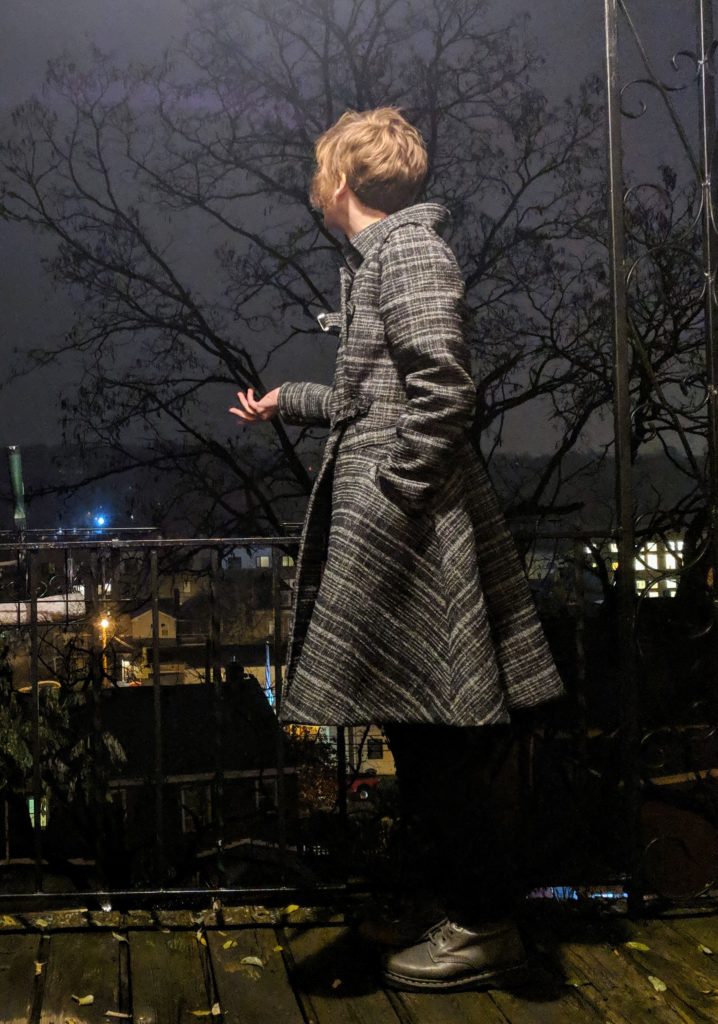
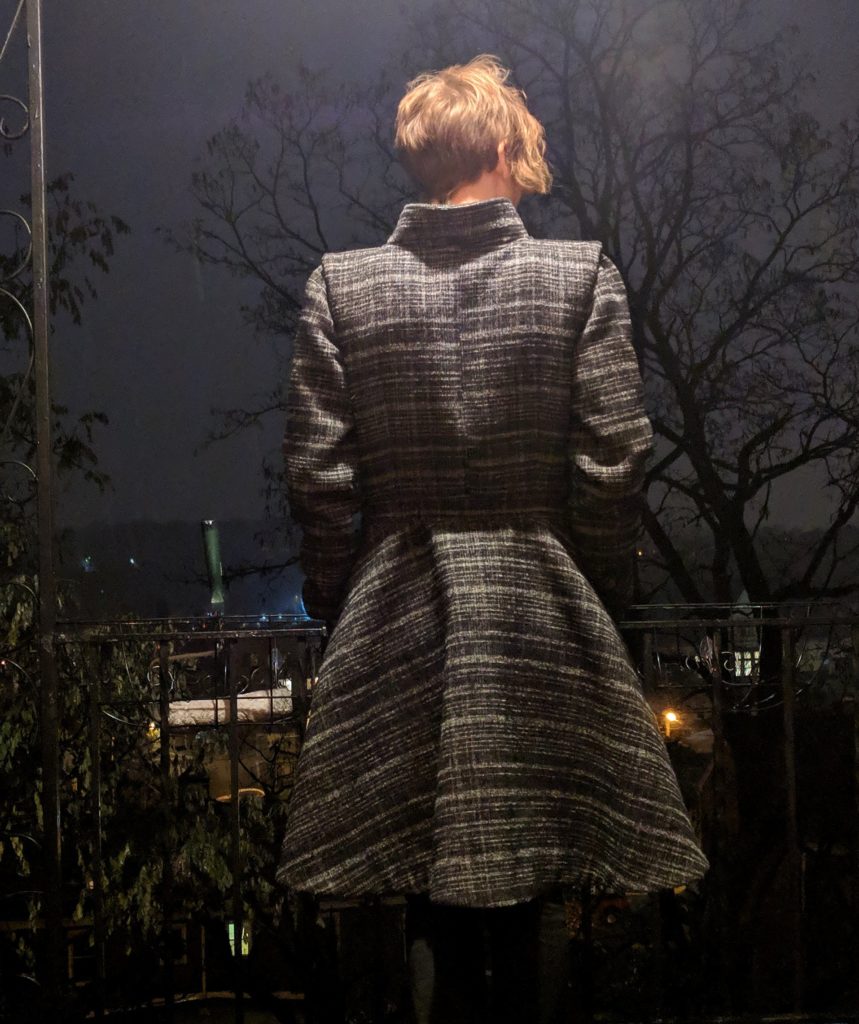
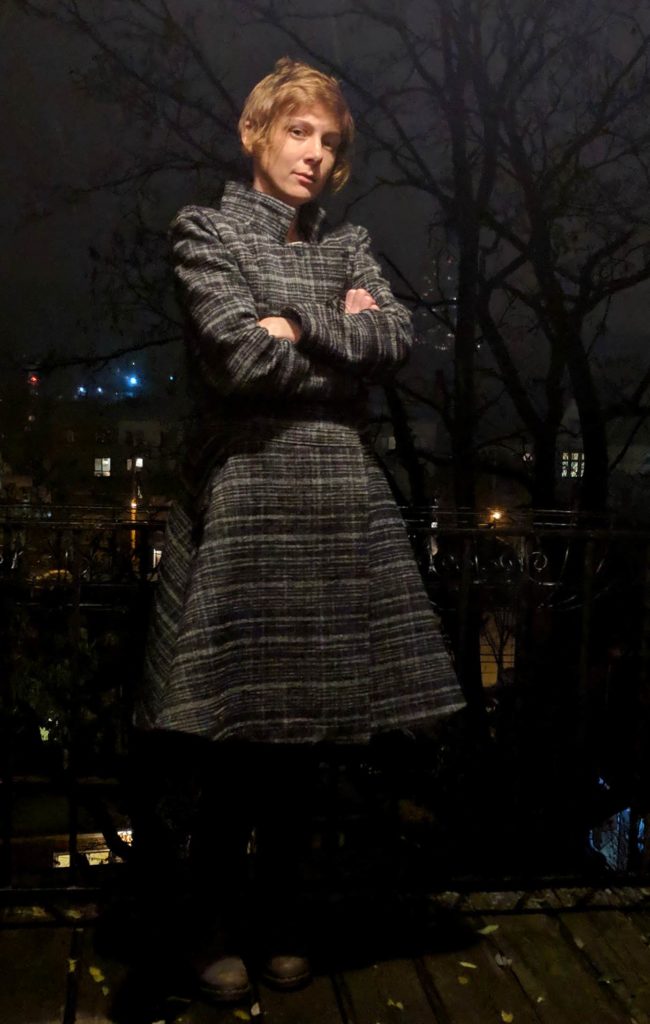
I had specific details in mind for this coat – at least knee length, a collar to block the wind, a double-breasted front, a semi-fitted bodice, and special hard-to-describe shoulders.
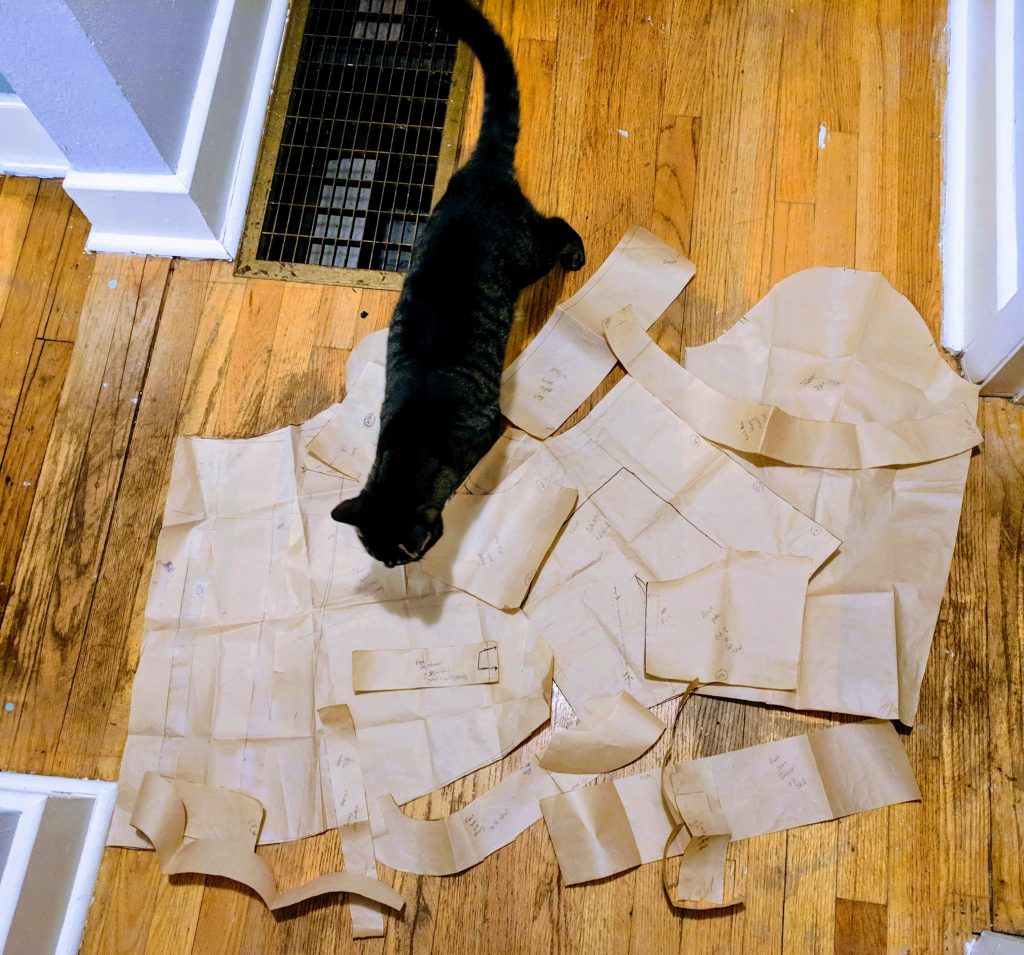
Using my basic bodice sloper, I added ease by reducing the waist darts, extending the shoulder seam, and widening the sleeve. Then I extended the center front, and drafted a waist band and 1/4 circle skirt to fit the new bodice.
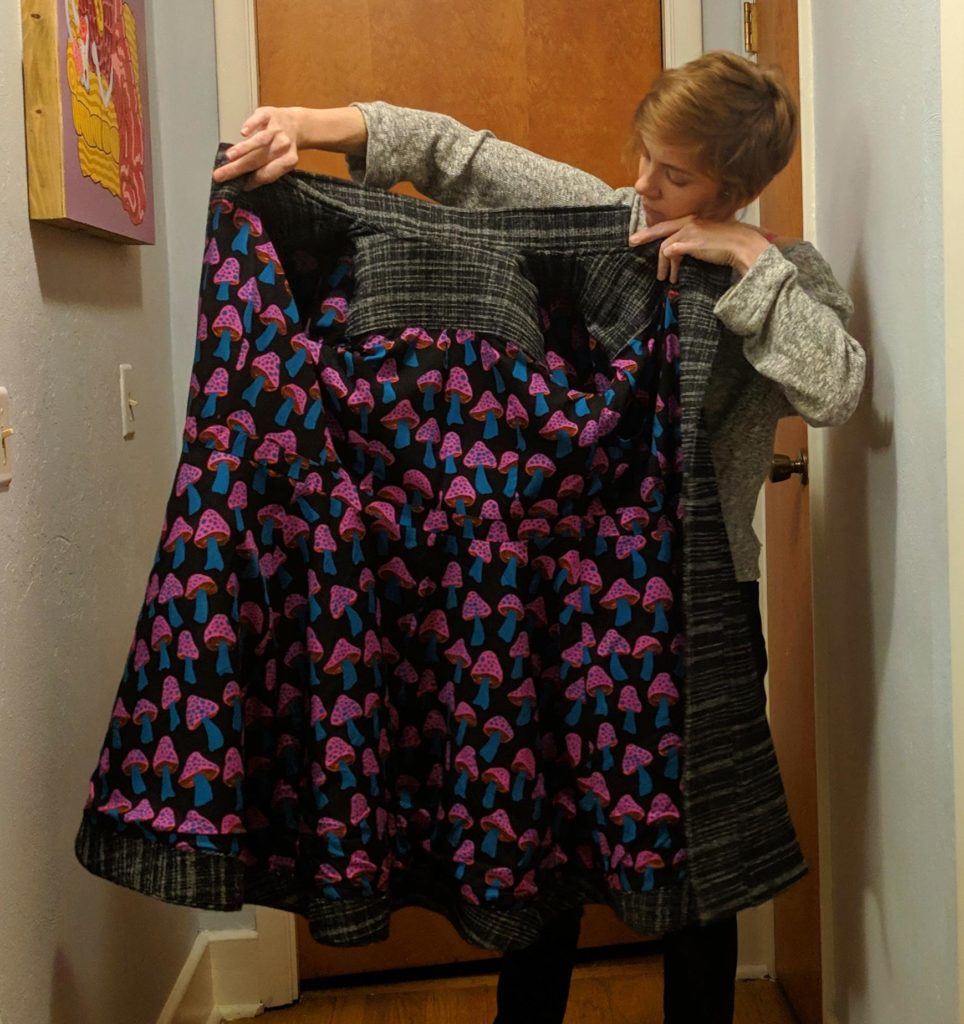
There were SO MANY pieces to draft, especially facings. The lining has front and back yokes with bodice and skirt facings. The shell has facings for the sleeve, armscye, skirt and hem.
I put 2 welt pockets on the front shell and a hidden inner one in the lining.

There was about 15 hours of hand stitching involved. I hand tacked the armscye facings, the sleeve end (to reduce bulk) and the hem facing.
I also used a hand overlock stitch to finish the raw armscye of the sleeve and connected the sleeve to the shell with a whip stitch.
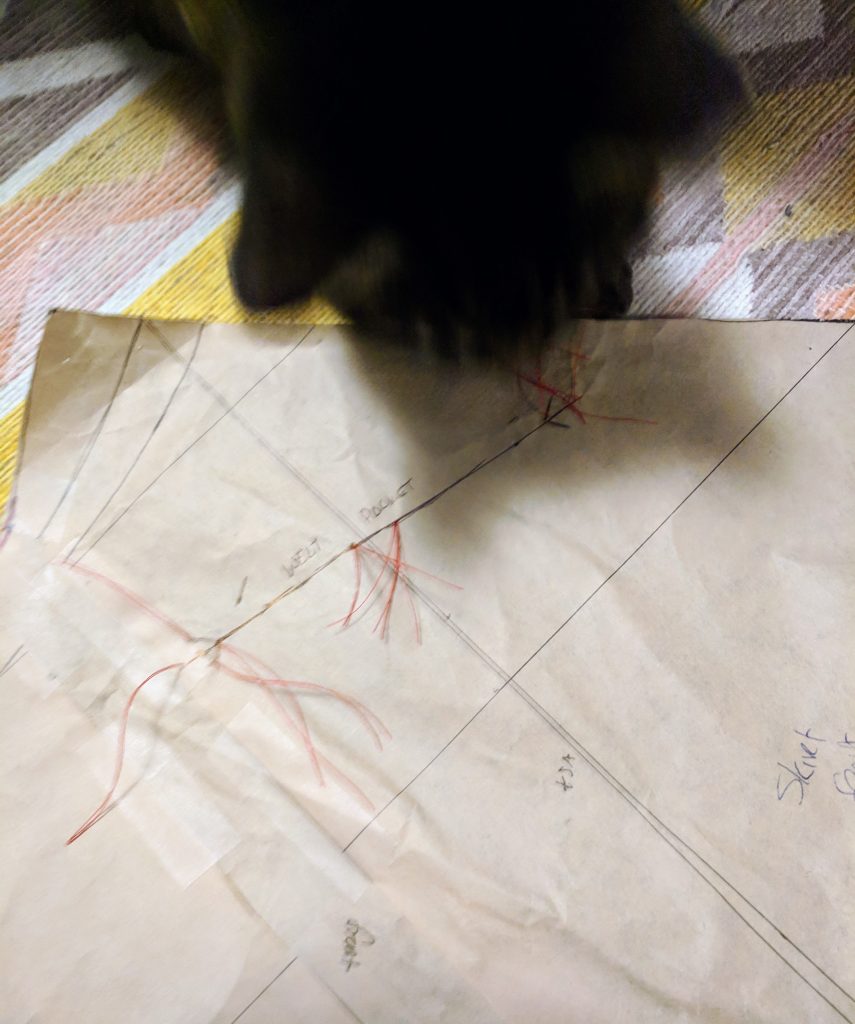
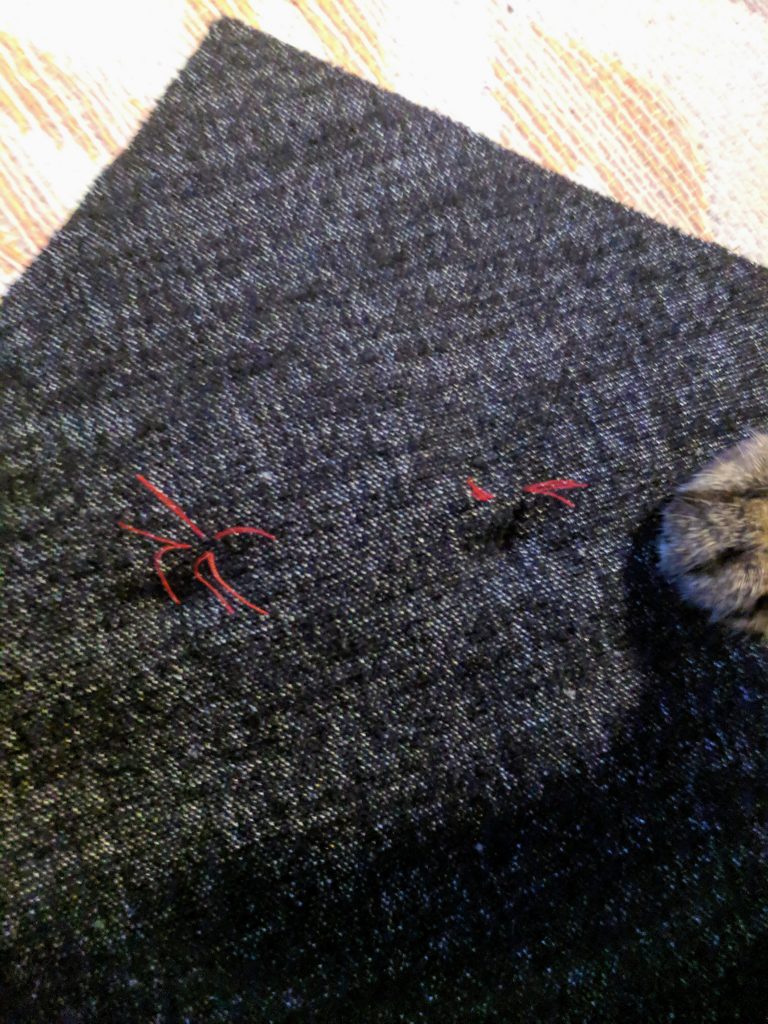
The heavy wool I used for the shell did not take to being marked by tailor’s chalk – so I used tailor’s tacks to mark my darts and welt pockets.
The sleeve and how it connects to the shell is the most confusing part of the construction. I made the whole sleeve – lining and shell both connected, totally finished – and attached that to the lining. For the shell, I used an armscye facing, which consists of shell fabric around the upper 2/3 of the armscye and a black muslin near the armpit.
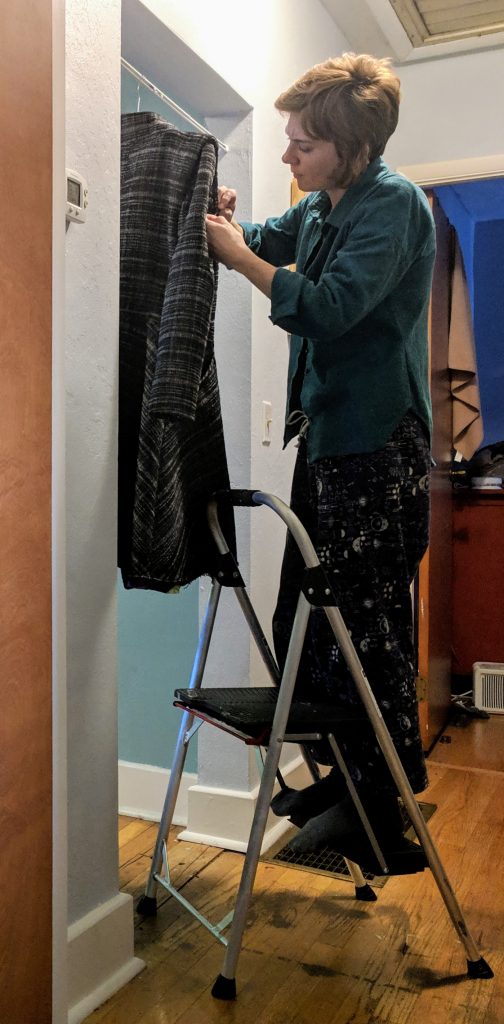
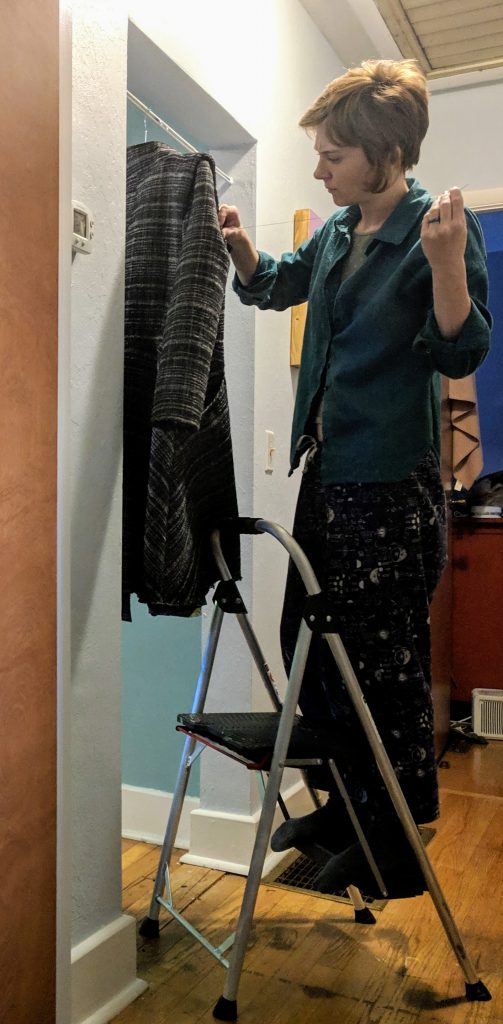
Then, once the lining and shell were sewn together around the neckline, I attached the sleeve to the shell by hand. To do this, I hung the coat and worked on it standing on a step ladder. I had to put it up high to keep the cat from attacking the raw hem. She was obsessed with this project, even more than usual. Every time I pulled the coat out to work on it, she would get really excited and come over to ‘help’. The problem is, she gets very possessive and insistent, forcing me to shoo her away, often resulting in a bite or a swat for me.
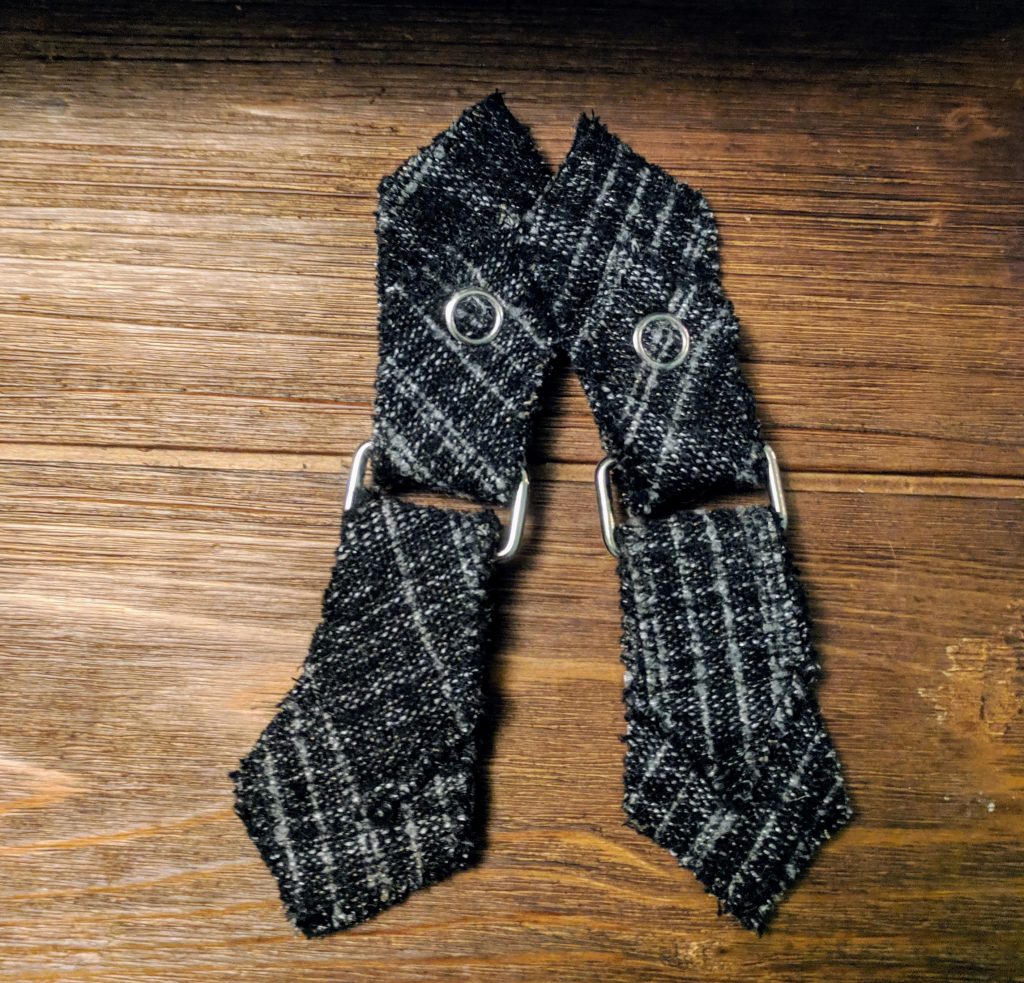
I made clasps from the shell fabric, zig-zag stitching the edges for a faux overlock finish. I used some purse hardware and snaps to make them functional.
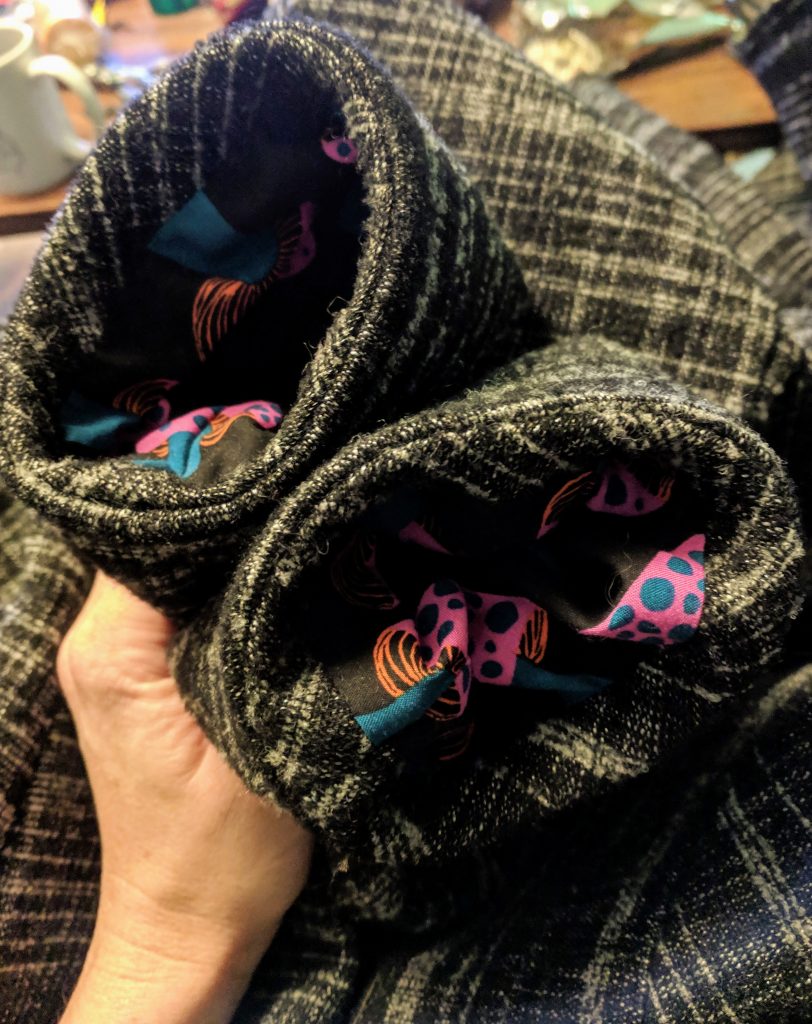
The shell fabric is a heavy wool coating from Mood, so heavy that the skirt needed a healthy steaming to hang properly. The lining is a smooth rayon from my local boutique.
The finished coat is rather heavy, weighing in at 5 pounds! It’s warm, cozy, and keeps the wind out well.

This coat took about 3 weeks and 40ish hours to design and sew. I’m really proud of it – I feel as if its my first real ‘design’. My fingers took many jabs, paying a blood price for the couture aspects, but it was totally worth it.
Thanks for reading<3