DIY Forest Shawl

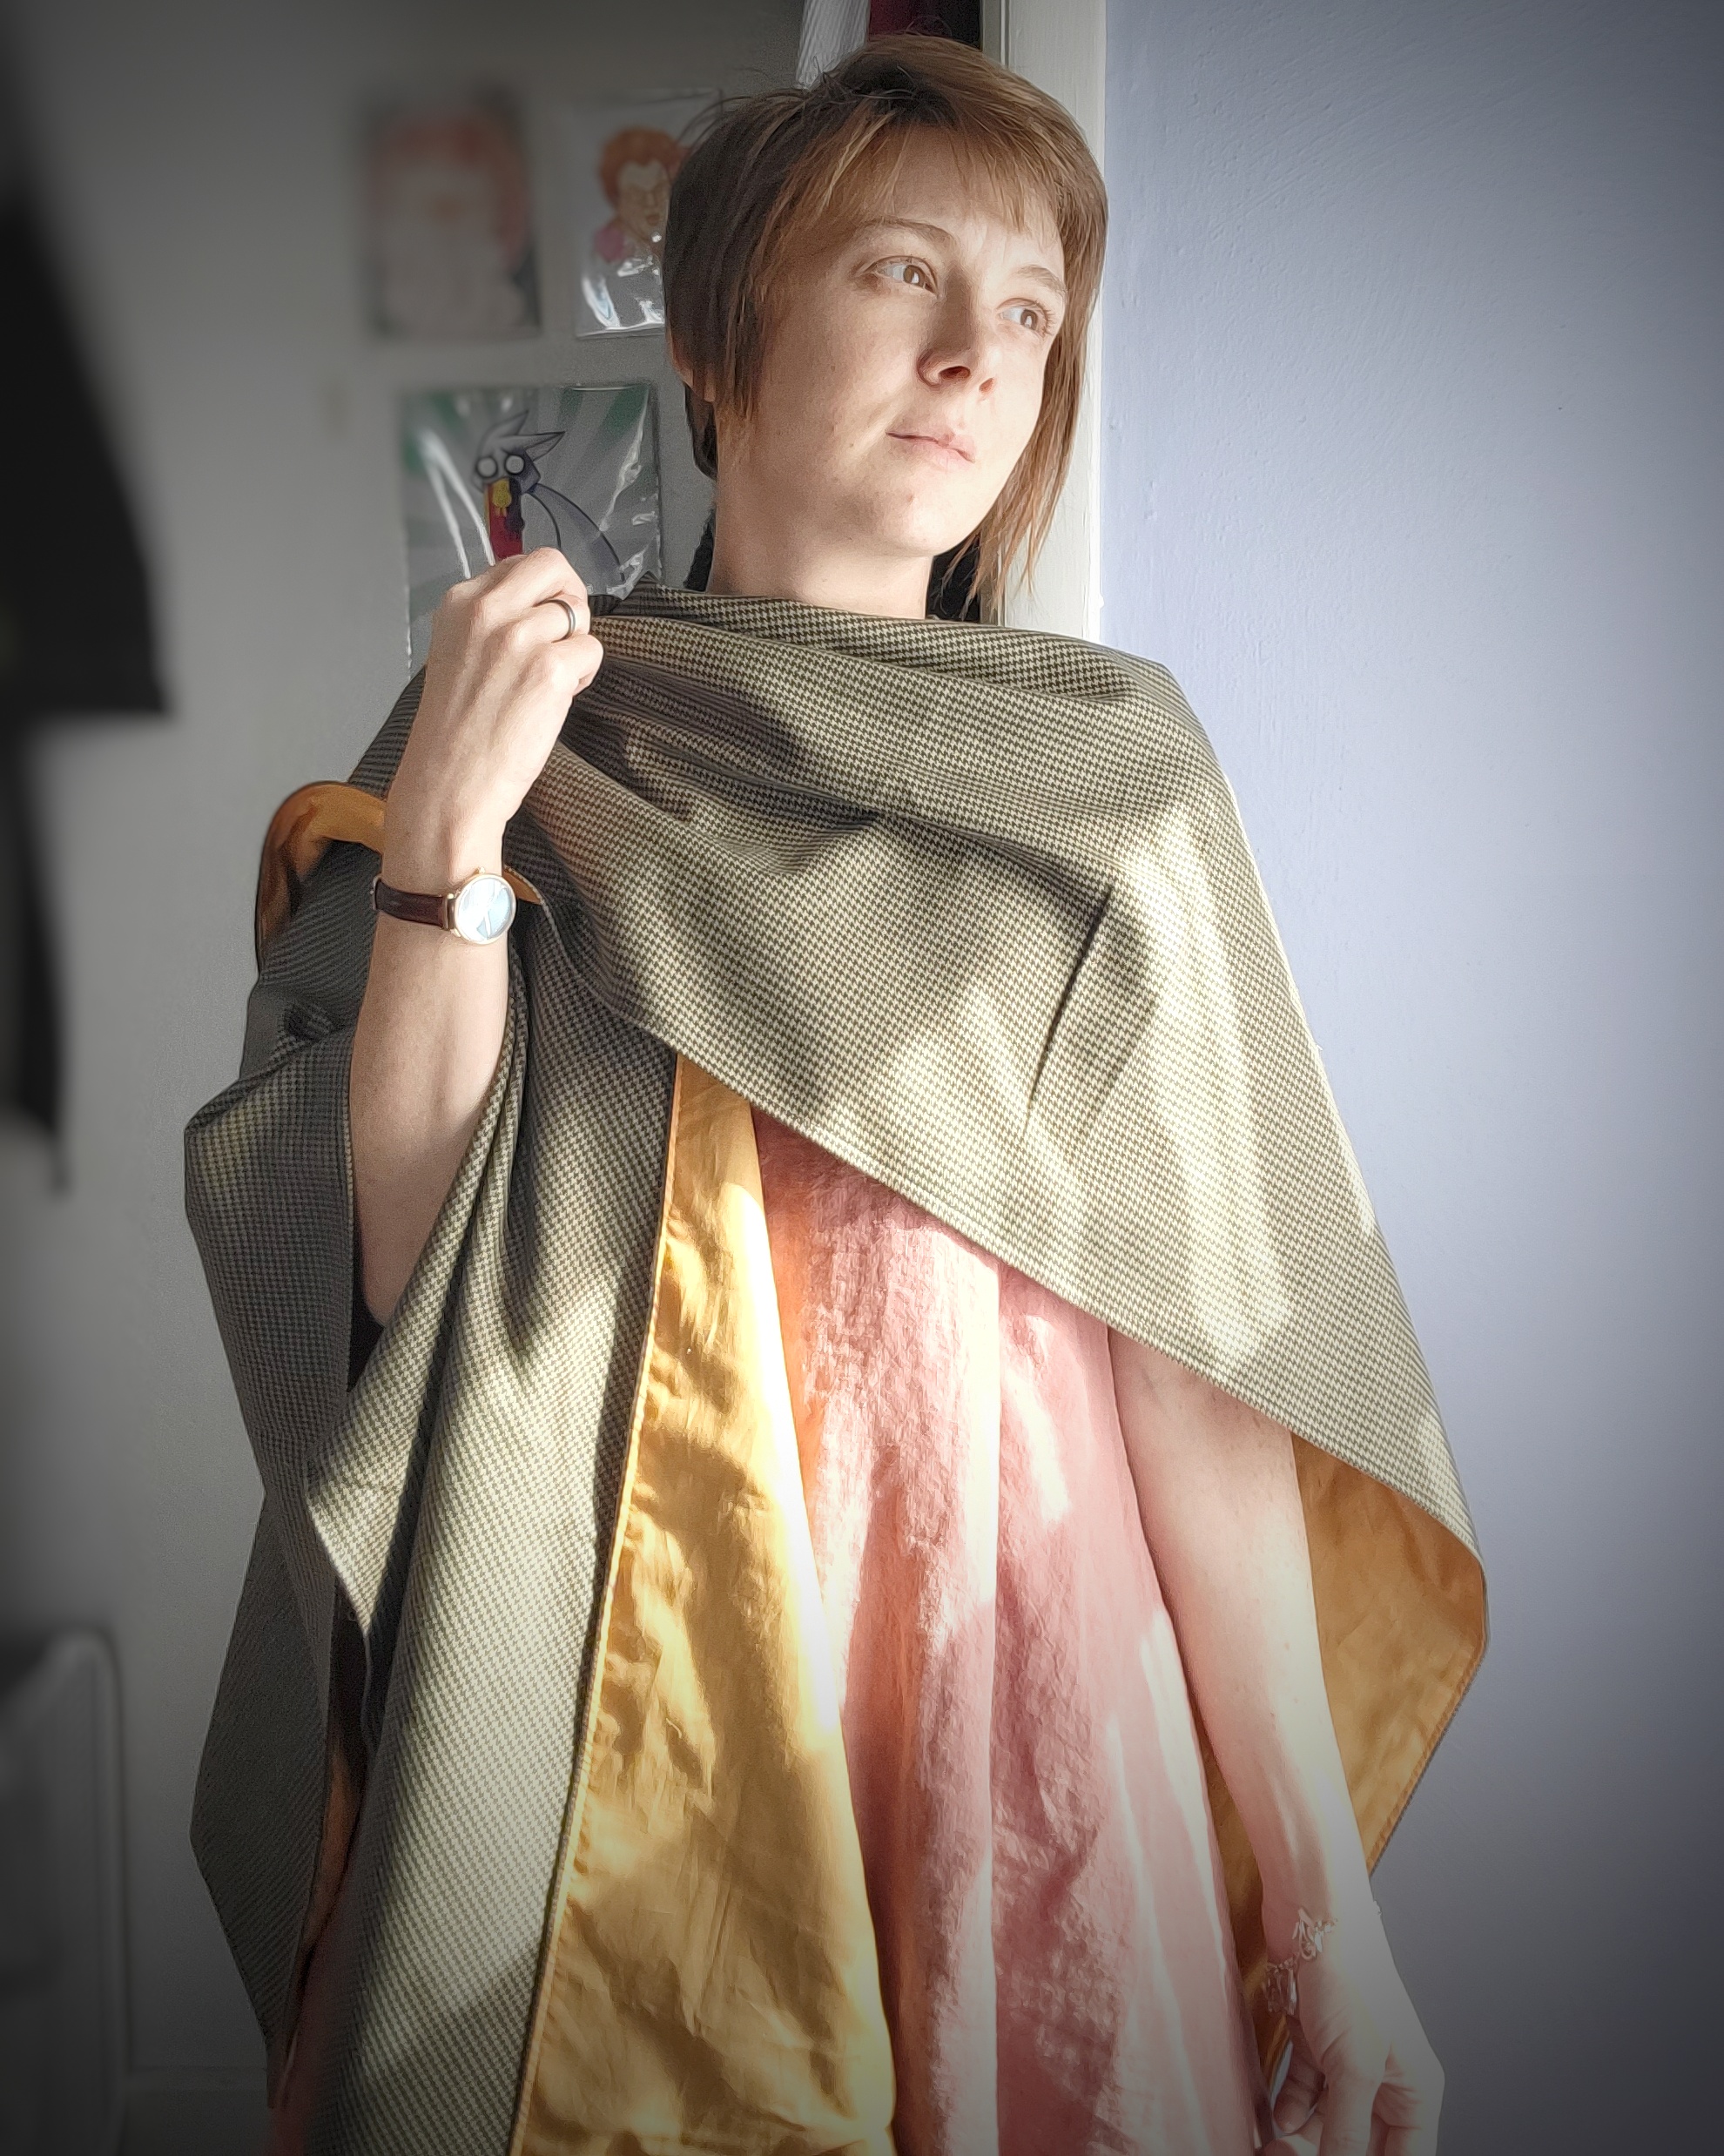
Shawls are a fun and cozy accessory. They’re simple to make, but they feel really magical when you drape them over your shoulder.
You can use any material to make a shawl, from sweater knits to silk chiffon. Try a lined flannel shawl for winter (you can wear it over your coat for extra warmth!) or sheer linen for summer layers.
This tutorial will cover making this shawl from scratch. It can be lined or a single layer of fabric. I’ll include tips and instructions for both!
Supplies
Special Supplies: ruler, chalk
Fabric: I recommend 1.5 yards of fabric. The yardage determines the length of the shawl.
Cut the Neckline
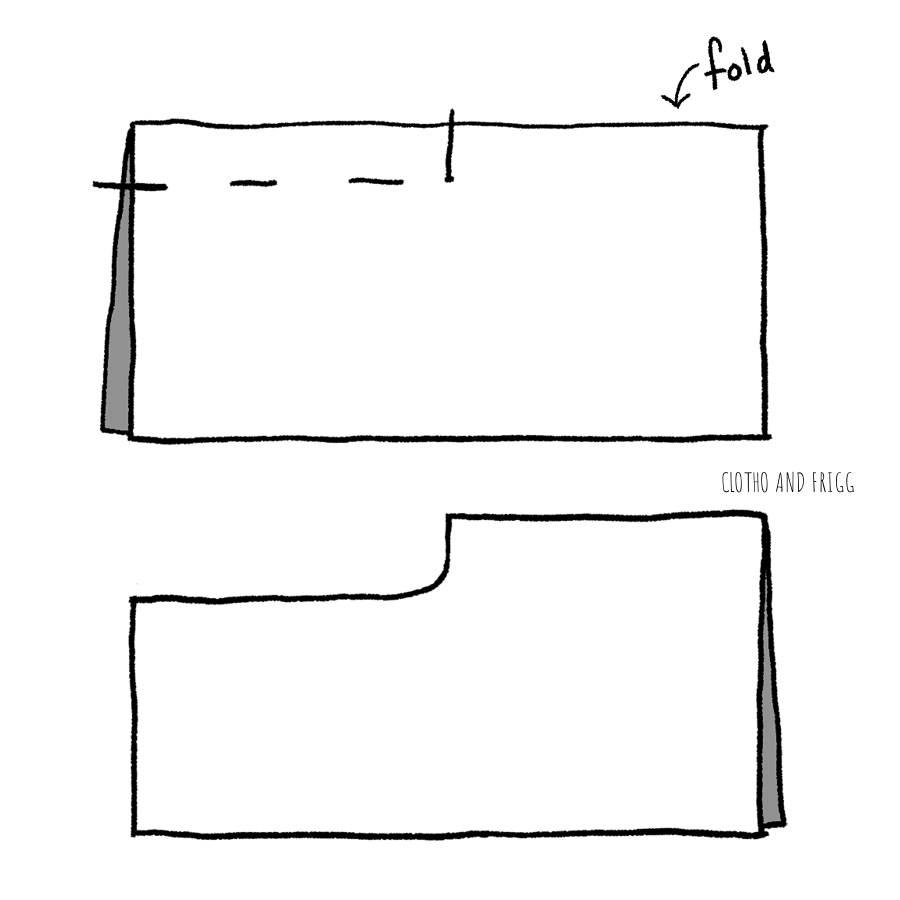
- Fold the fabric lengthwise.
- Measure and mark a point half-way down the length along the fold.
- From this point, measure 2-3″ in and mark. Repeat for the raw edge of the fabric.
- Connect the points using a ruler and chalk.
- At the inner corner of your markings, draw a curve.
- Cut along the line. Make sure the cut is straight at the fold.

Sewing a Lining

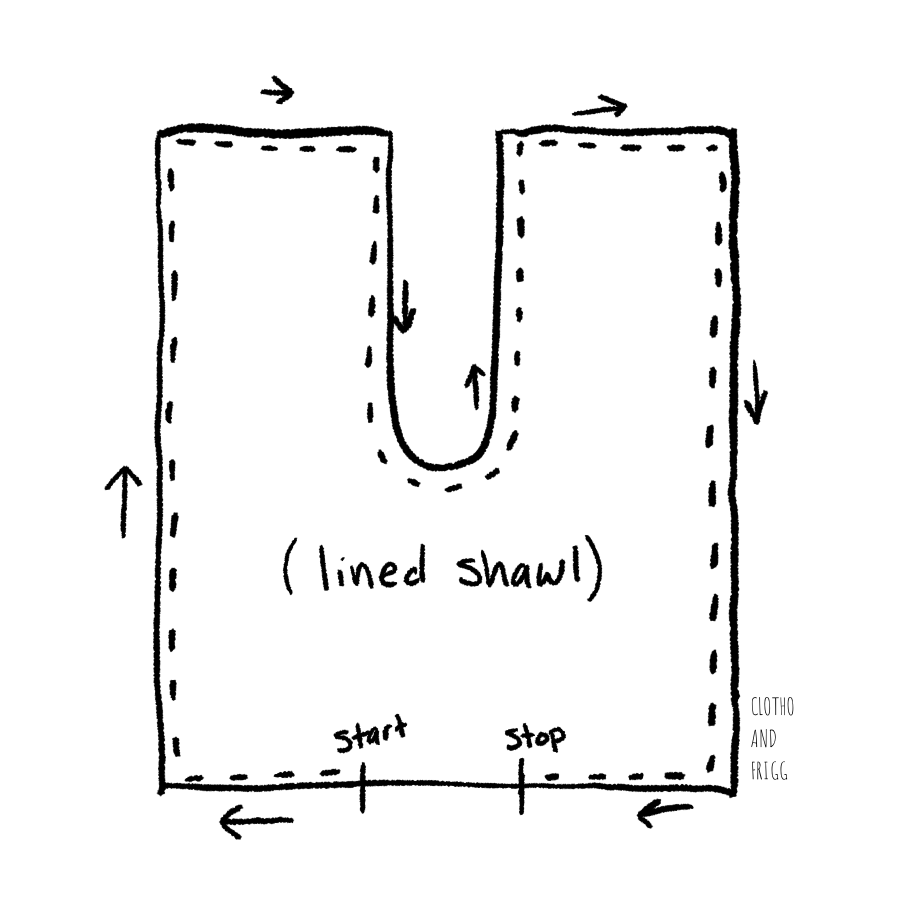
- With Right sides together, align the main fabrics and the lining. Pin around the edges.
- Using a 1/2″ seam allowance, sew around the entire shawl, leaving a small gap for turning.
- Clip the corners and clip at a few points around the neckline.
- Turn and press carefully.
- Using a 3.5″mm stitch, sew around the entire shawl again at 1/8″. This will also sew the gap closed.
Other Finishing Options
If you’re using a single layer of fabric, there are several options to finish the raw edge:
- small double-fold hem (use mitered corners for a gorgeous finish)
- pinking shears and a zig-zag stitch
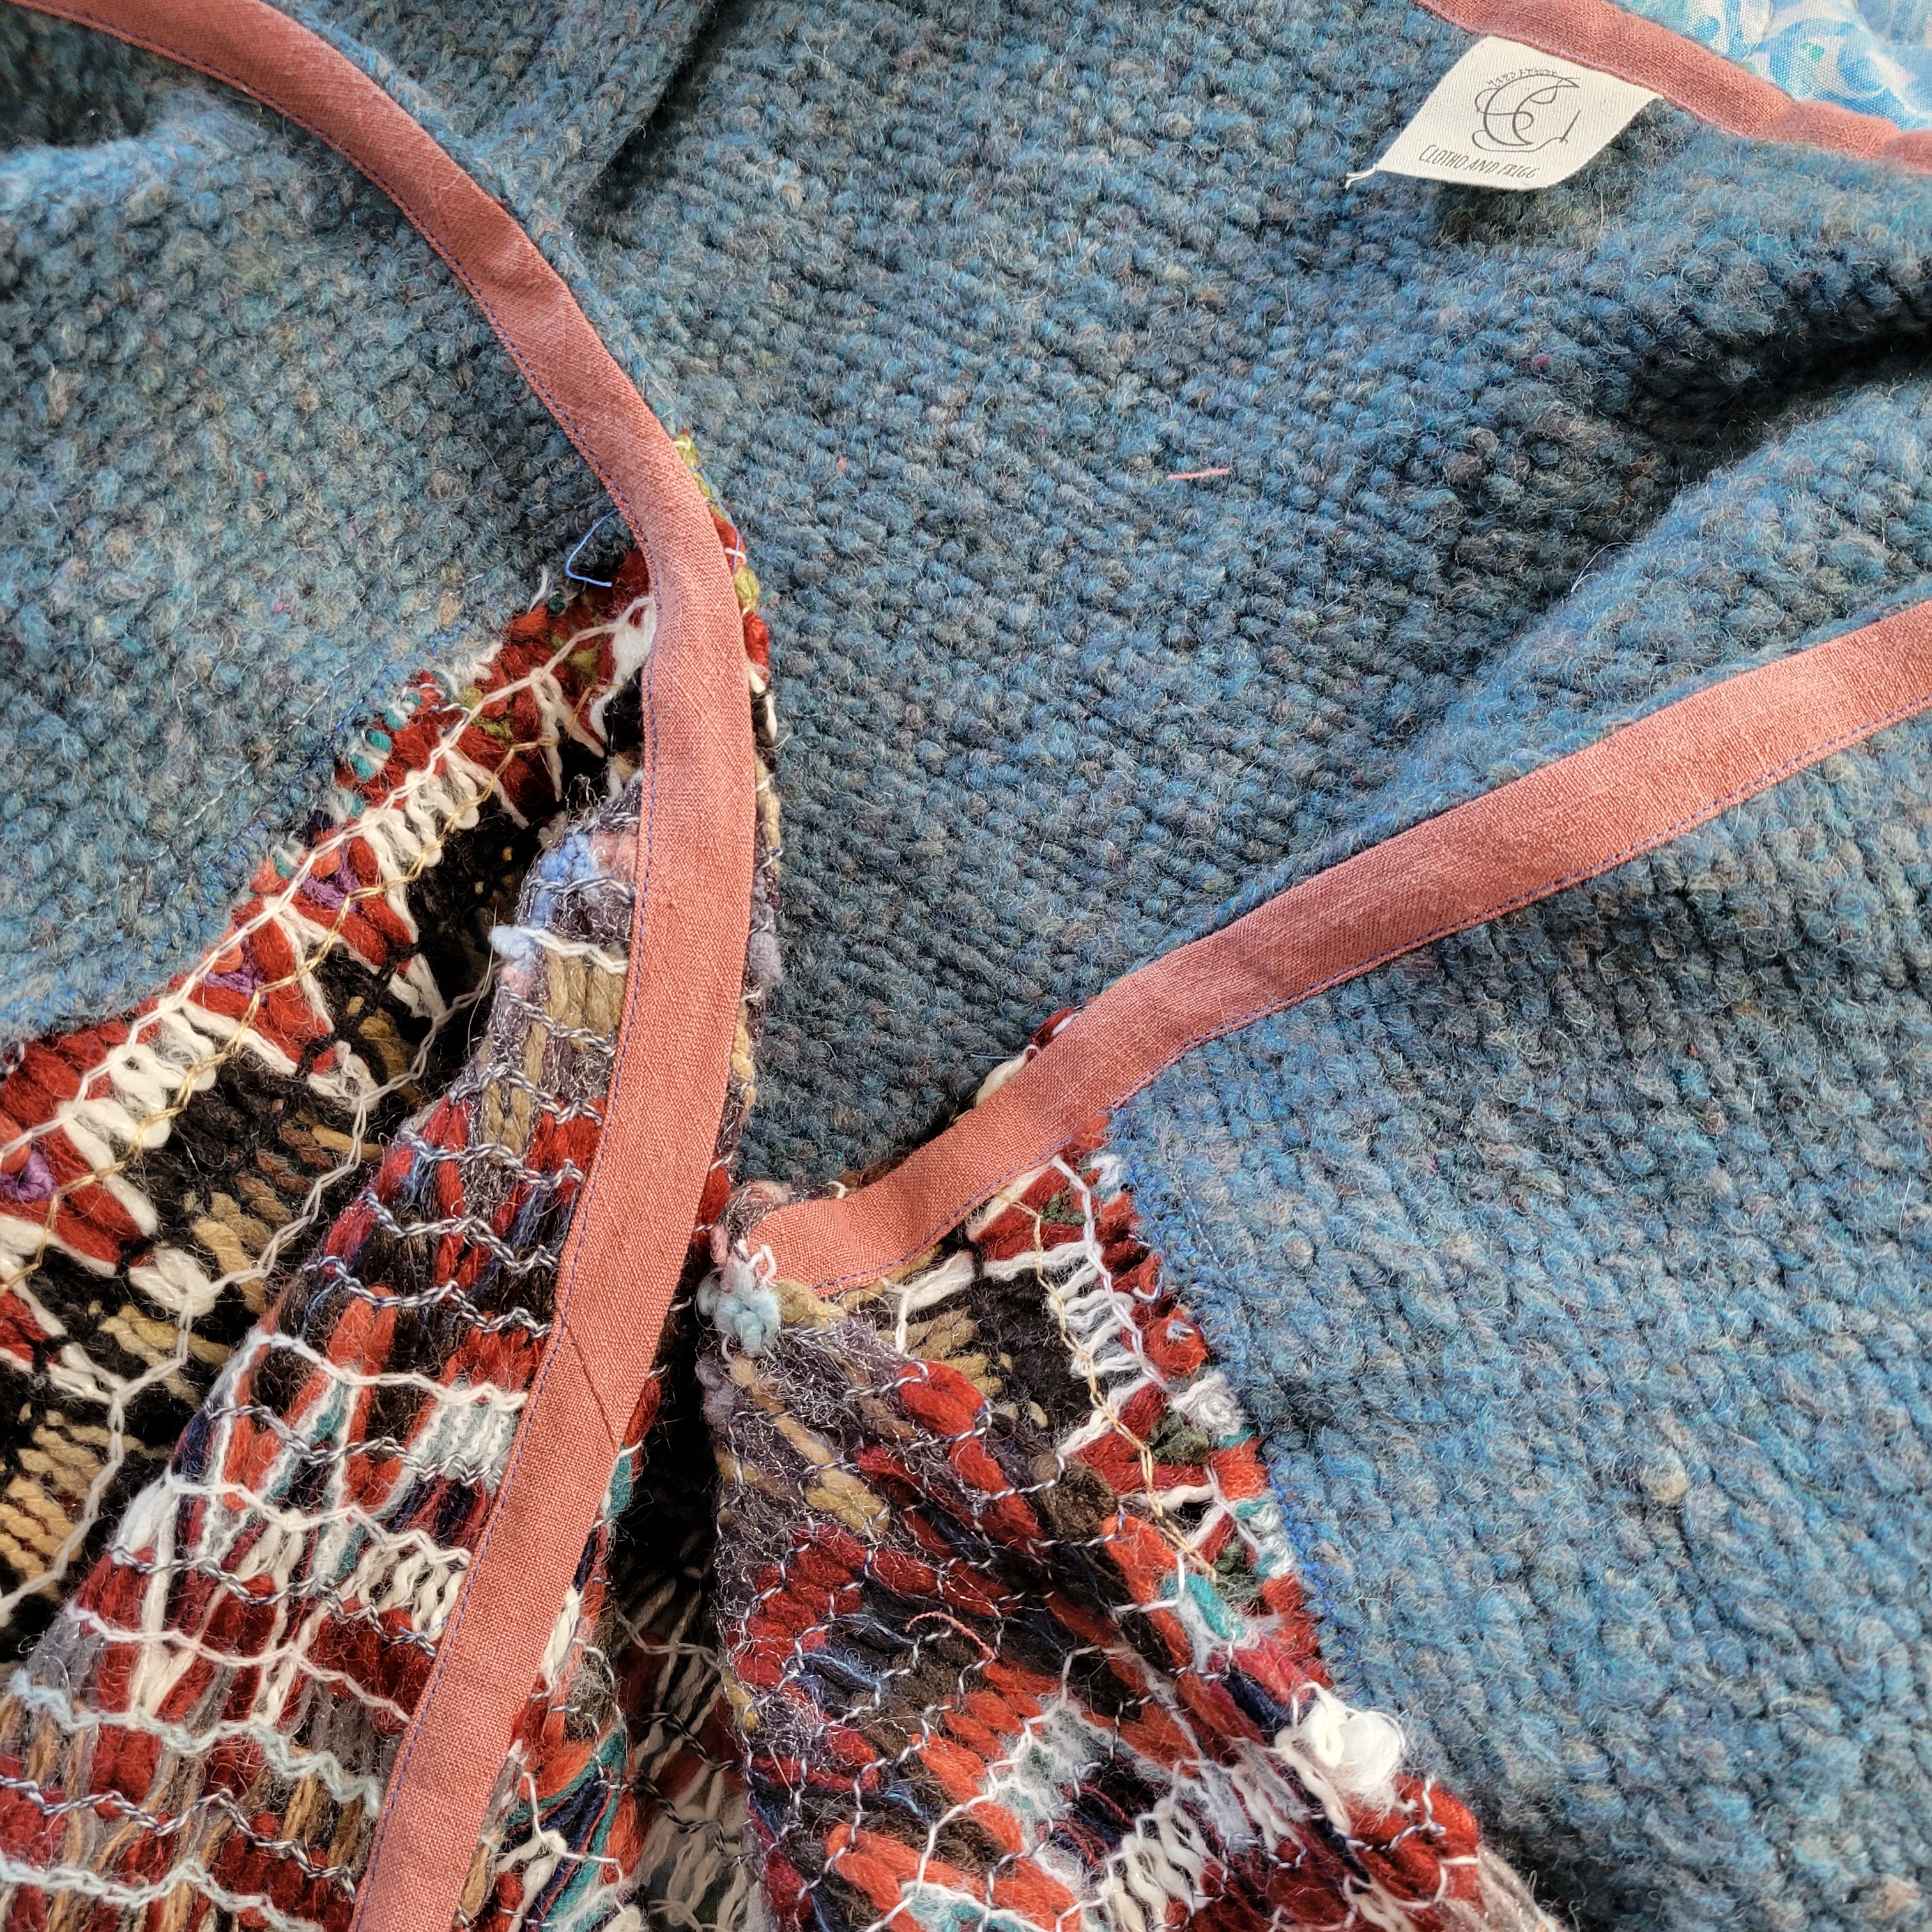
- bias tape
- rolled hem (lighter fabrics)

I’d love to see the shawls you make! Tag me with @clothofrigg or use #clothofriggforestshawl on social media.
My mini collection of forest shawls will arrive next Sunday – subscribe to my email list for first dibs!
Thanks for reading <3


