DIY Bunting – how to make fun and easy fabric bunting!
This week I found myself in a flurry of cleaning and organizing! I started by tidying up a bit in the studio, and the next thing I knew, I was cleaning the basement and moving lots of things down there.
It felt so good to move unnecessary clutter out of my workspace! As a result, the room looks much more open, reflecting my brain space.
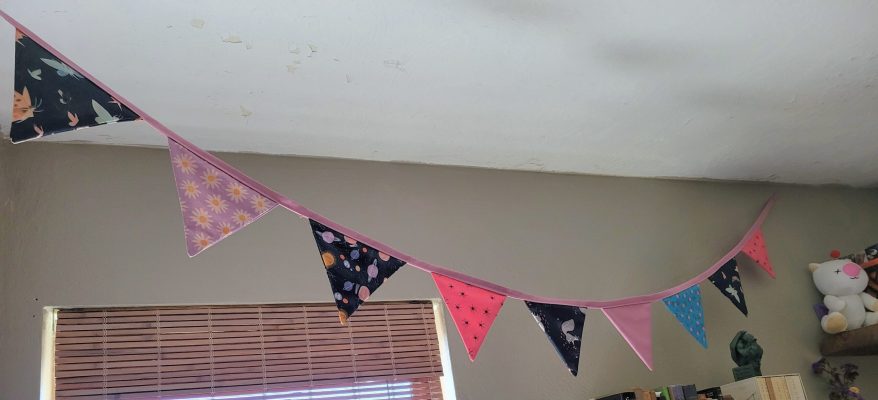
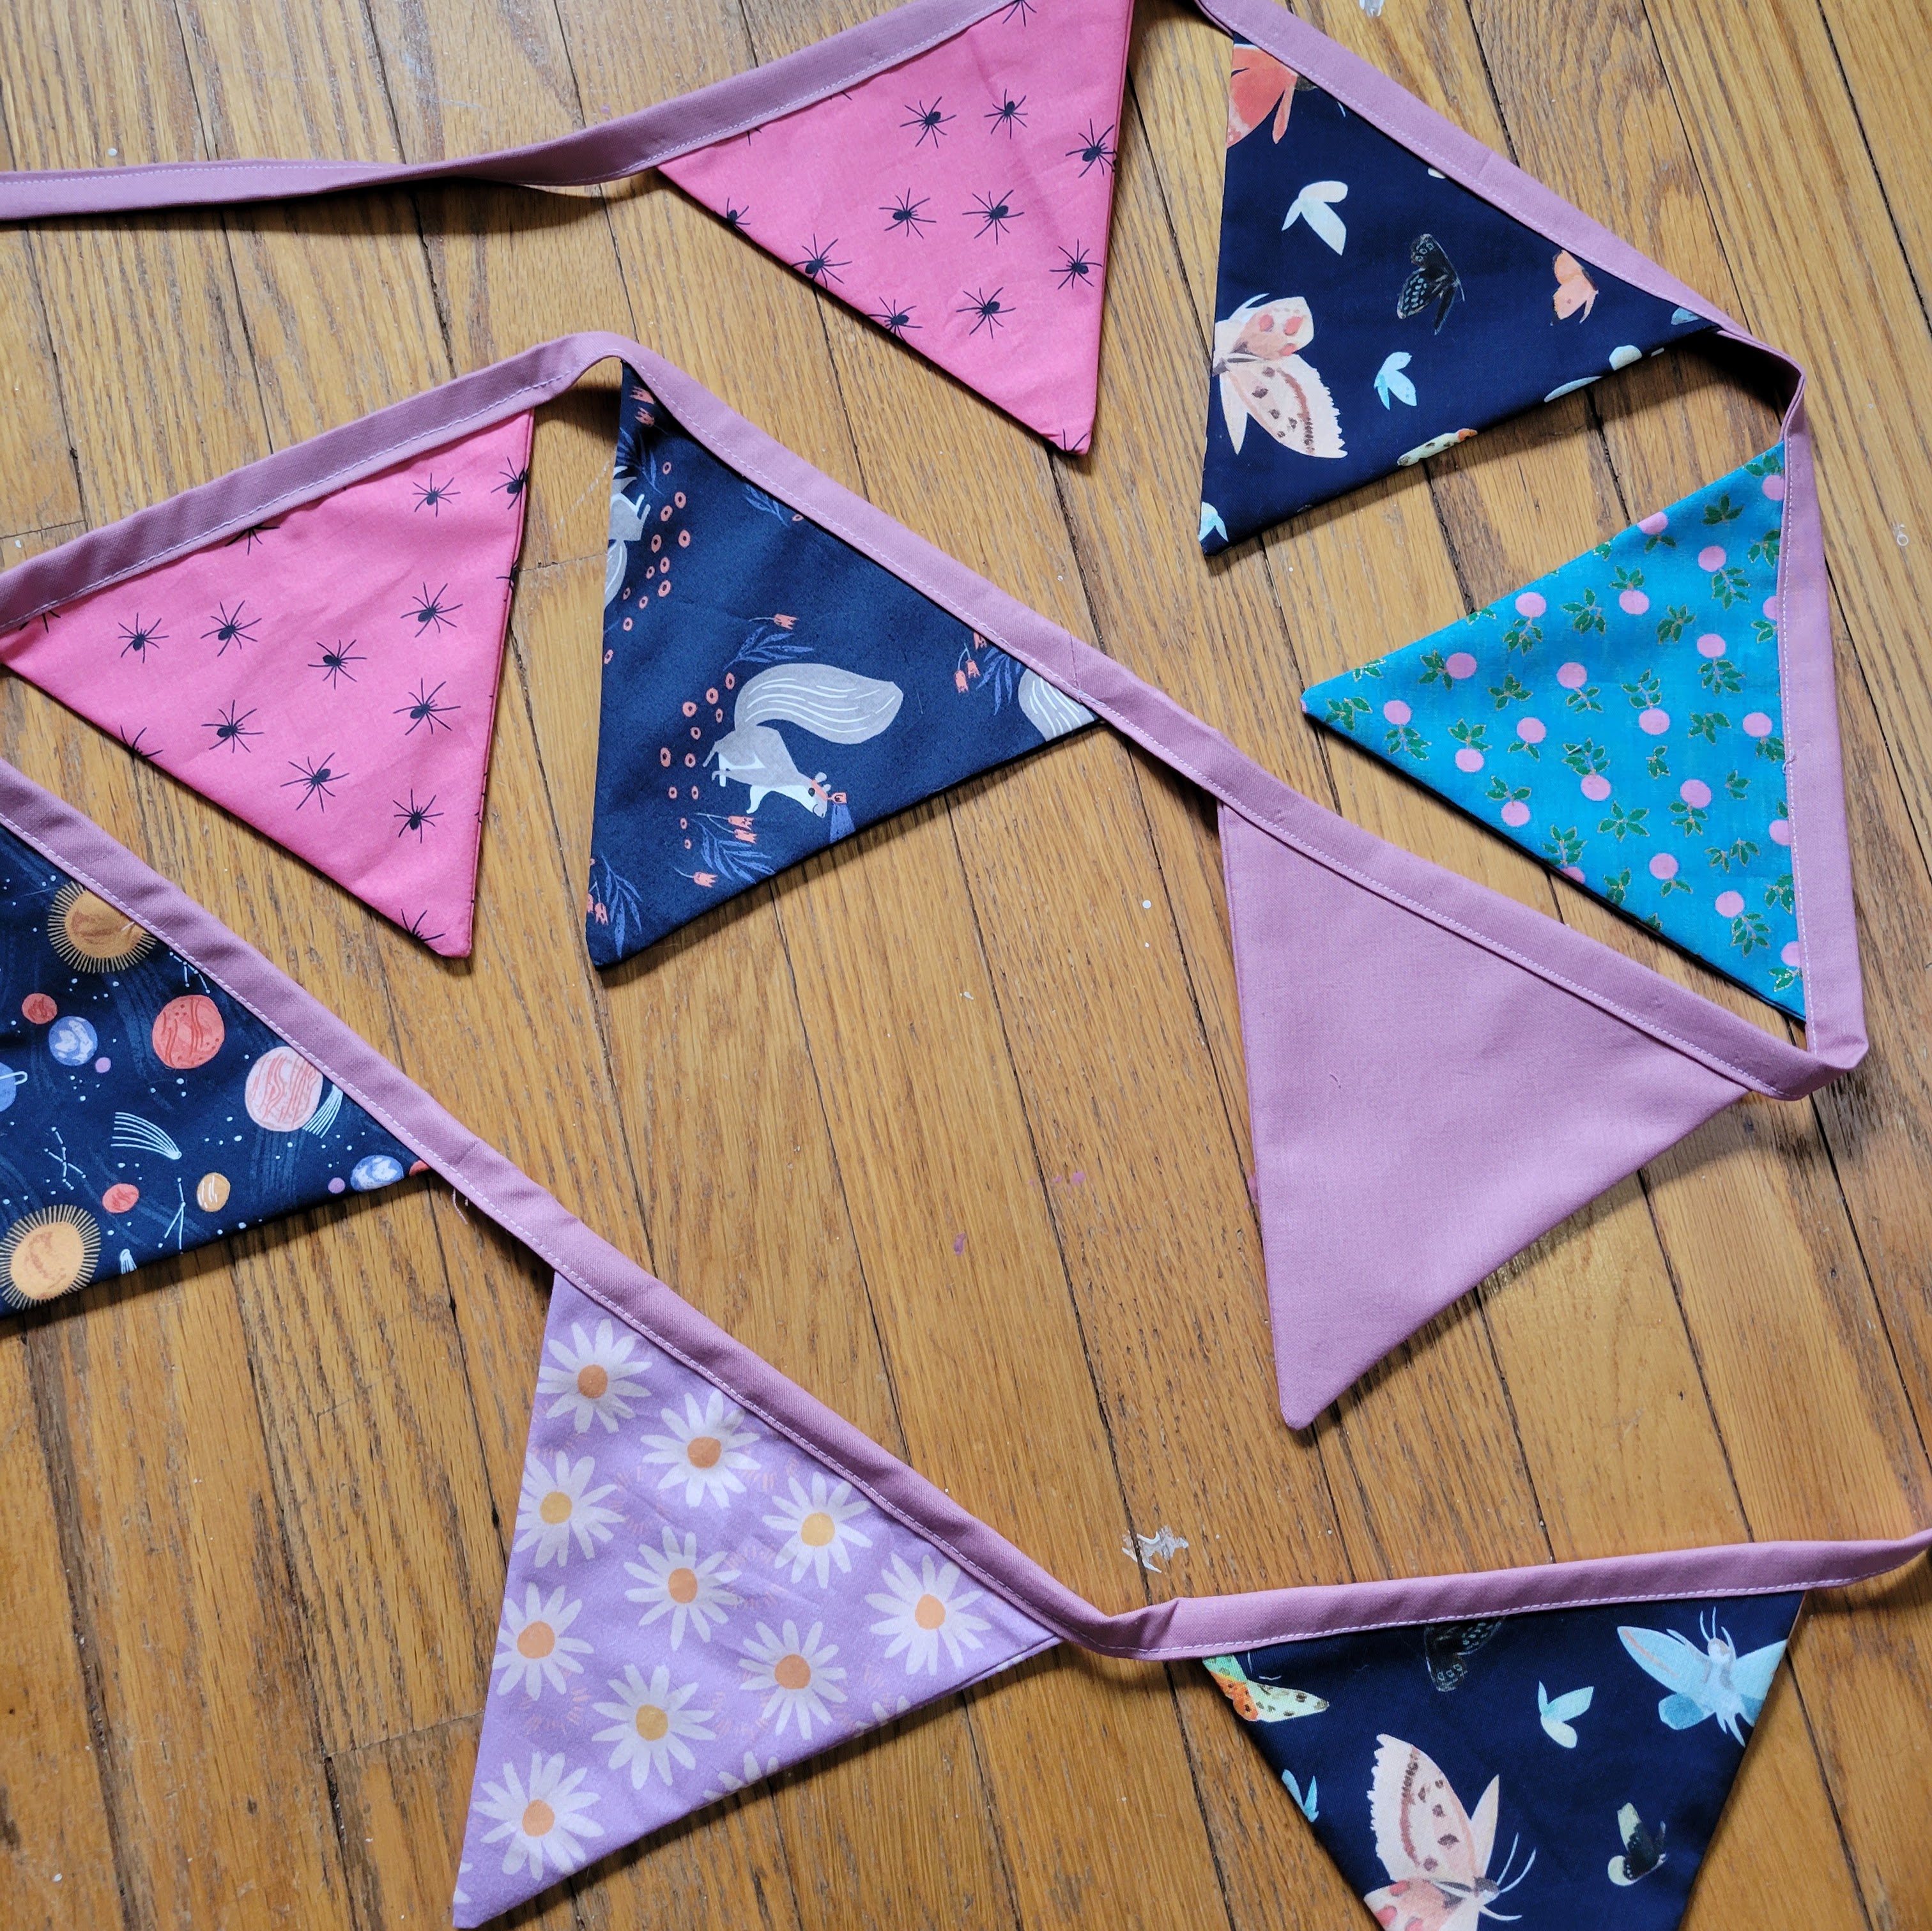
I also hung some art and made a happy little row of bunting! It’s so cute! I’m working on a matching bunting for the other side of the room.
Bunting is quick, fun, and perfect for fabric scraps! Below is my tutorial on making fabric bunting so you can also brighten your space.
I made two strings of 10 flags in cute quilting cottons, with a coordinating cotton for the bias tape. The entire project took about 4 hours – making 20 flags and two strings of bunting.
They are strung up along the ceiling of my studio, in opposite corners. I love how they brighten the room and make it feel like a little festival.
Without further ado, here’s my tutorial for handmade bunting!
How to Make Fabric Bunting
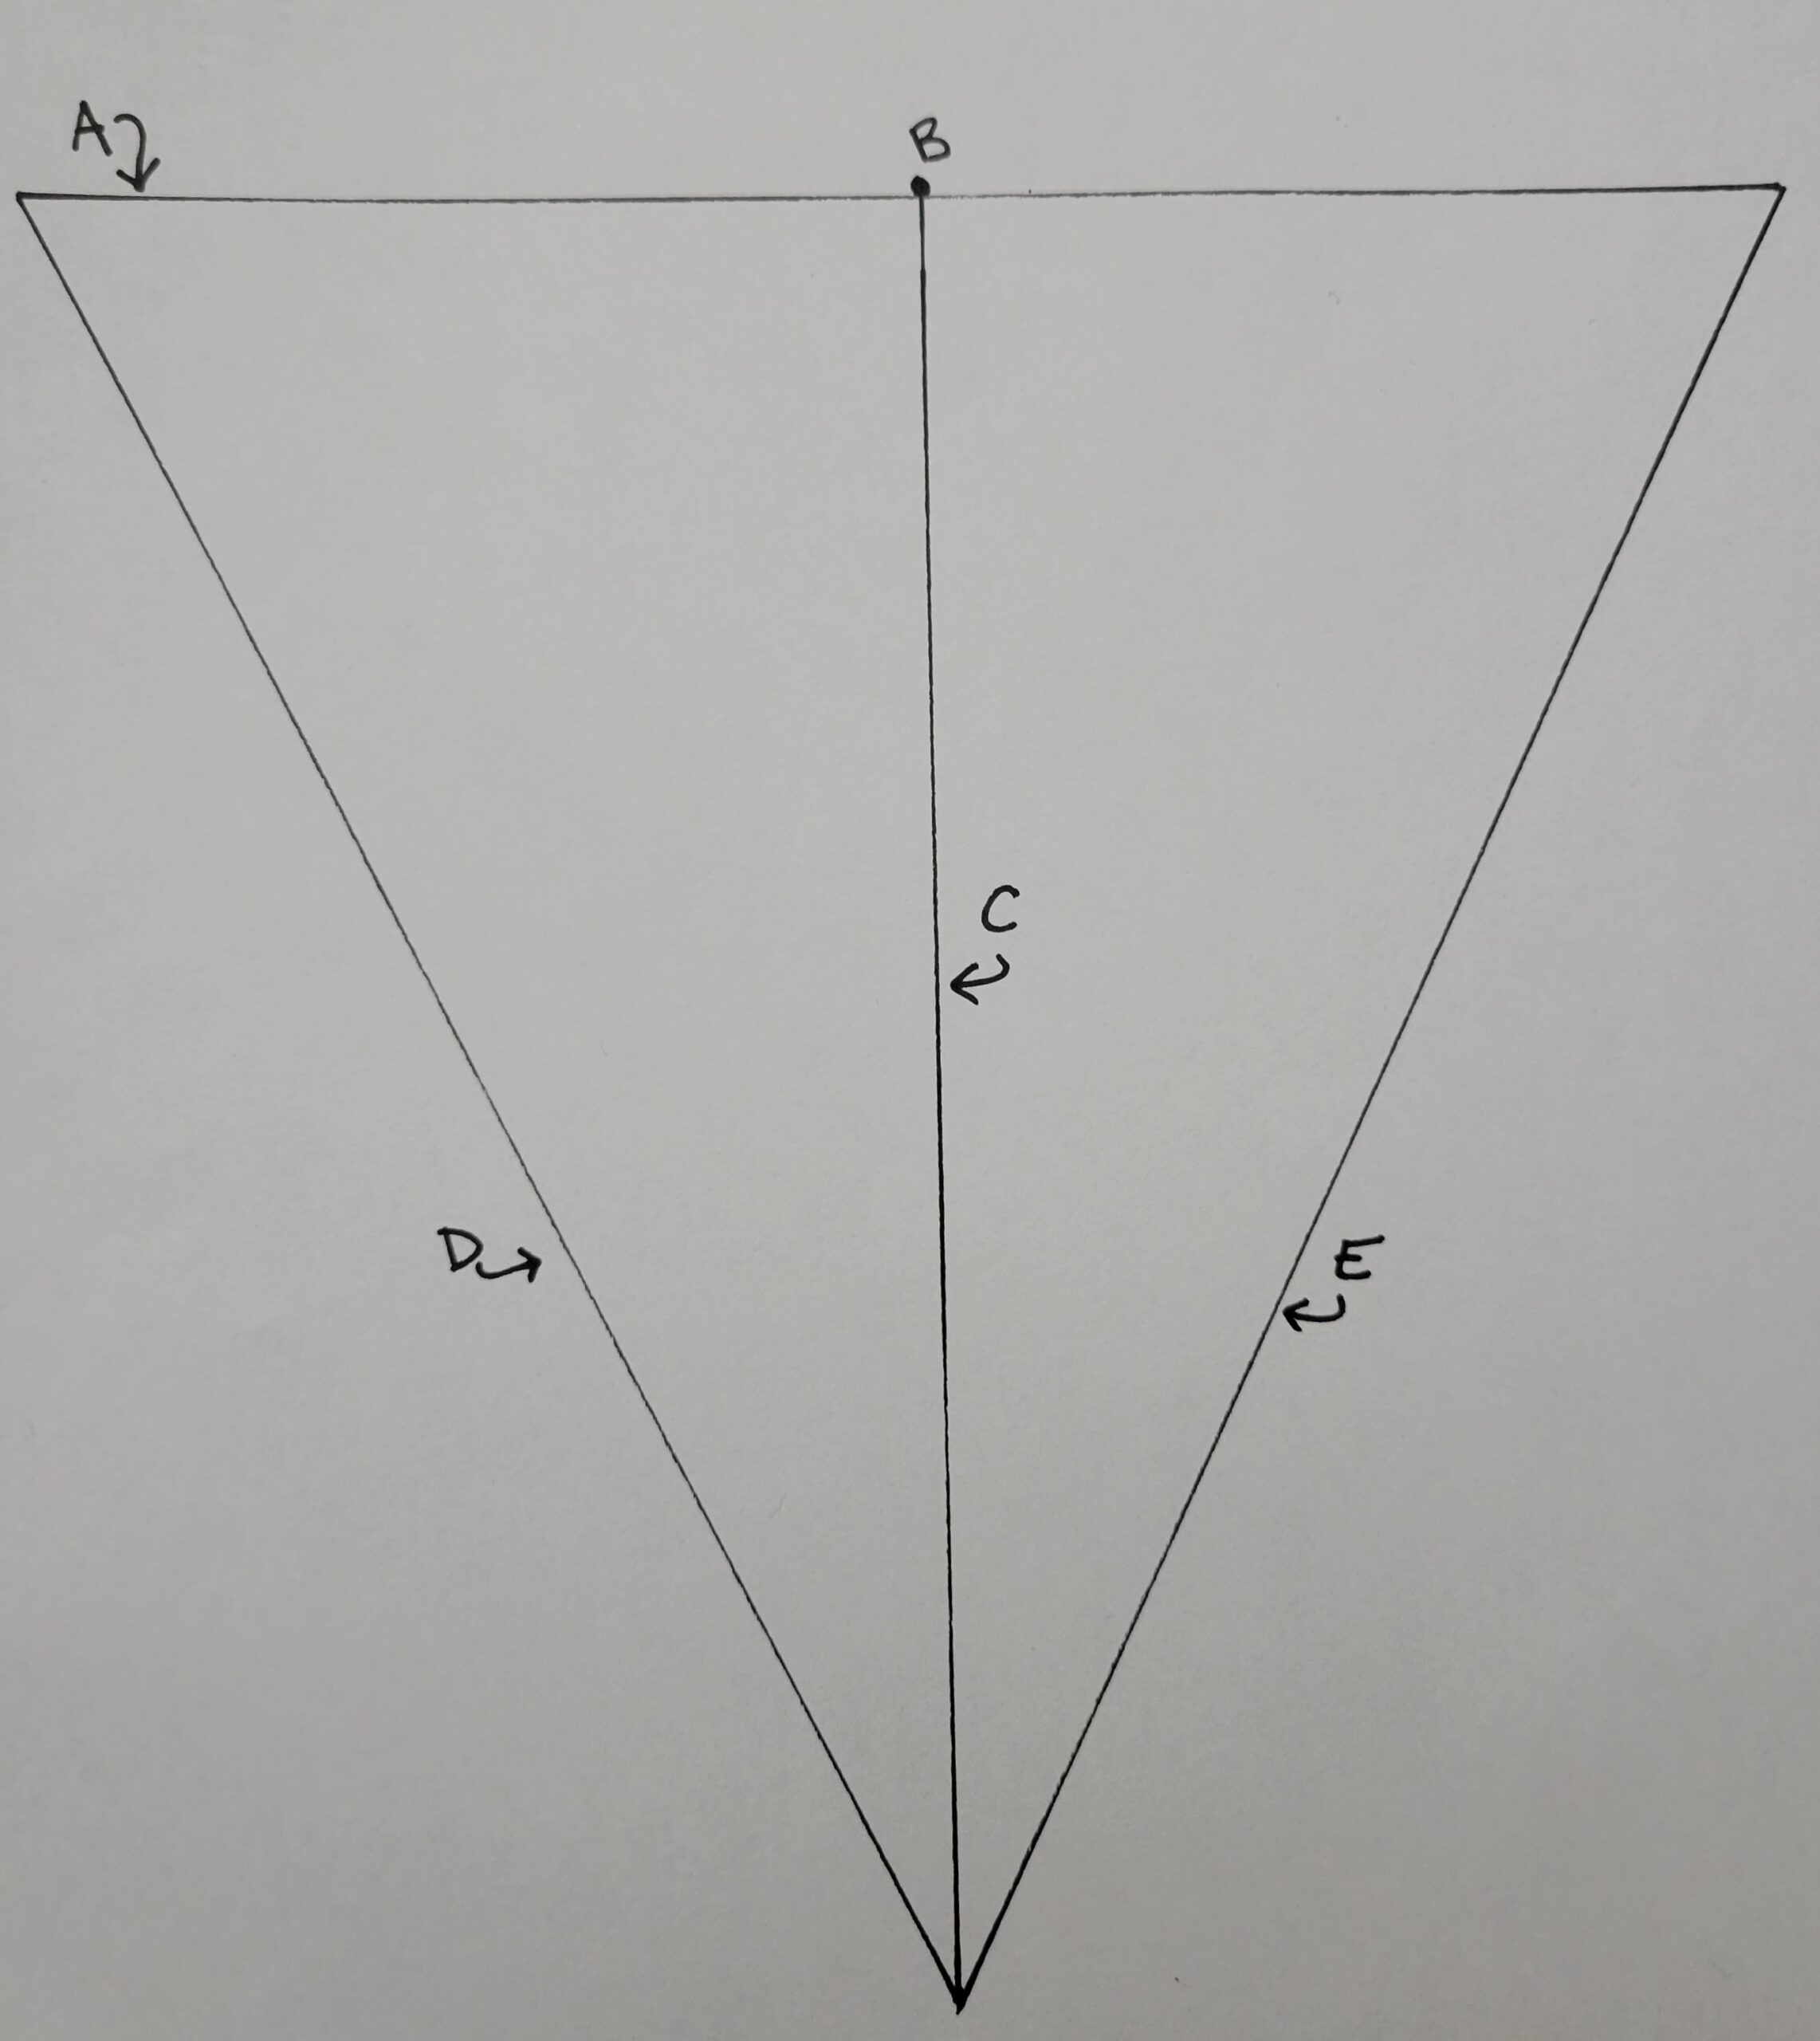
- Draw a triangle template! My method of making a perfect triangle is to start with a straight line, the length of your triangle plus 1″ for seam allowance (line A in the picture).
- Find the middle of that line (B) and draw a perpendicular line the same length as the first (C).
- Draw two more lines connecting A and C. Cut the triangle out.
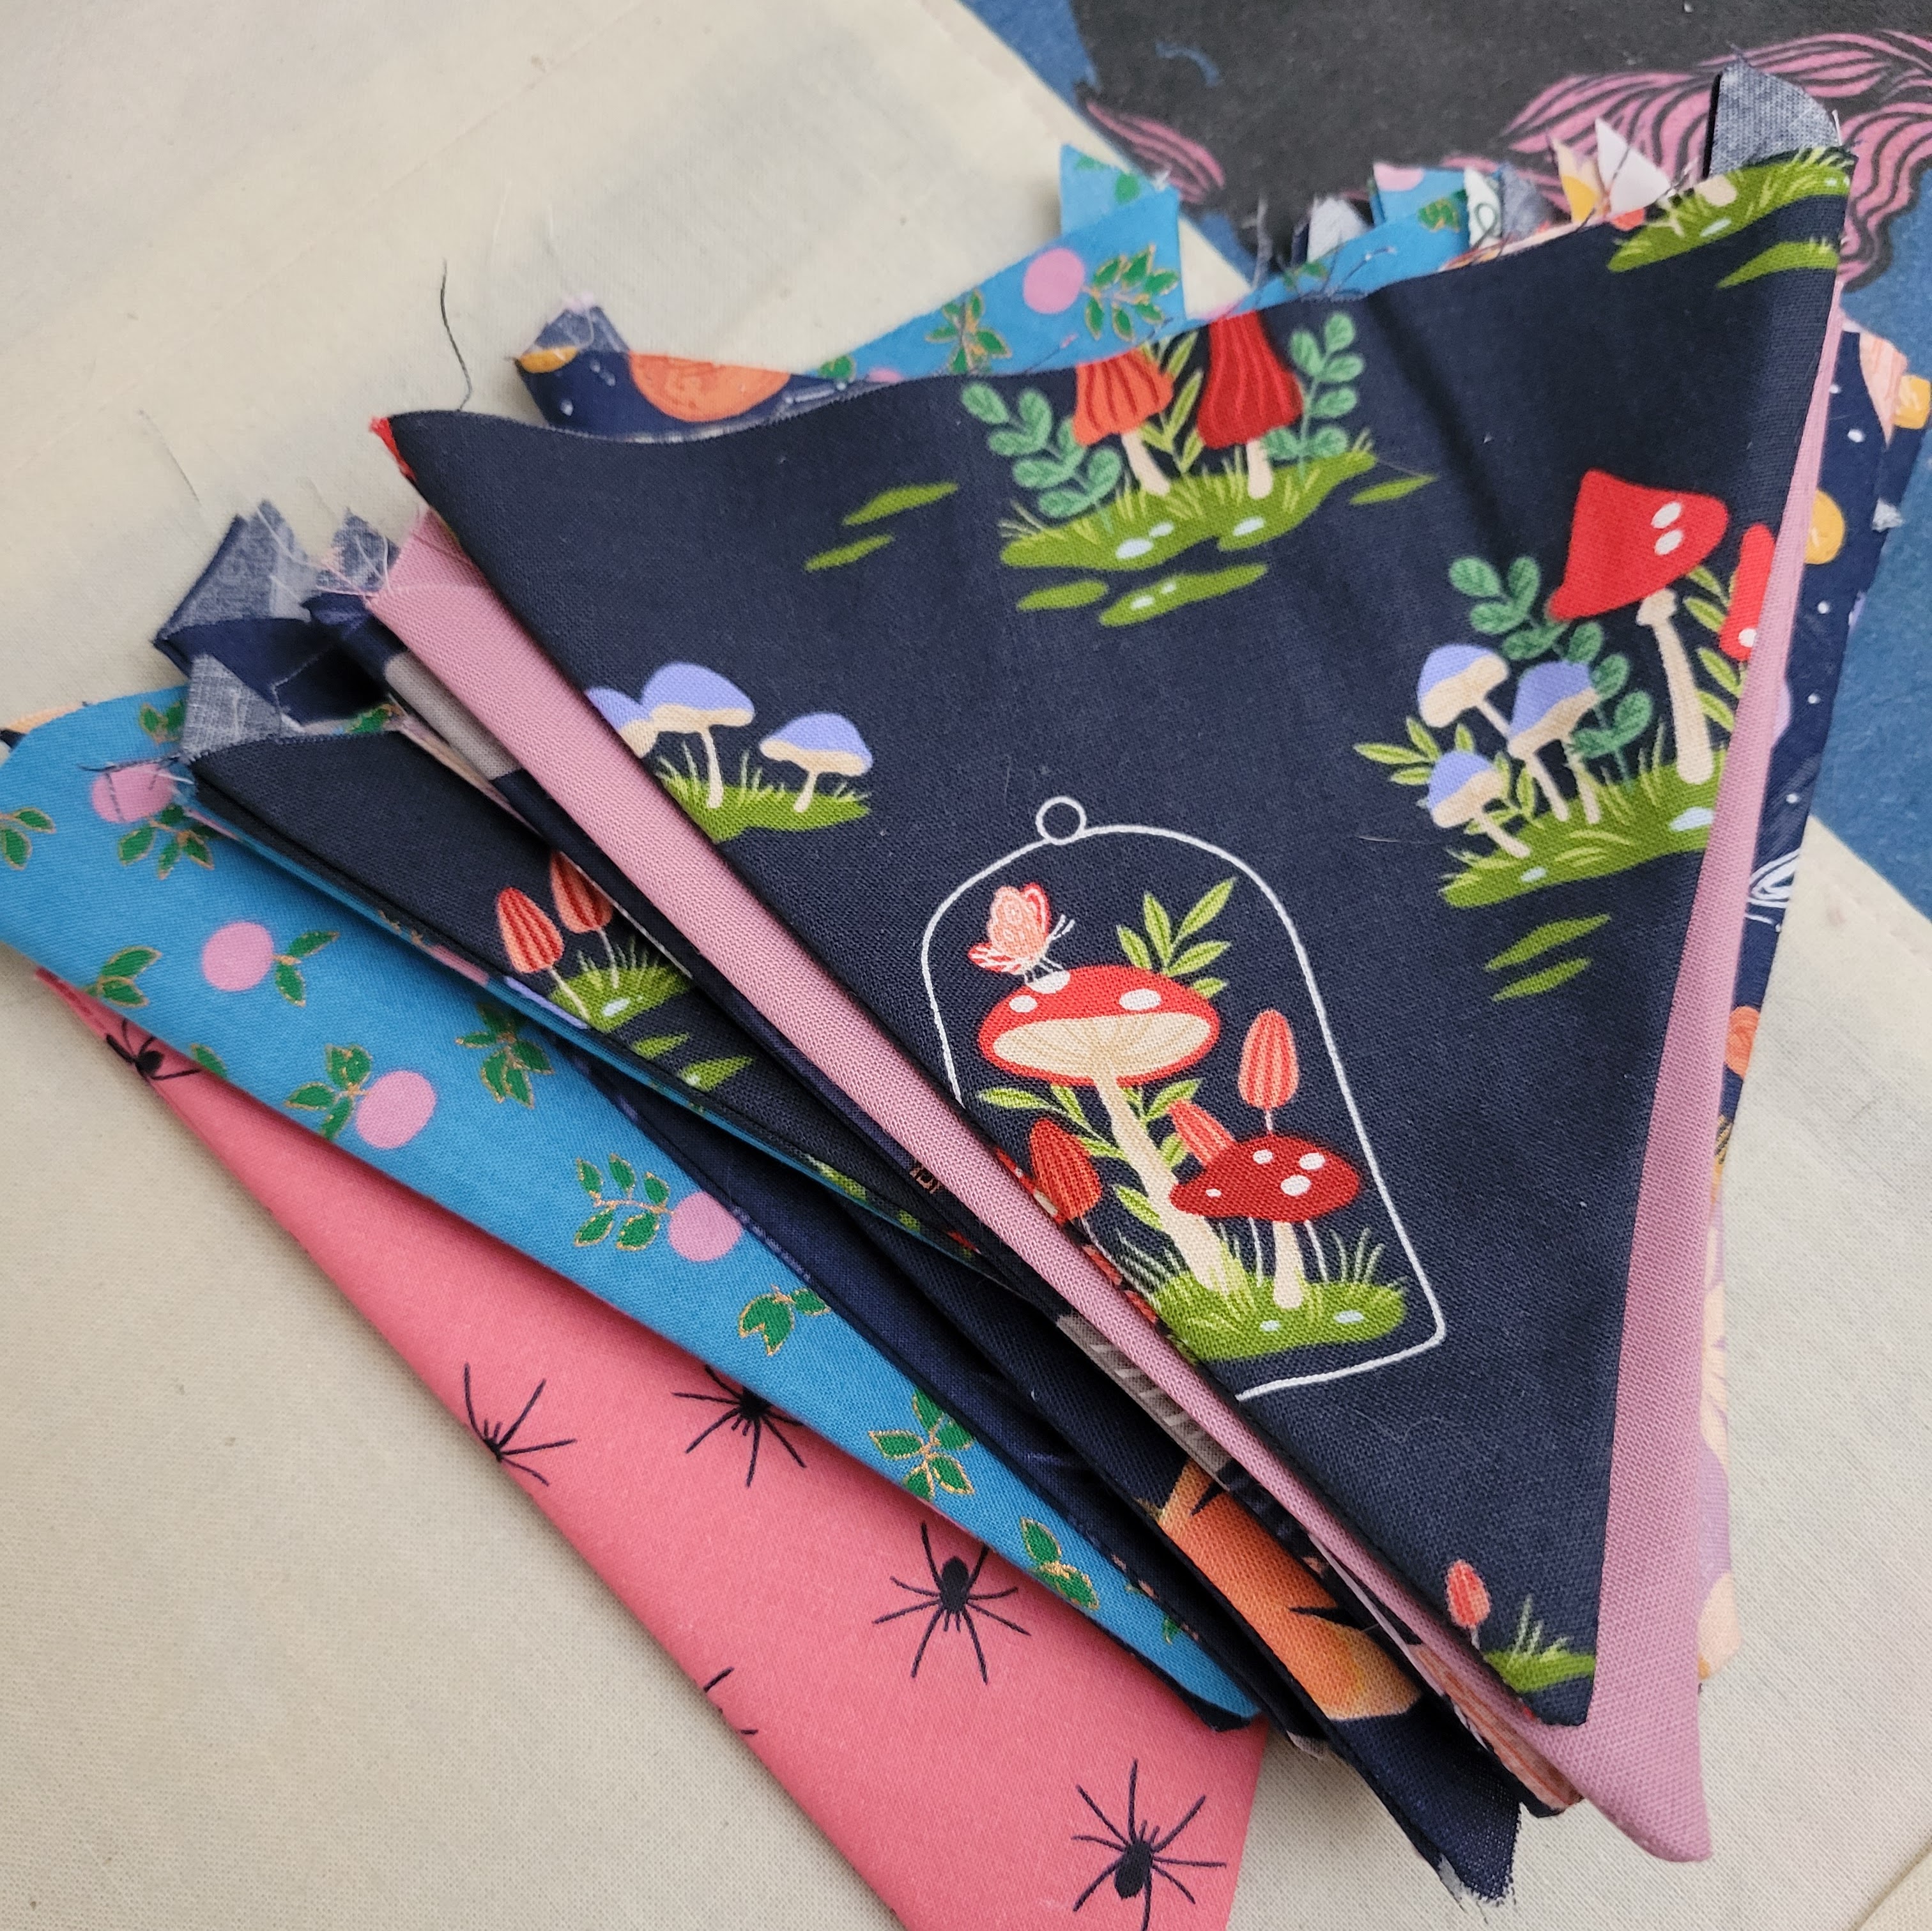
4. Cut 2 triangles for each piece of bunting. Sew them with right sides together, along two of the three sides.
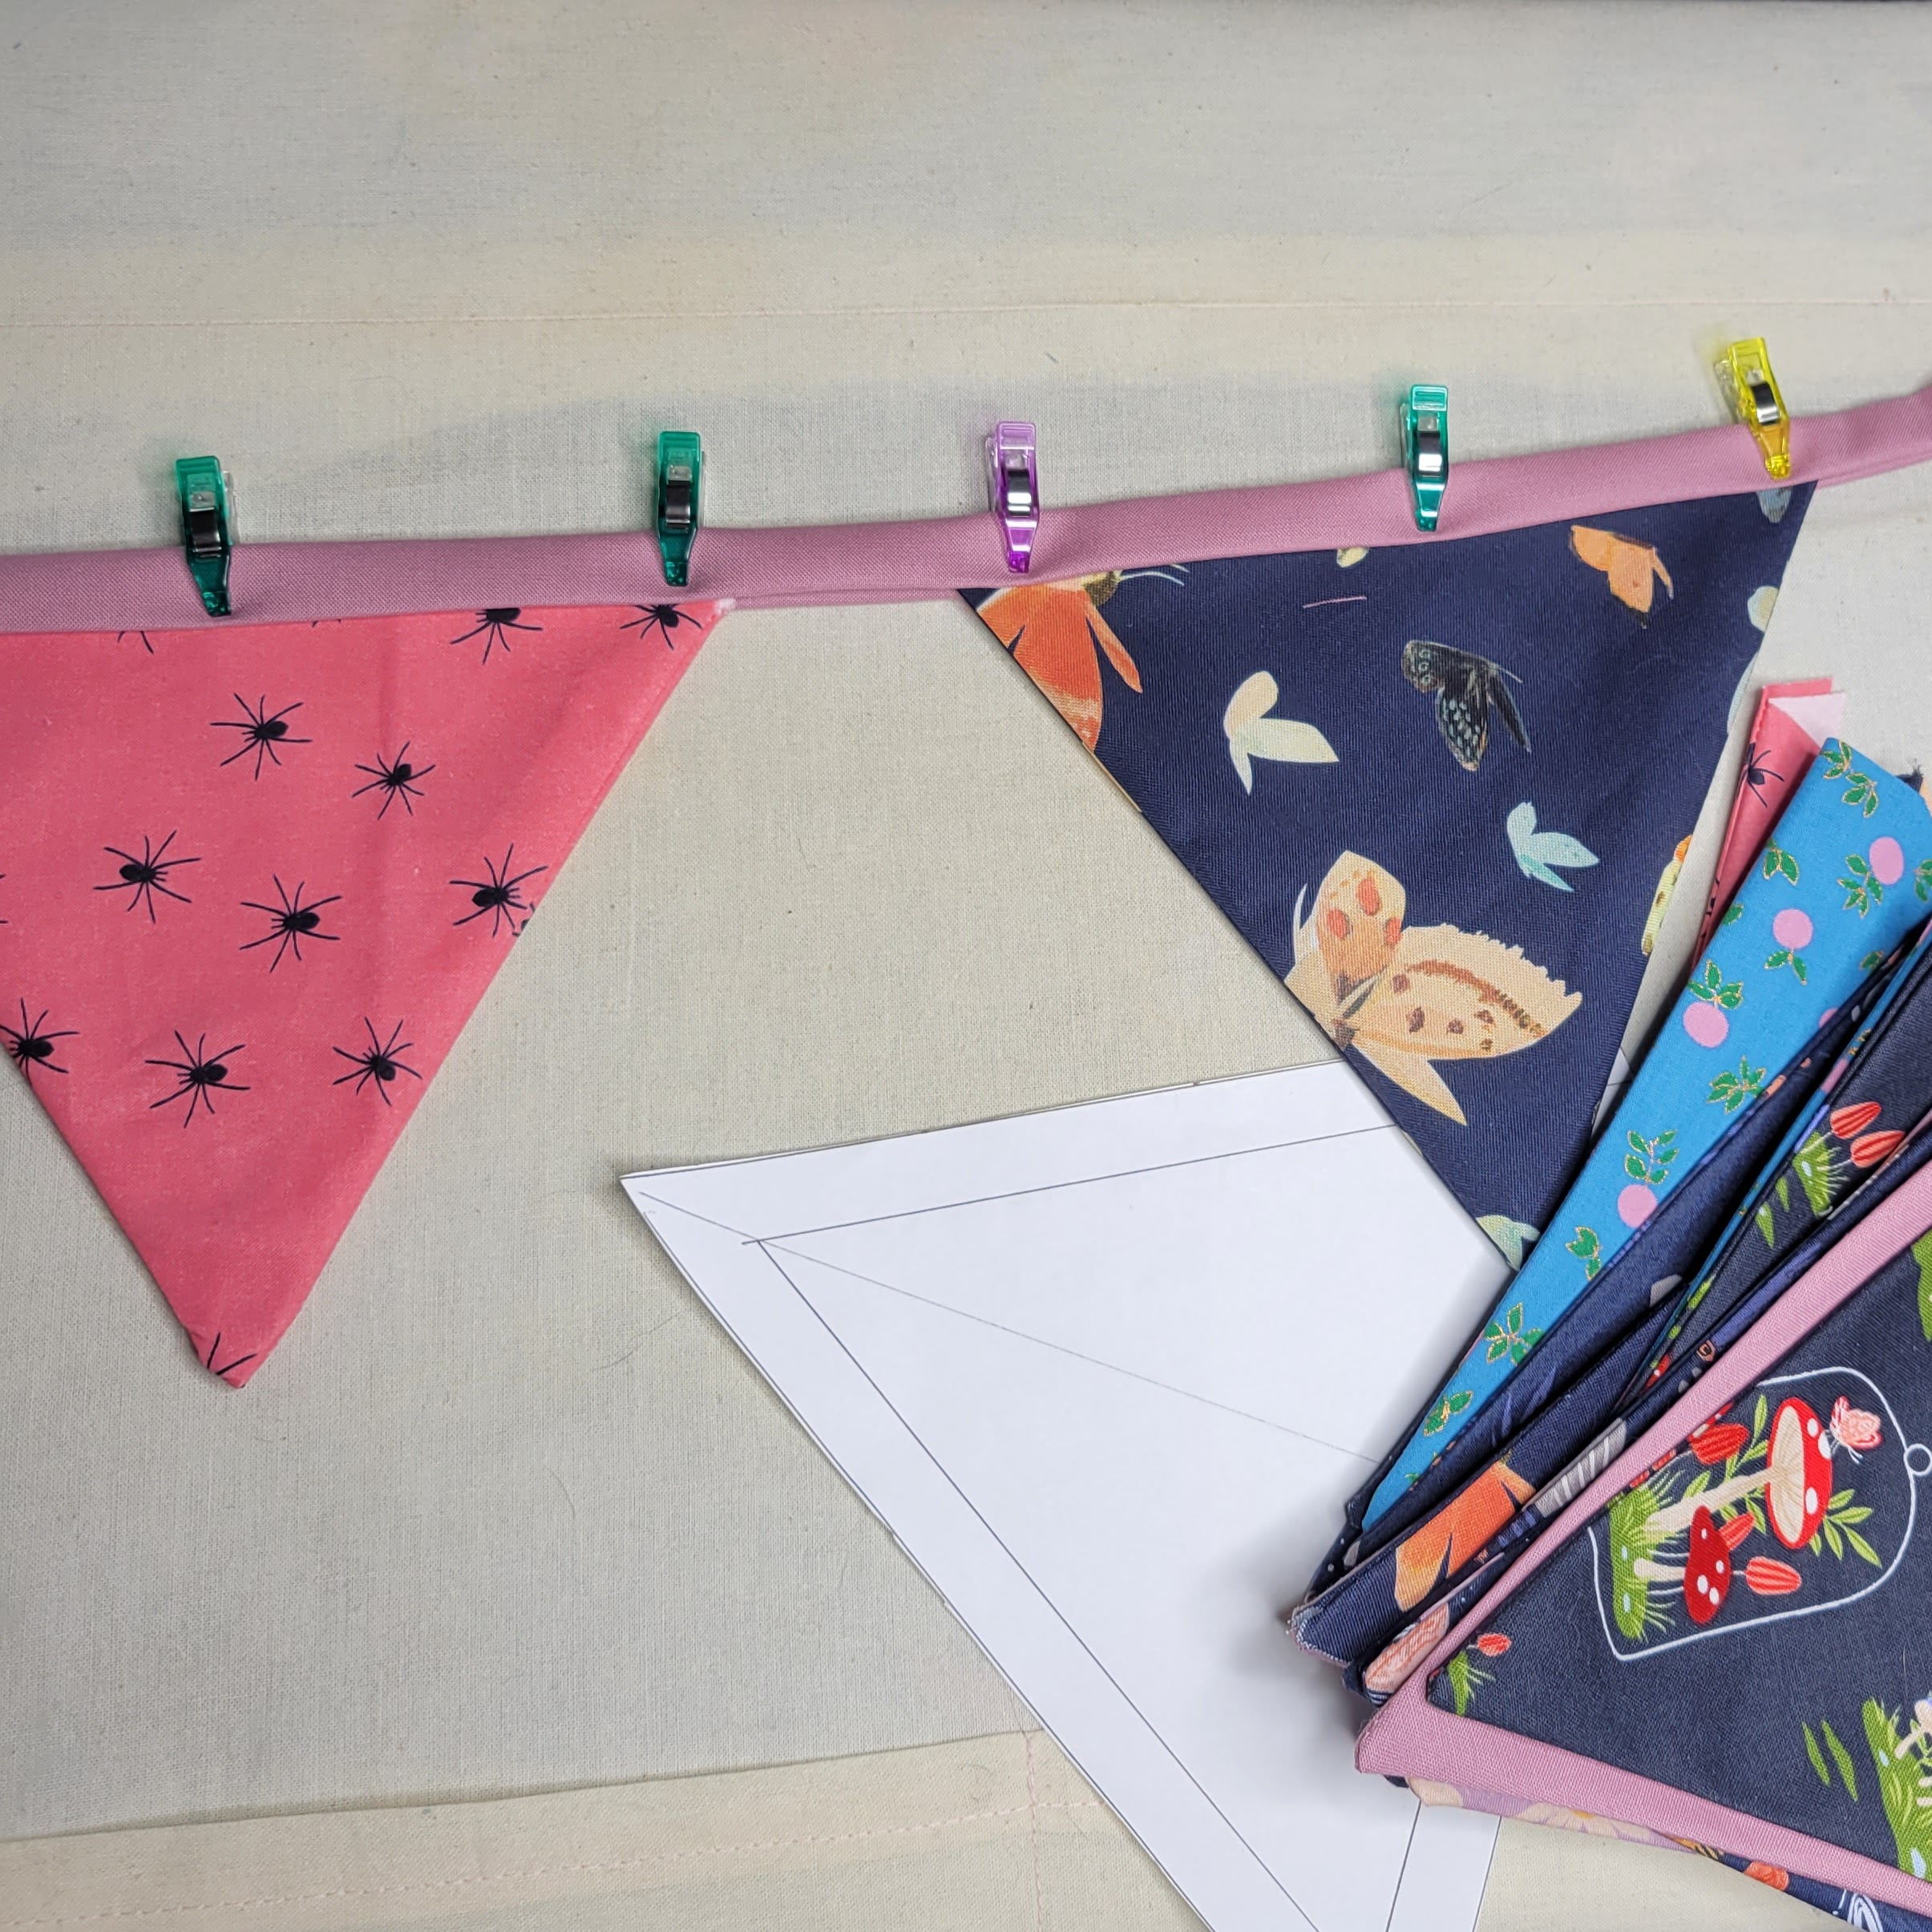
5. Make a long line of 1/2″ wide bias tape and sandwich the raw edge of your triangles in the bias tape.
6. Sew it down and hang your bunting!!
I’d love to hear what you think if you use this tutorial! If you liked this post, sign up for my weekly emails to get posts right in your inbox!



1 comment
This is so cute! I had made a white bunting for our wedding, but now I want to use my scraps and make a happy mis-matching bunting!