At long last, I made overalls! I discuss construction and I address a concern I didn’t see mentioned in other reviews.
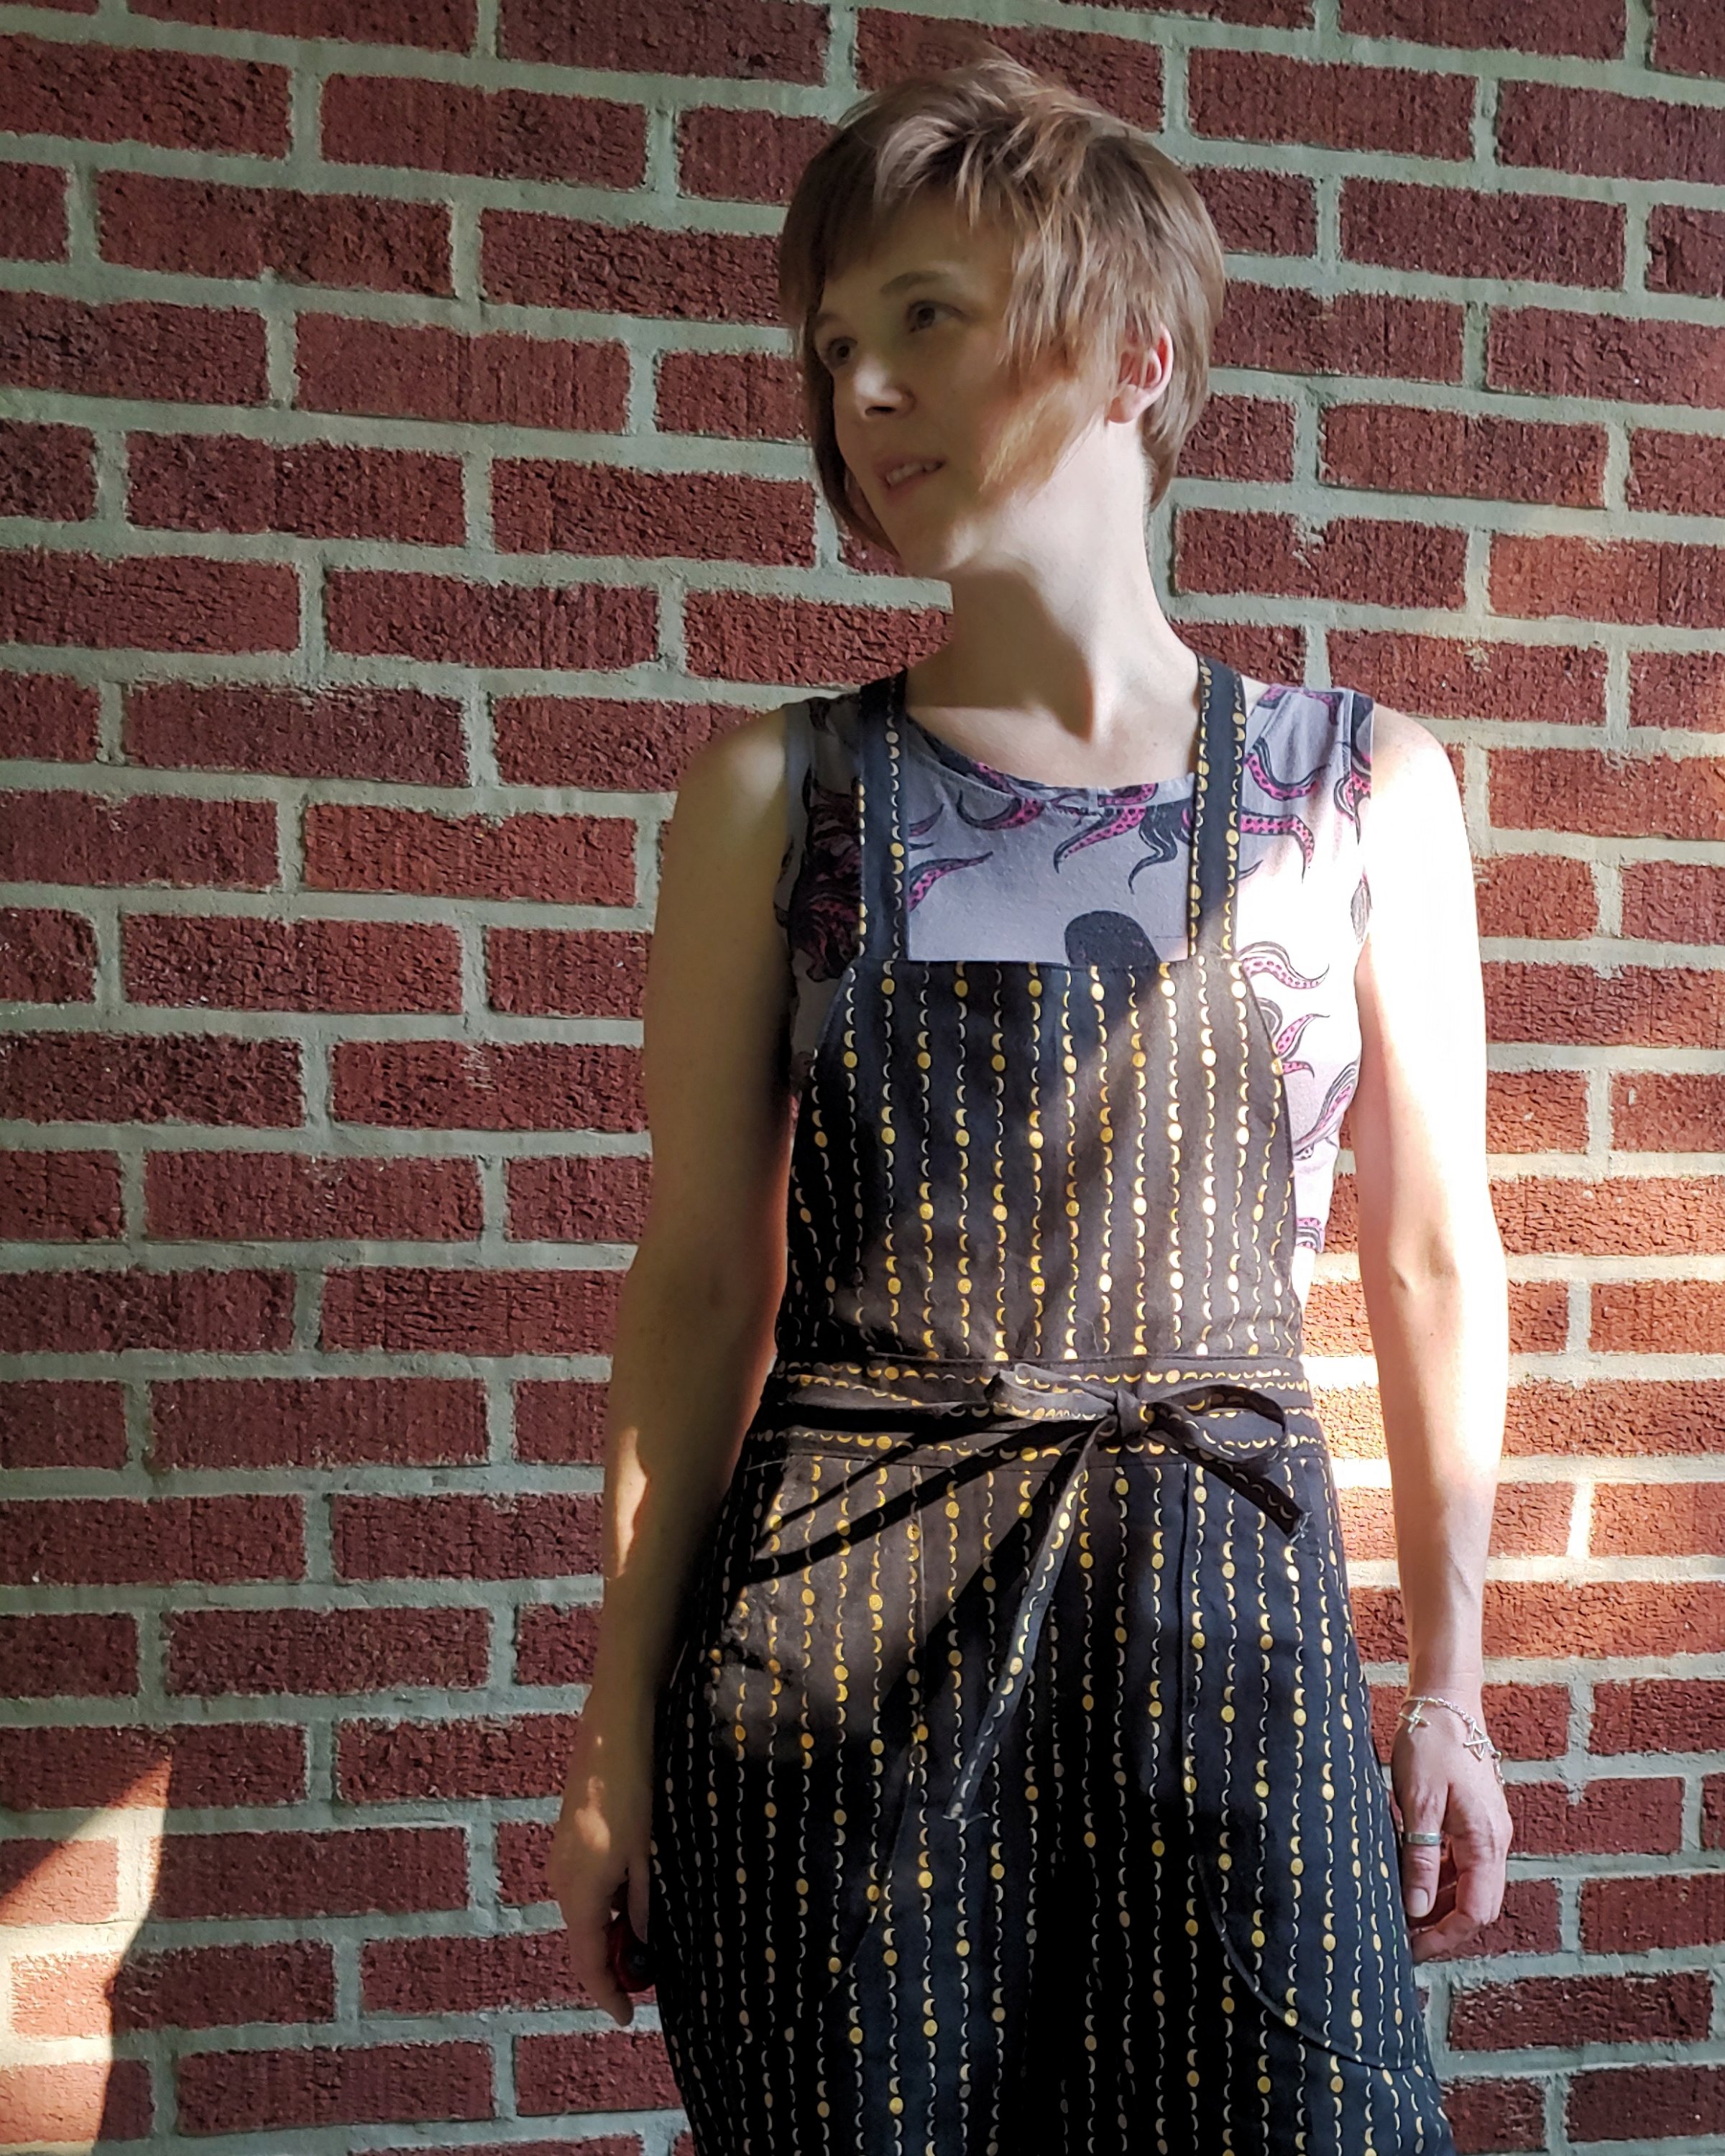
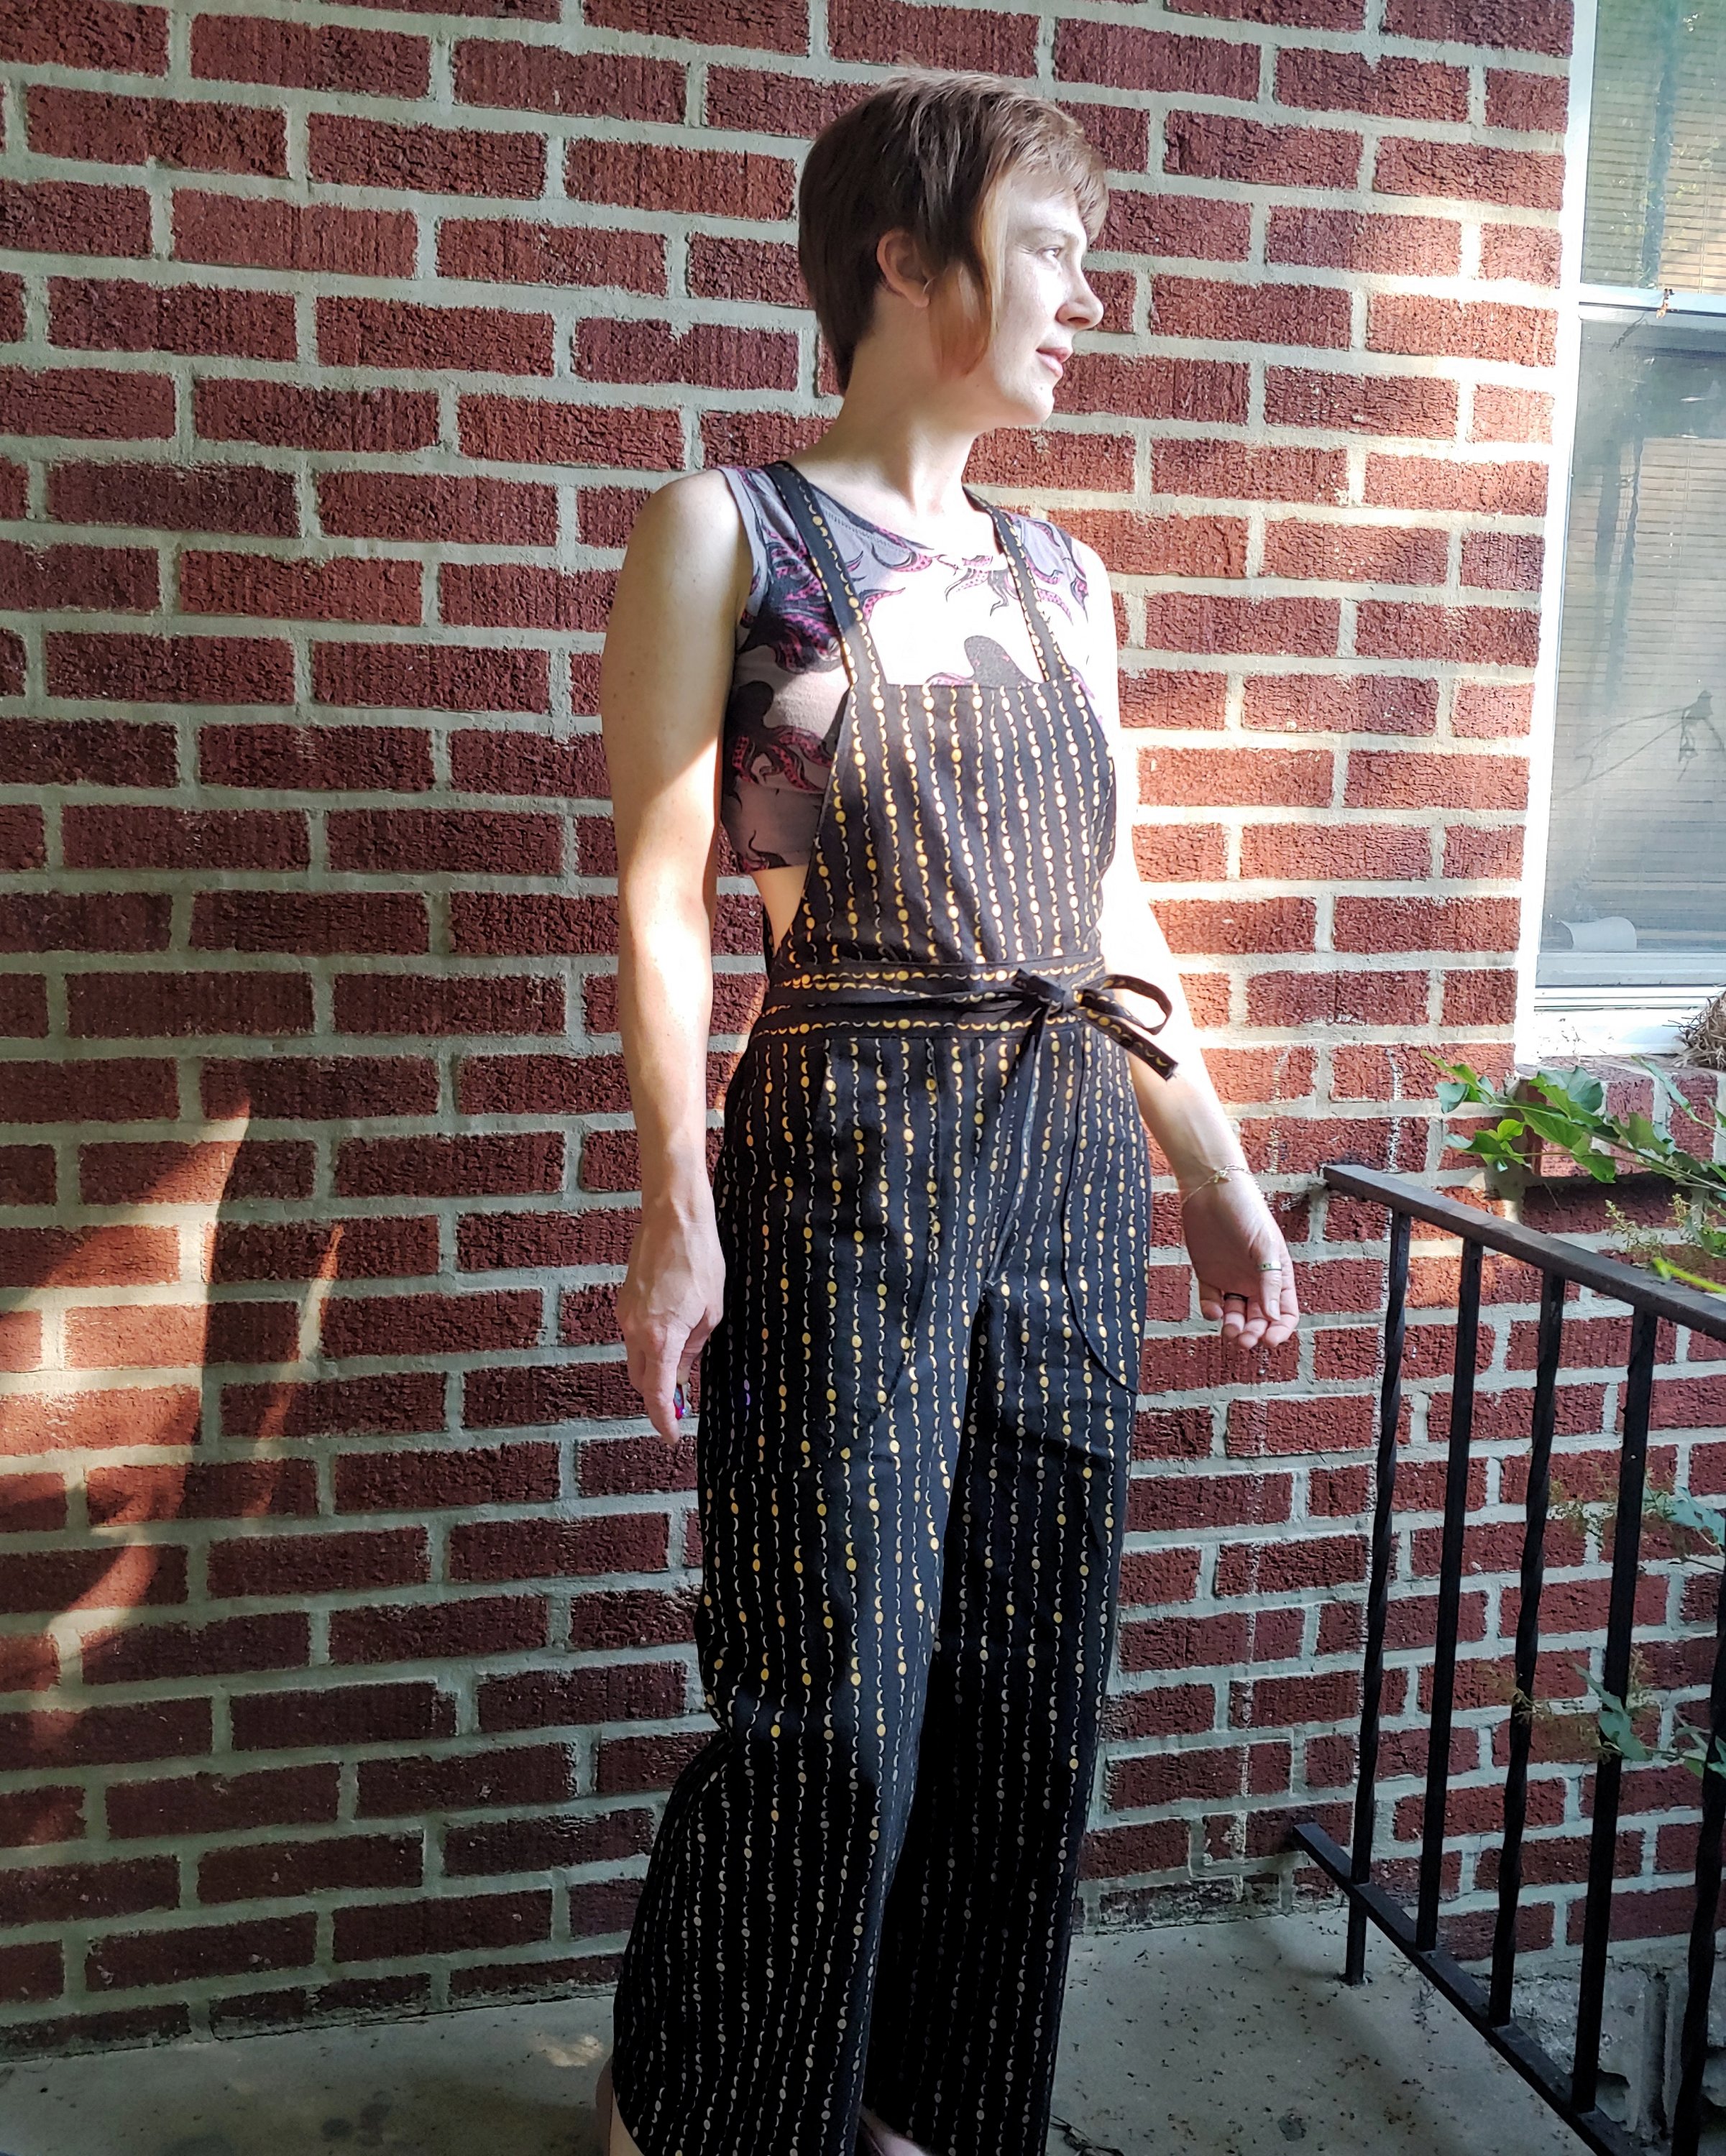
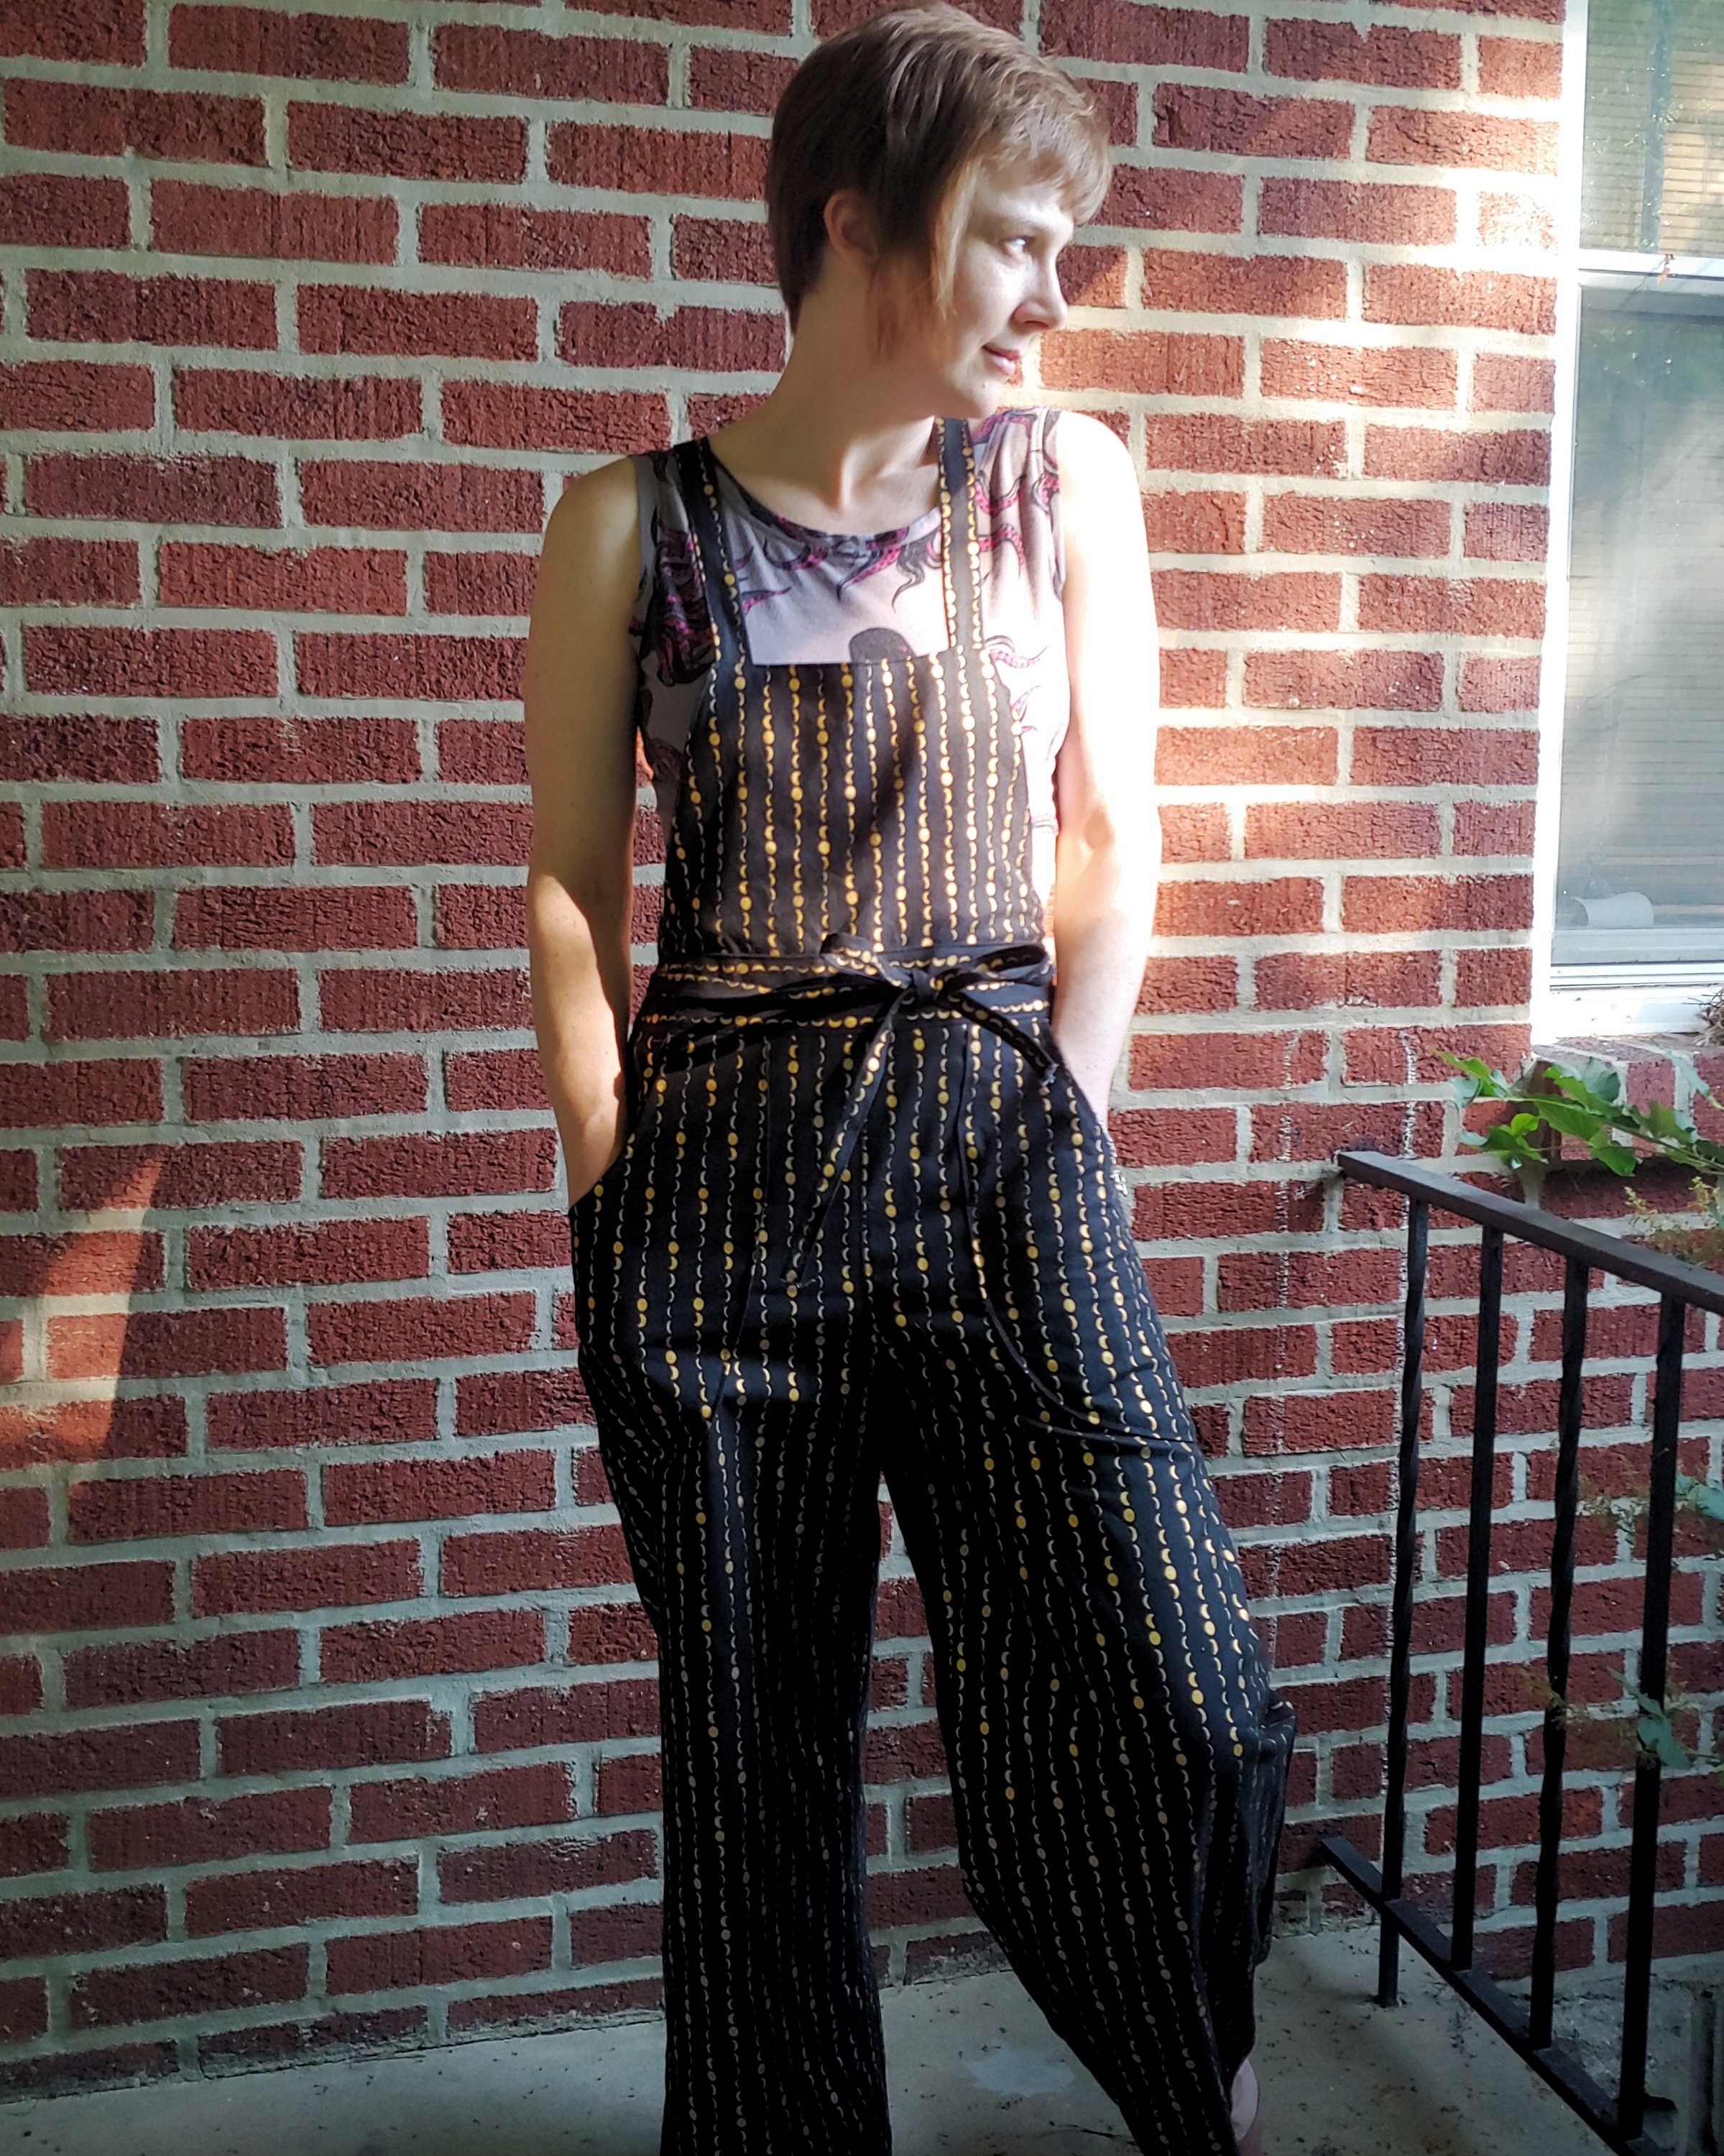
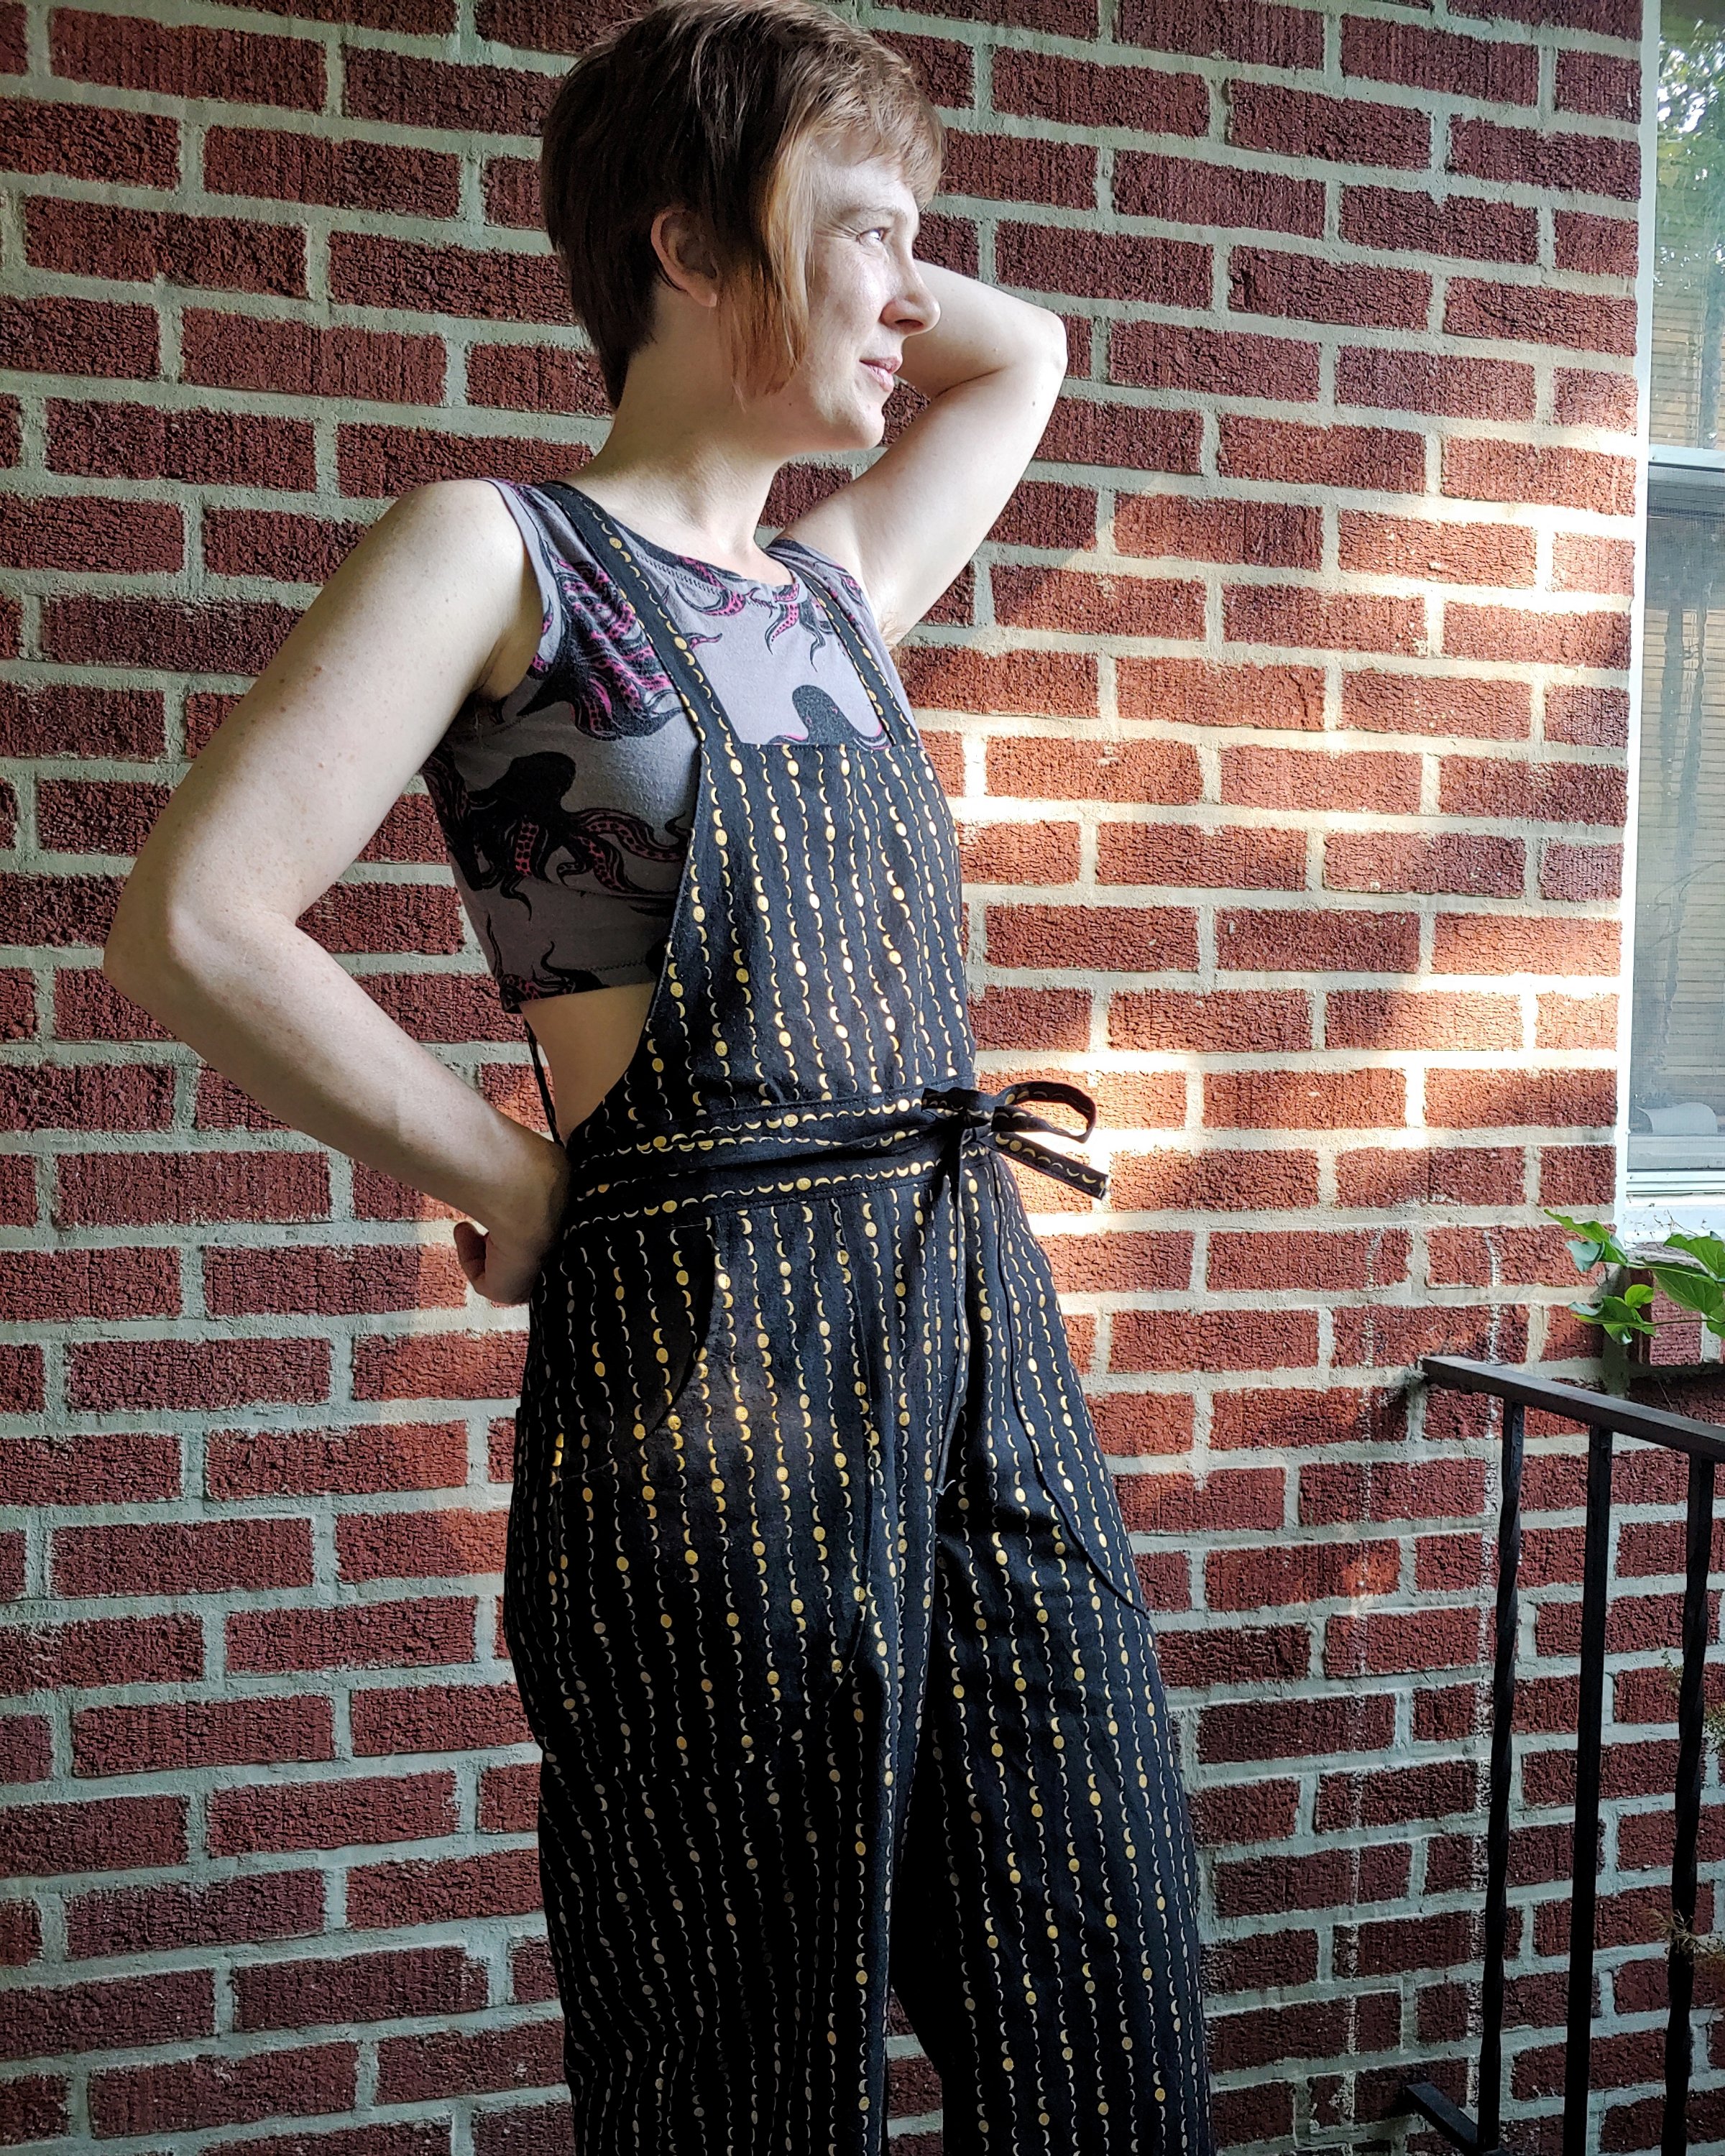
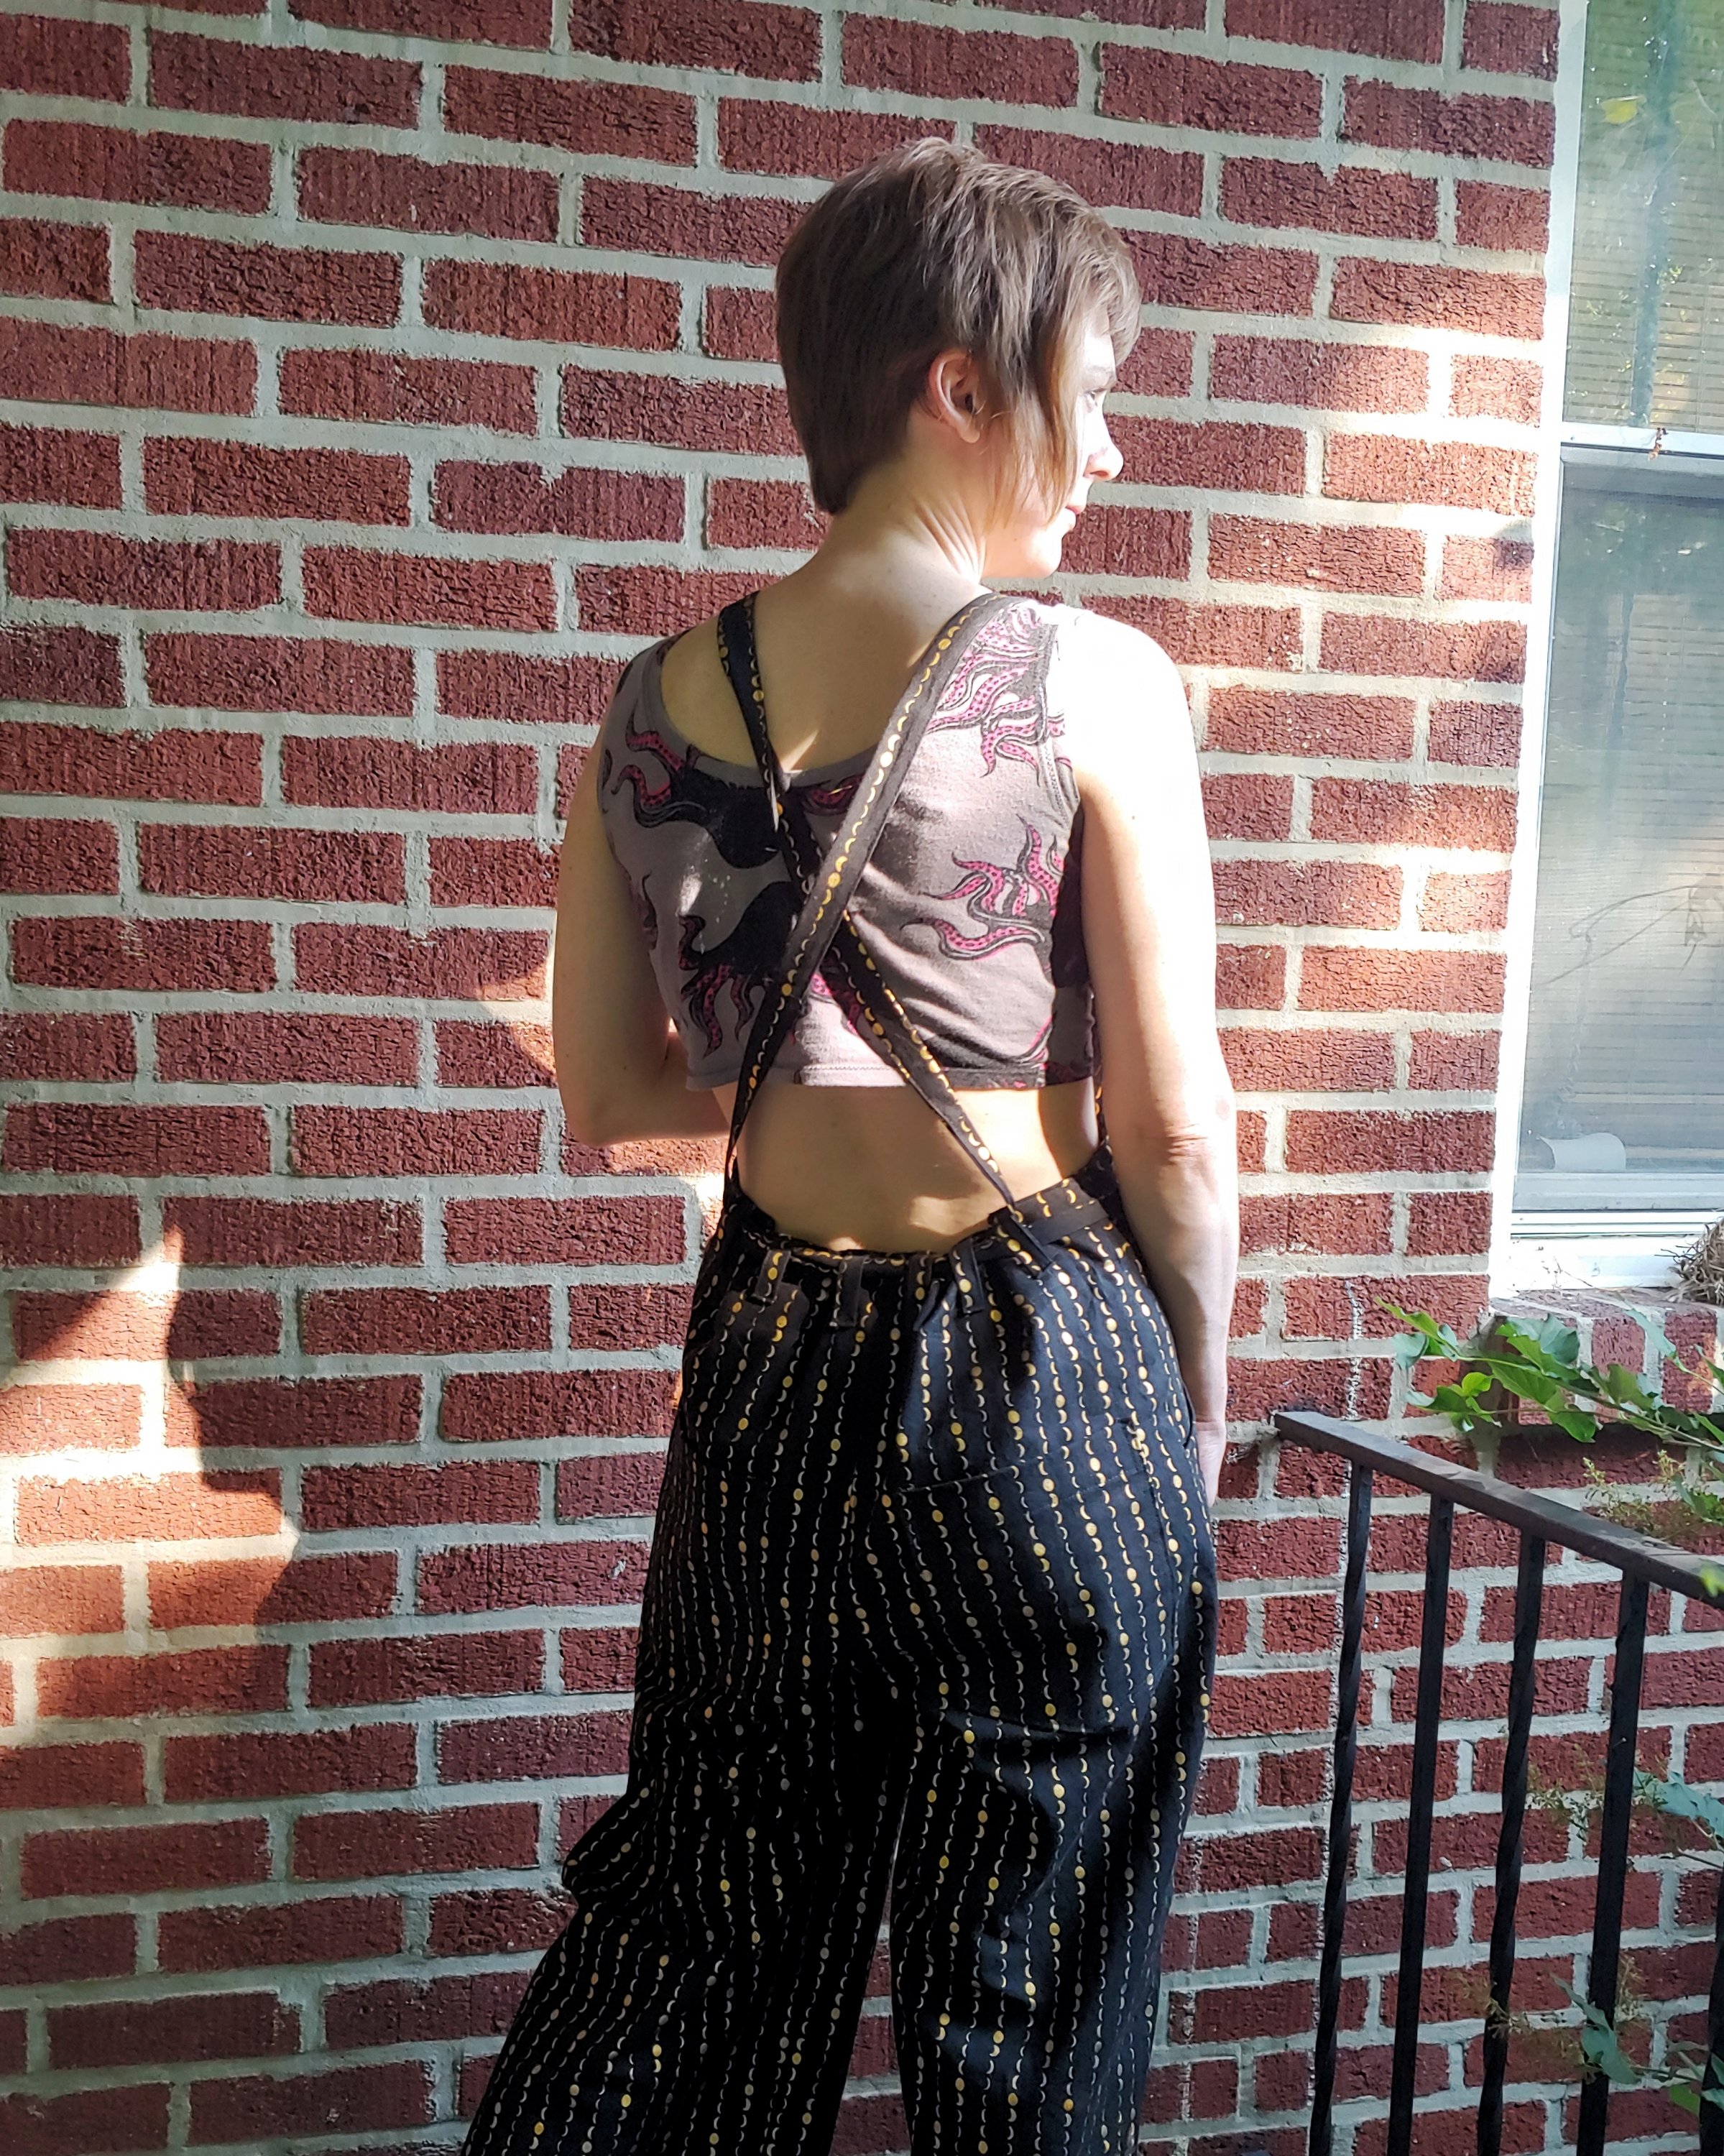
After two years in our home, gardening and tending the property, I am finally making overalls for the tasks! I chose the Burnside Bibs by Sew House Seven for this project. They have certain charm and remind me to something a Steinbeck character would wear on a frog gathering expedition. I really liked the low bib and the gathered back; the former because it’s cute and the latter because it’s flexible.
This was my first Sew House Seven pattern and I purchased a hard copy. The pieces are printed on tissue paper. They are not overlapping, thankfully, because I hate tracing! The accompanying instruction booklet is beefy, but easy to follow. There are varying seam allowances in the pattern – the straps are sewn at 3/8″ while the rest has a 5/8″ SA.
I used a light canvas fabric with stripes of golden metallic moon phases over a black background (Dusk Till Dawn – Solstice Moonlight from Firecracker Fabrics). It’s thick enough to be durable and protective, while still light enough to be breathable. While the fabric is a tad stiff, I think it will soften over time.
The Burnside Bibs require quite alot of fabric. I actually had to buy an extra yard after laying all the pieces out. Unfortunately, I didn’t even have enough muslin stashed to make a toile. I used my tried-and-true pants pattern to check the fit, and ensure they wouldn’t be too small.
I sewed a size 4 of the non-fitted version, per instructions with no alterations (beyond seam allowance). Most of the garment uses 5/8″ seam allowances, while the straps/ties have a 3/8″ seam allowance. I sewed most of the 5/8″ seams with a 1/2″ seam allowance, because I’m rebellious like that.
Some pattern pieces, like the front pockets and legs, are marked as “cut opposites”, which made me doubt my usual cutting methods, but everything came out fine. I laid out the front pocket pieces and cut each pocket separately, but everything else I cut in two layers like normal.
The instructions are beefy as there are two versions of the bibs, again I sewed the less fitted version. The construction methods are strange to me: the front waist band overlaps the front bib, not adding any length as you’d assume a waistband would. I do think it makes the waistband more durable, especially when it’s top-stitched.
If I was making bibs from scratch, I would assemble the legs first, then attach them to the bib and bodice portion. The Burnside Bibs have you assemble the complete front – legs and bib – and THEN you assemble the back legs. The back legs are attached to the front by first stitching the inseam, then the outseam, then the crotch.
I thought it would be confusing and tricky, but it really wasn’t. Because of the odd-to-me construction, I followed the instructions closely and finished the edges with a zig-zag stitch, which is a bummer. Upon reflection, I could have bias-bound the legs. If they get too messy, I can still go back and add a strip of bias tape.
My general complaint about that is it assumes you have a serger and doesn’t show you the other methods of getting a clean finish. I refuse to buy a serger, which I’ll have to get into another time.
The bib and the back waist seam are finished with facings, a classically clean, neat technique. The shoulder straps are sewn into the facing and you have to be careful to stop your stitch at the exact edge of the straps to provide a clean line. The bib is supposed to be a straight line up through the shoulder strap, so if your stitch ends beyond the outer edge of that strap, there will be an unsightly corner that shouldn’t exist.
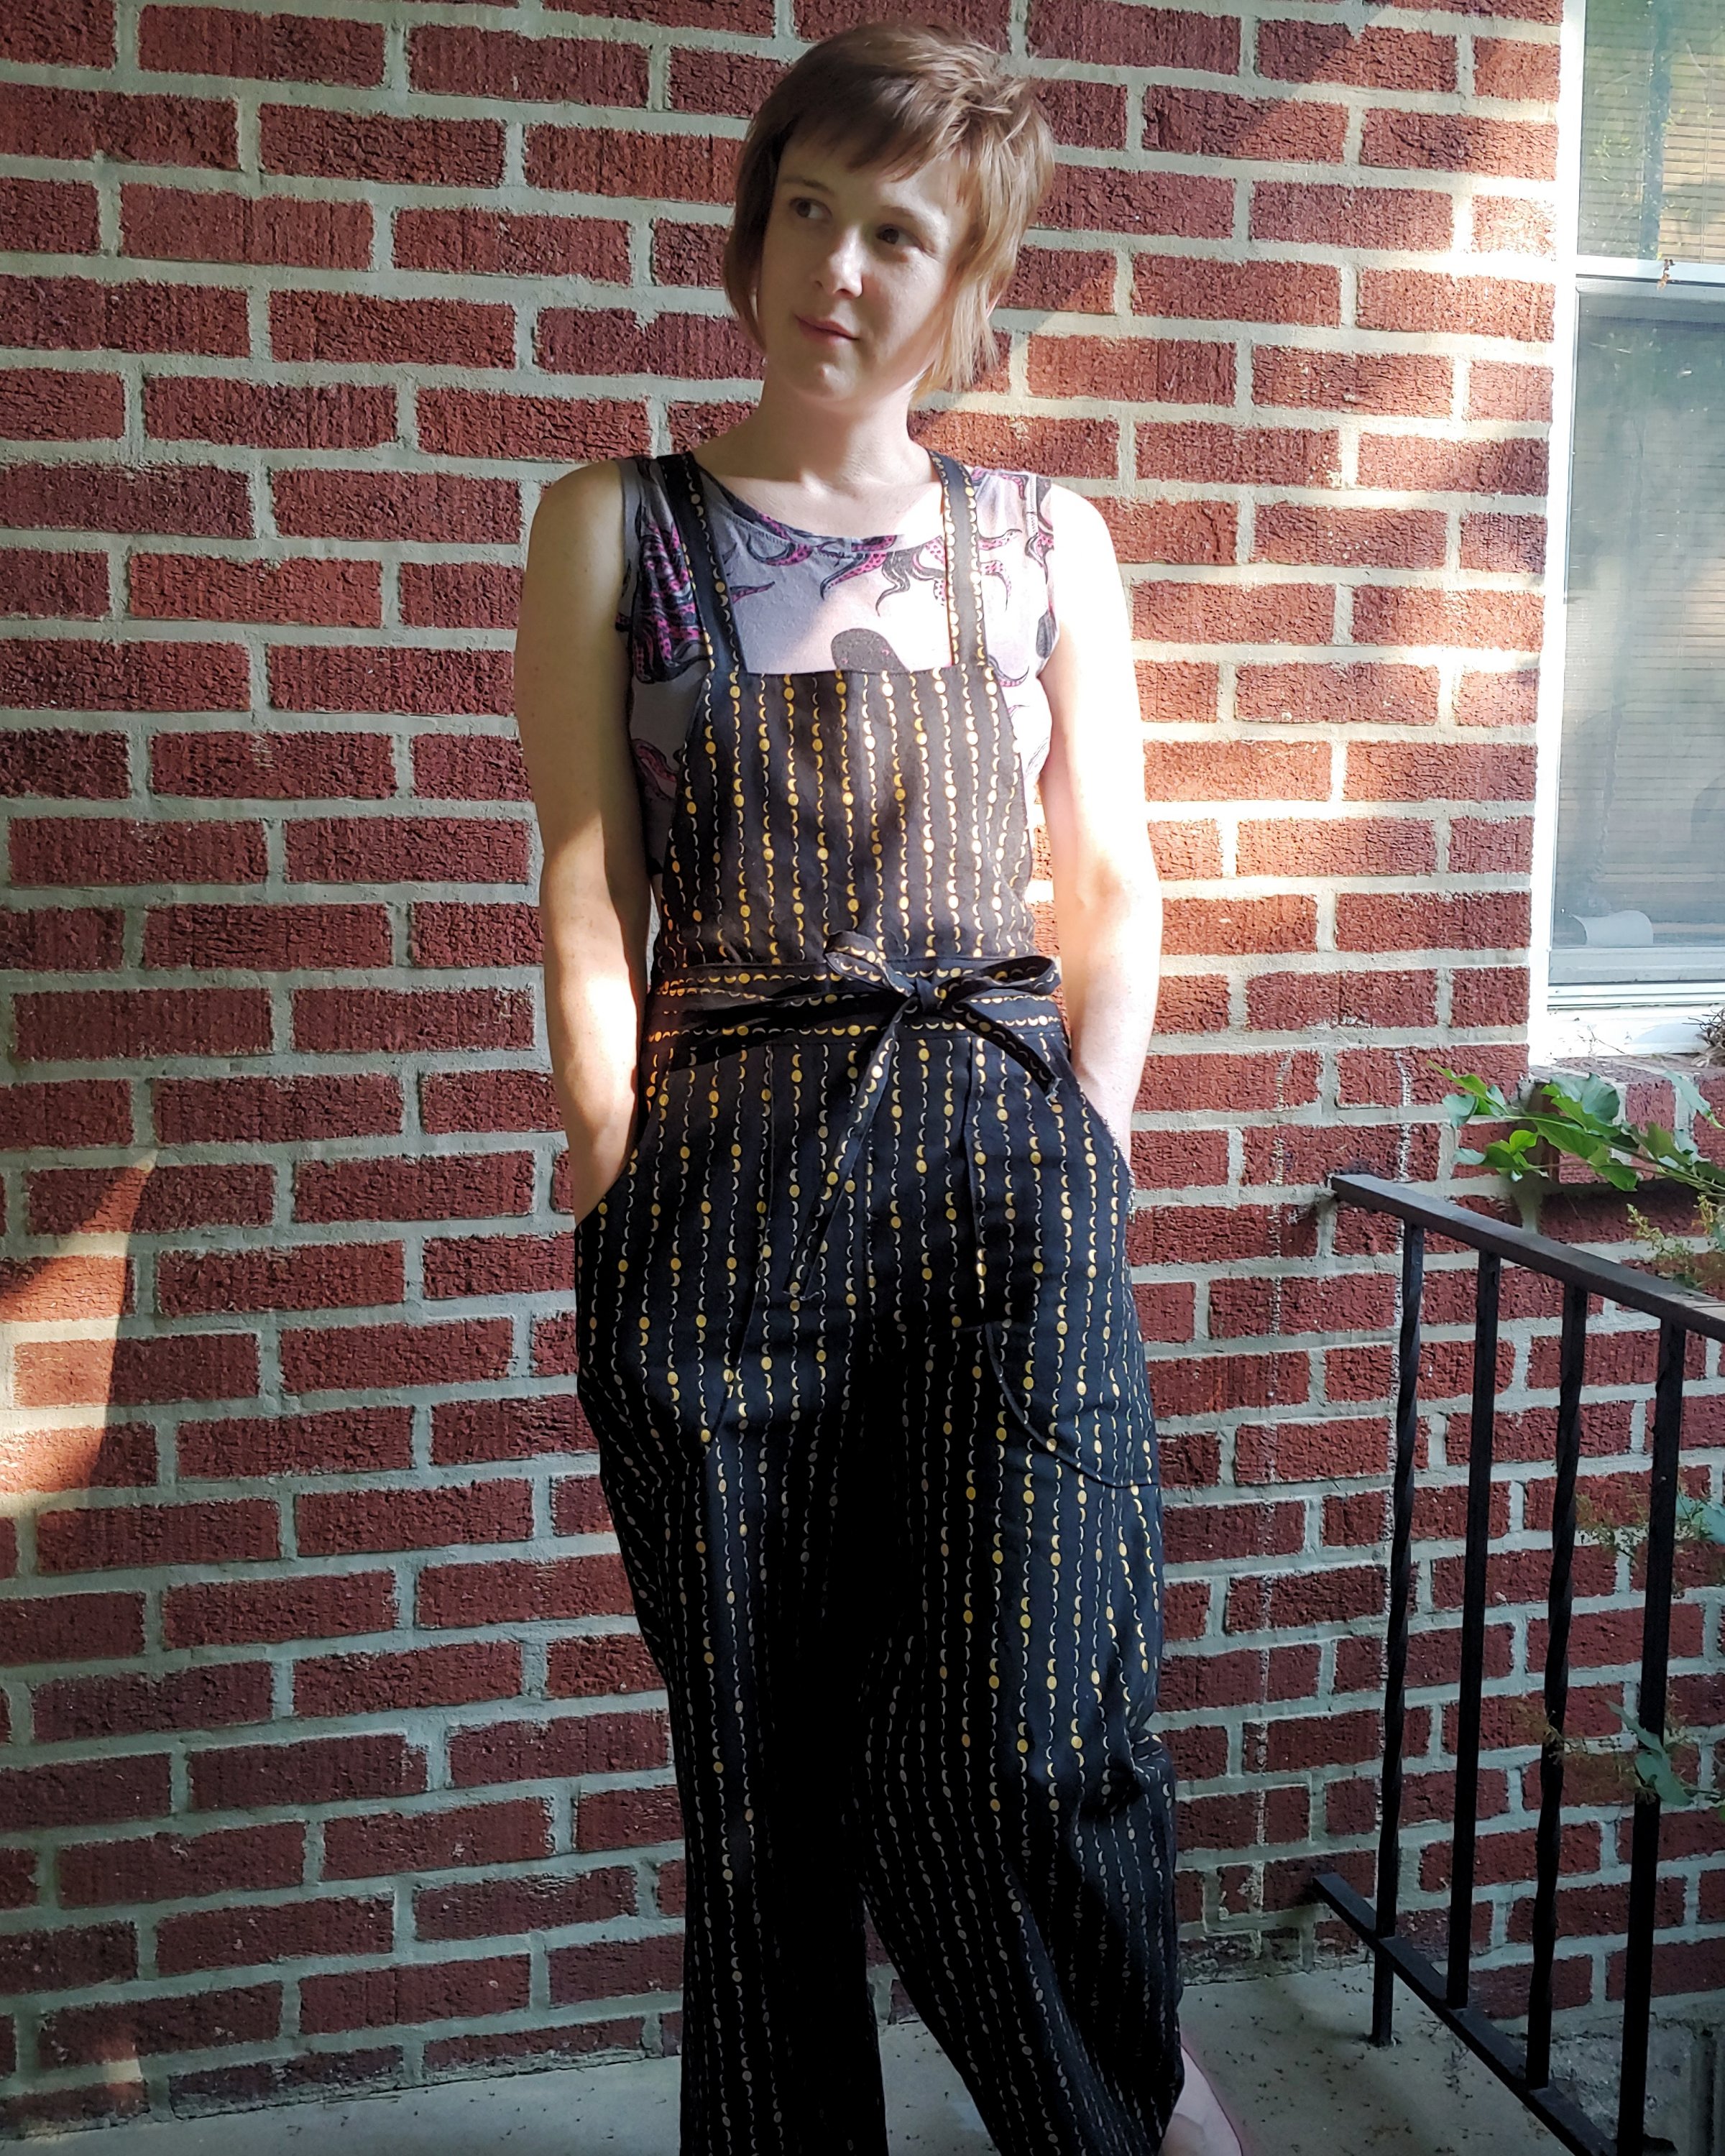
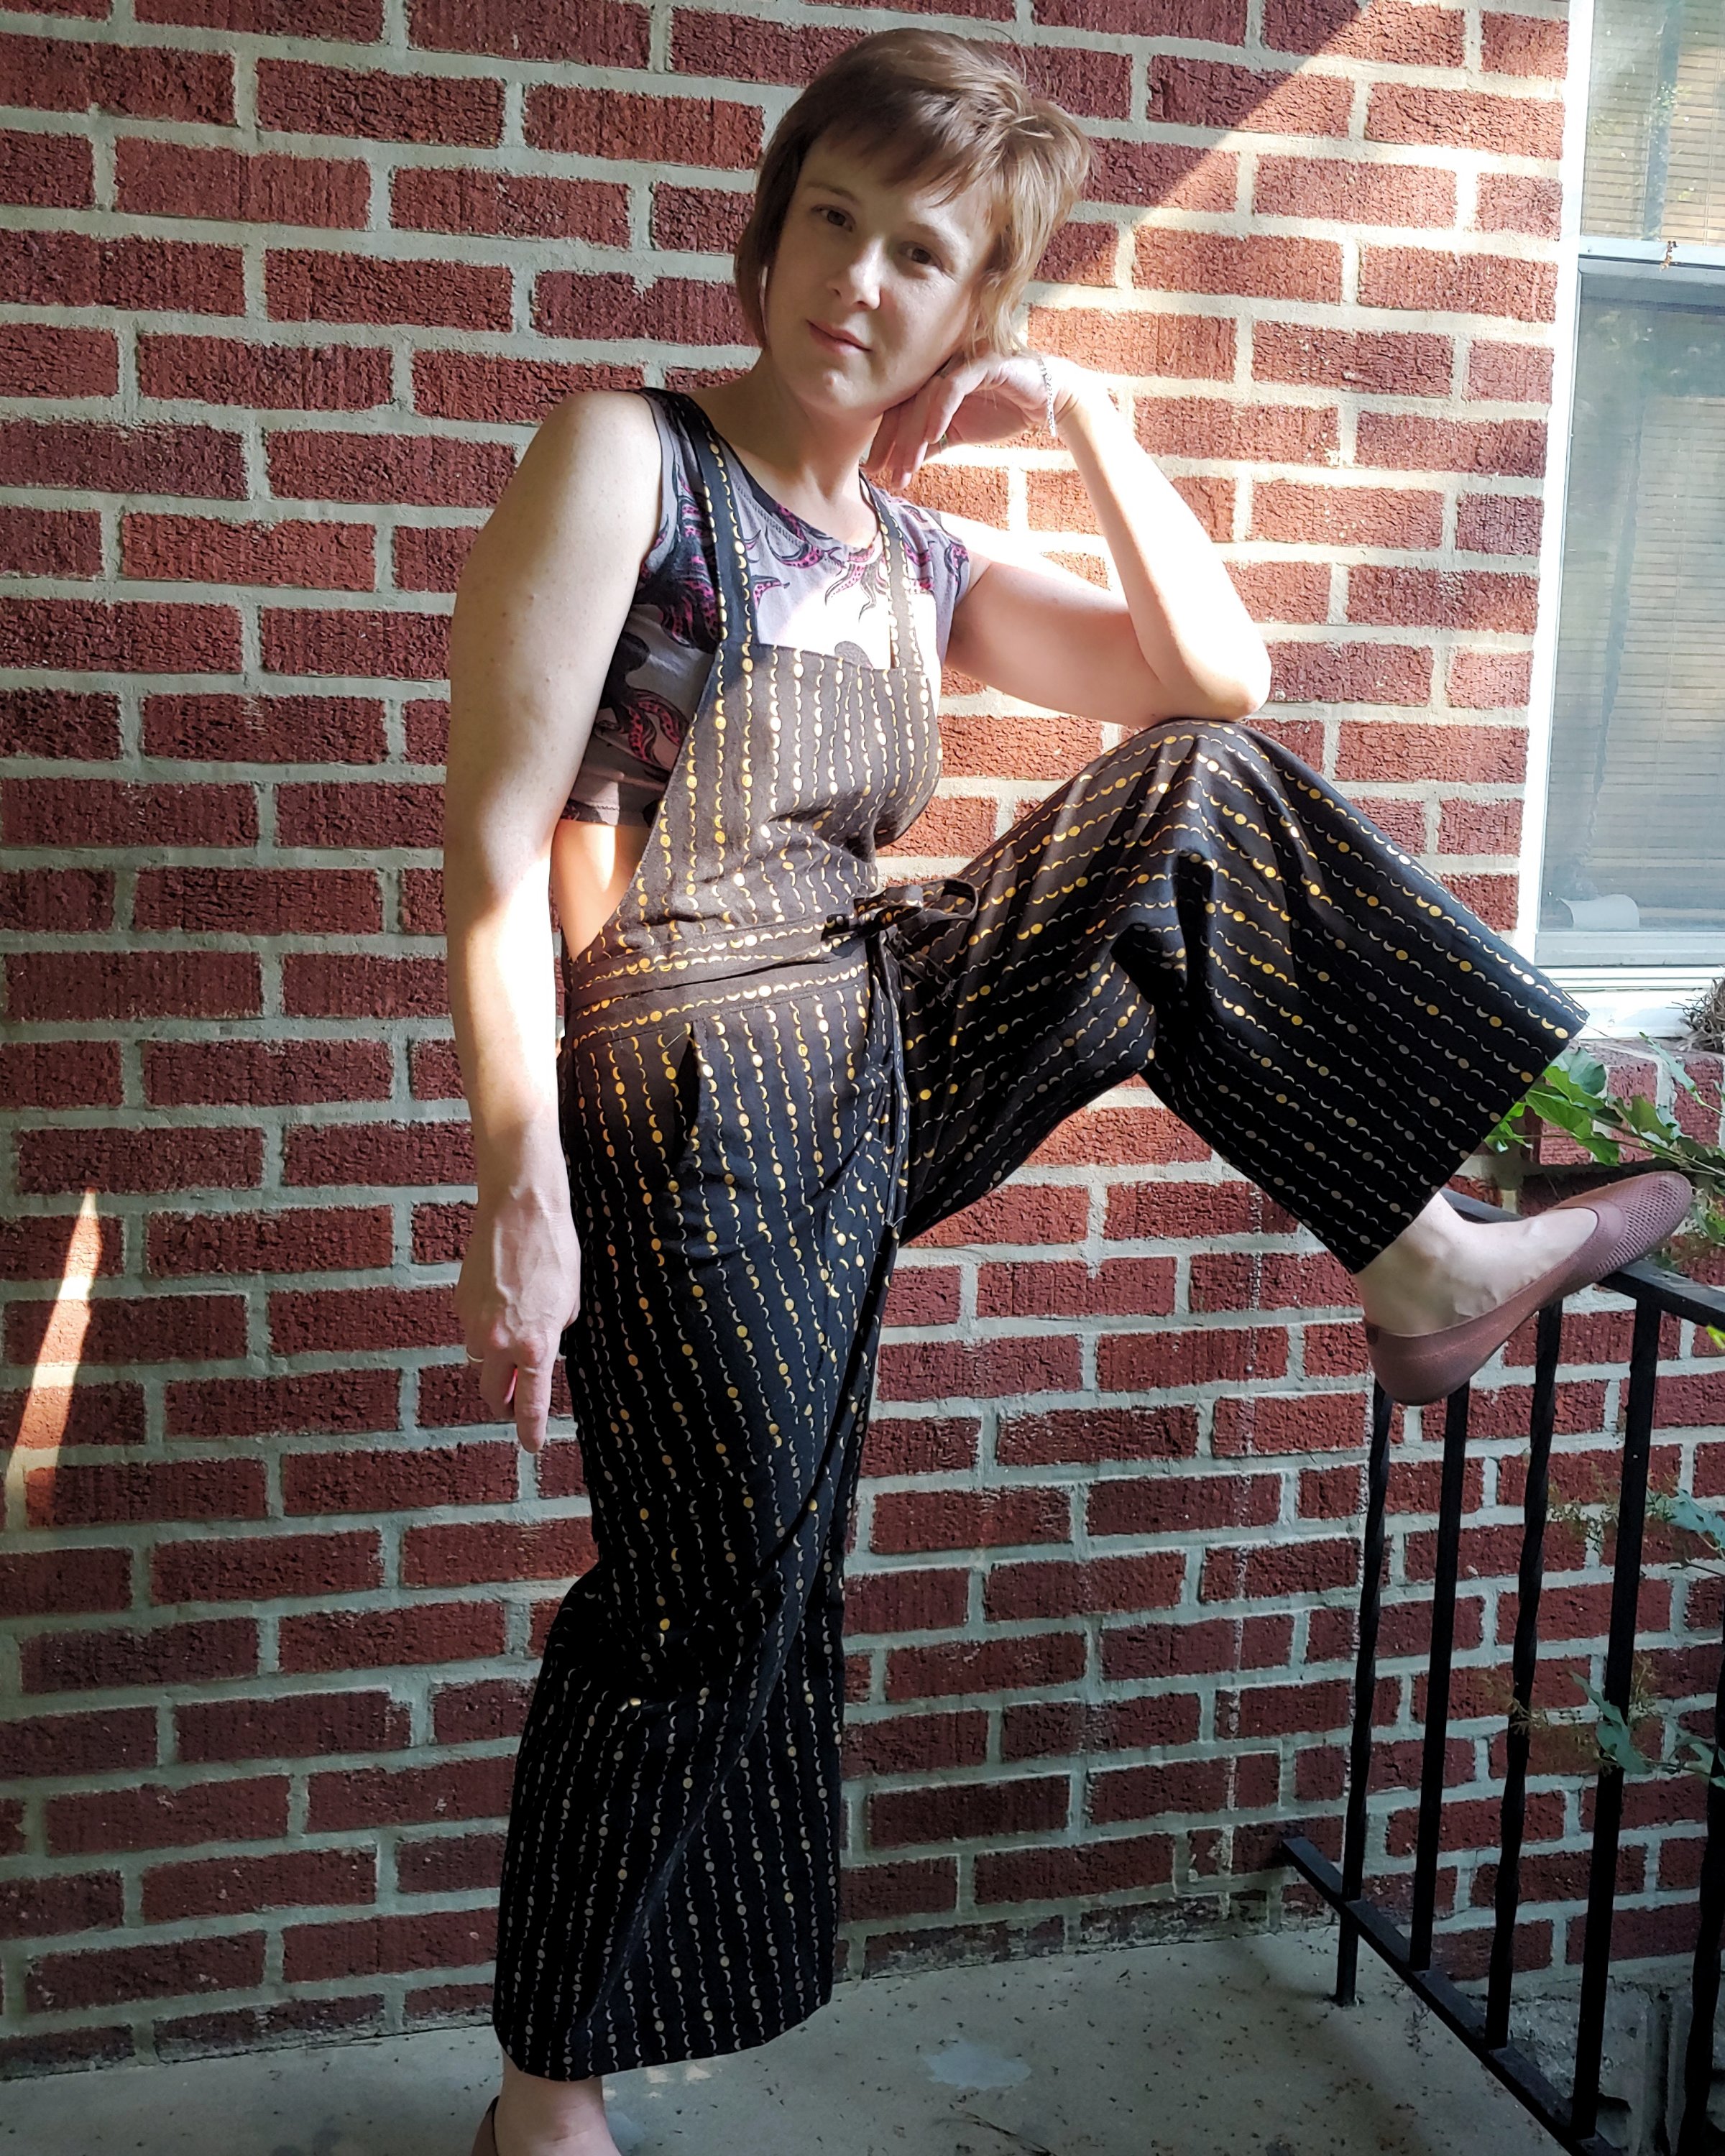
While I did make the un-fitted version, the bum and legs are voluminous. They are very comfy, but when I see pics from the back, I see the excess fabric. I wanted them to be roomy for yard work, so yay, in the future I would tailor the back better.
The back pockets are at the very bottom of my bum, too low in my preference, although they are quite roomy and I don’t think anything will fall out of them. The front pockets are large, but not too large and can easily fit a standard smart phone.
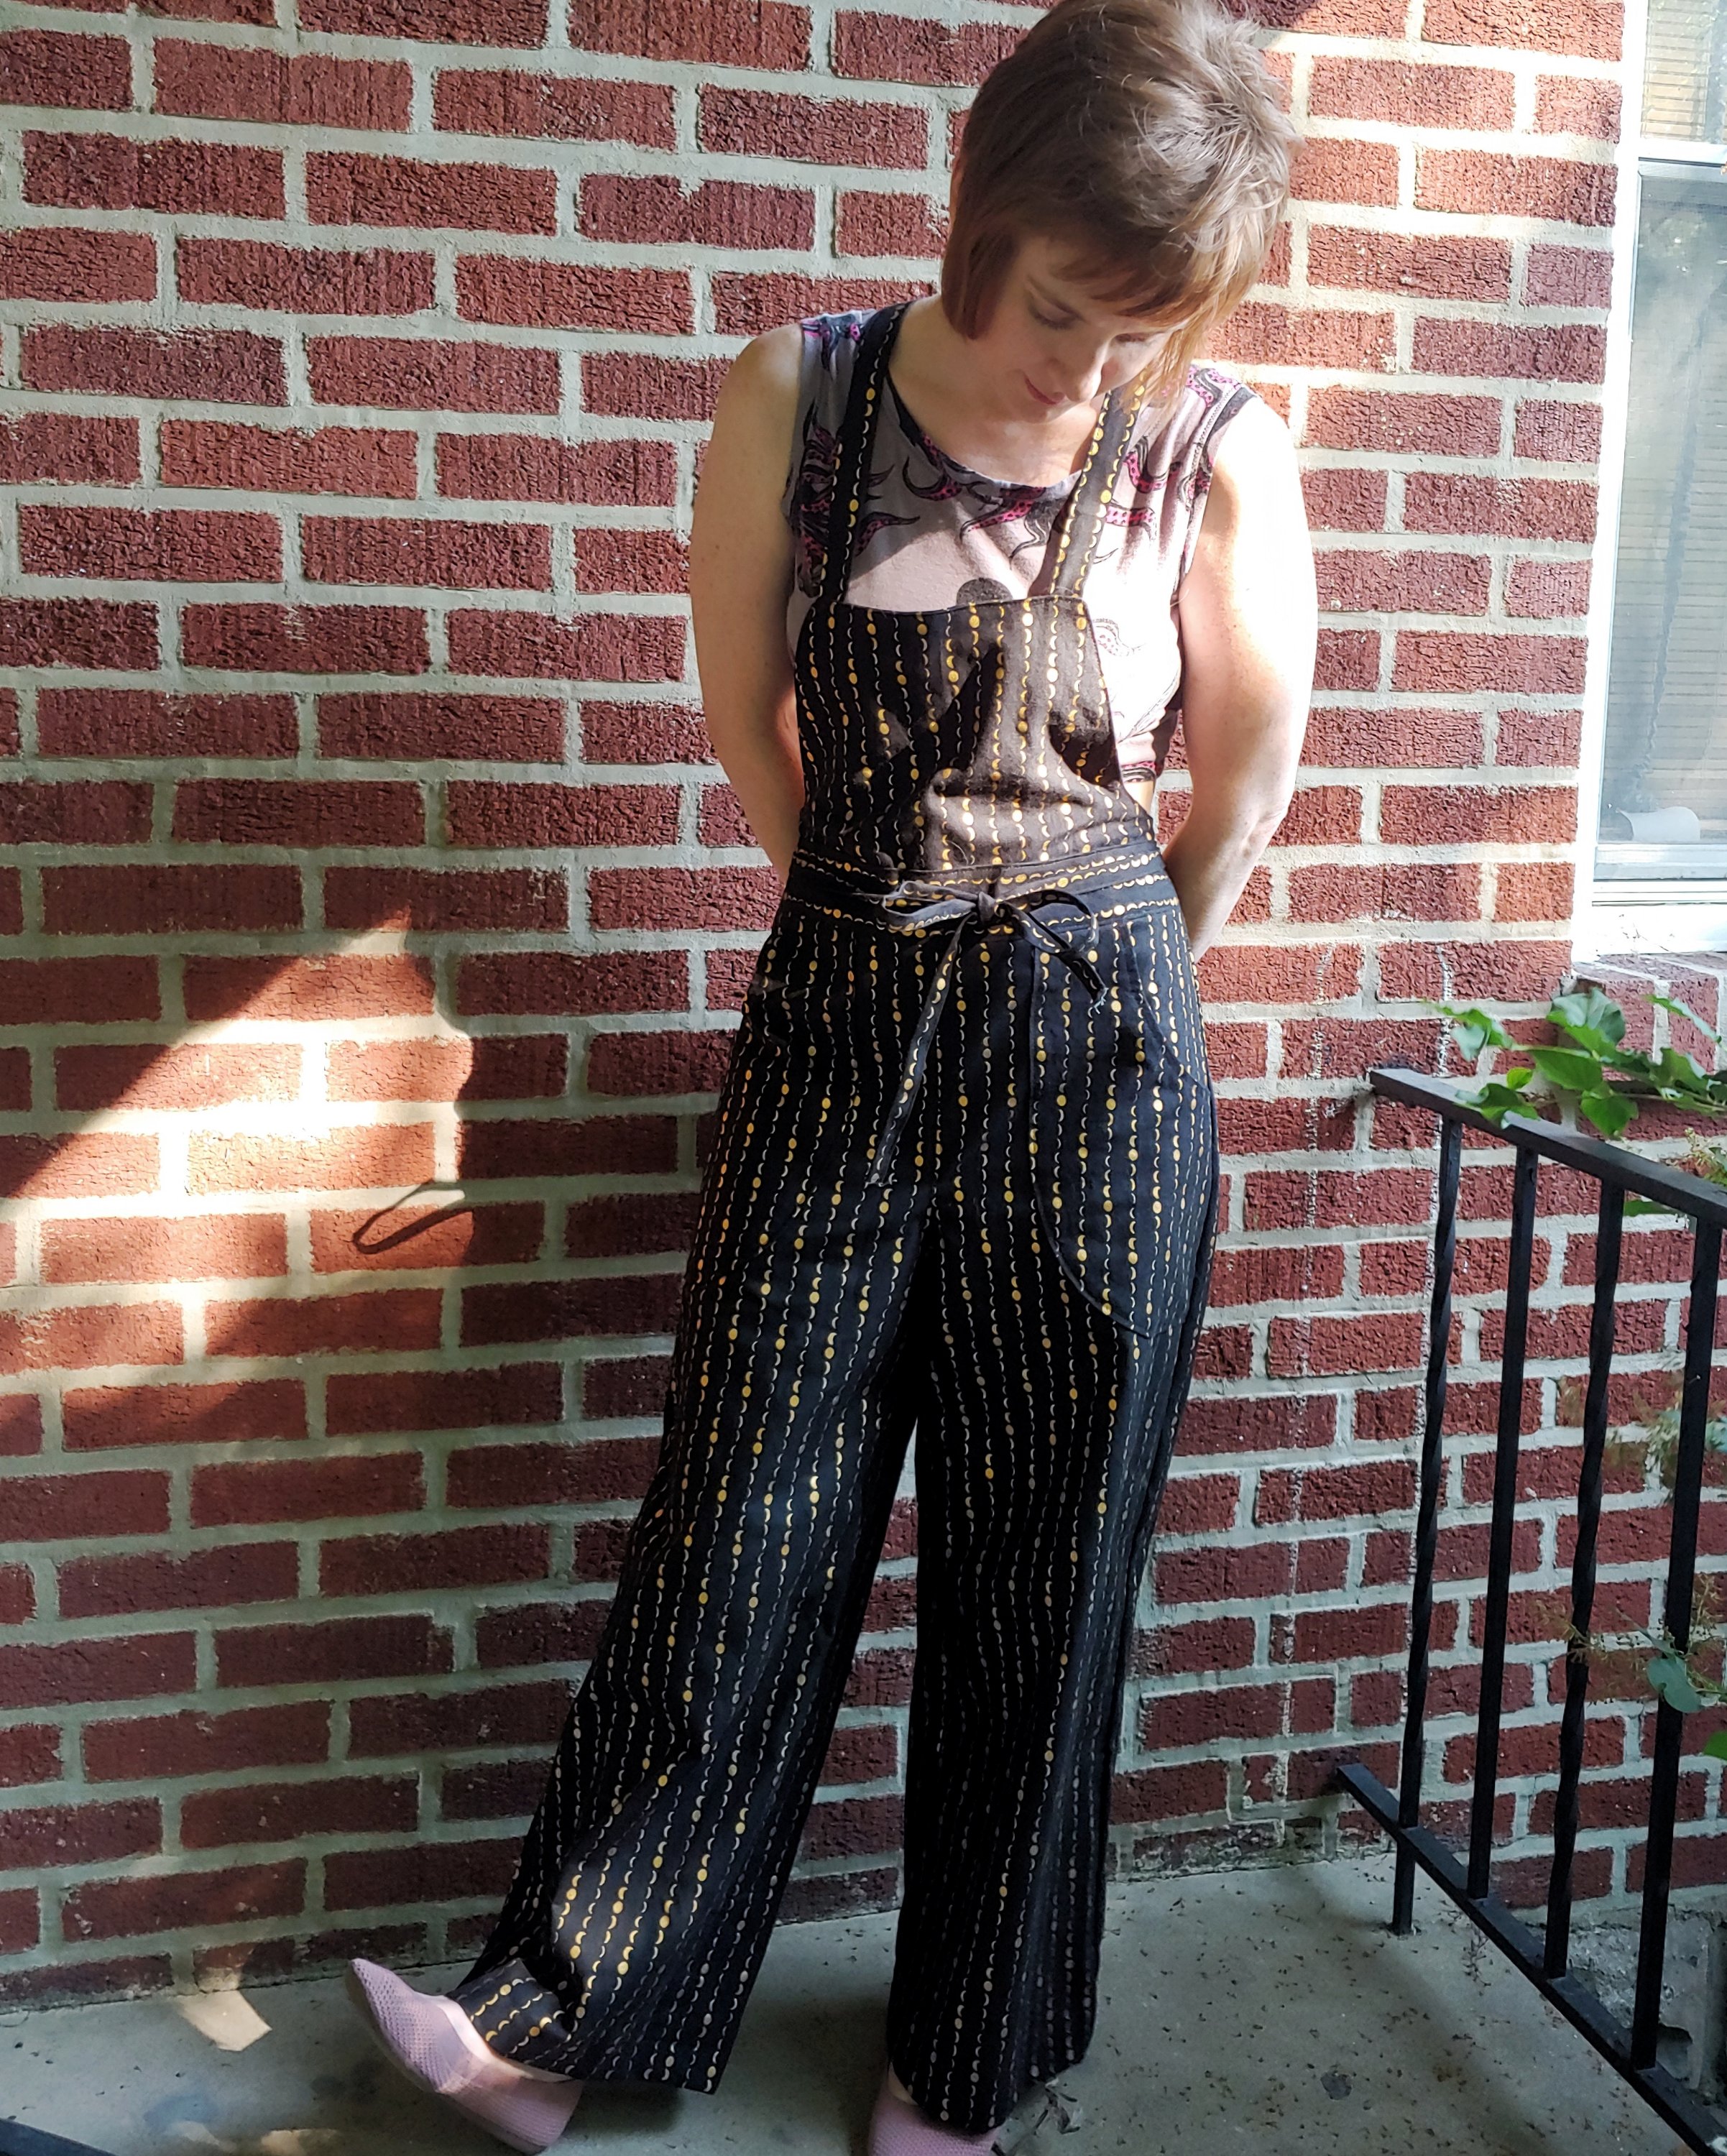
There are two length options and I cut the longer one. However, because I am kind of short (5’4″), I had to cut 2″ off the bottom, and use a generous 2″ hem. I chose the longer version assuming I would have to Extreme Hem, so I could avoid any risk of flood pants.
In all the reviews I read about the Burnside Bibs, one general answer eluded me: Are they good for gardening? Are they practical? For me the answer is, mostly. They are comfortable and I have a wide range of motion, but the legs are so very wide. I worry that ticks may climb up when I’m in the woodier parts of my yard. I might make some ties with the leftover fabric to secure the pant legs at the ankle for extra security. I did some weed-whacking in them and my legs were safe from flying weeds – no cuts for me!
These are so cute, I want to wear them outside of yardwork. I really want to make another pair in a light linen, which I think would be fashionable and super comfy.
I definitely recommend the Burnside Bibs, but suggest using different finishing methods for the legs and making a test-fit first. It’s definitely a fun pattern to sew, with a mid-level difficulty. (Mid-level meaning a beginner could sew them, but not as a first project. Someone with more experience will find challenge in the construction methods, but shouldn’t have any trouble.)