11/14/21 Weekly Rally
Making double-sided bias tape
I’m finishing the neck and arm holes of the reversible dress with bias tape. Because this fabric is a double-weave, using it as-is to make bias tape means I have to pick a side – did I want to use the plaid or the striped side to enclose everything? Neither – I wanted the bias tape to match both sides.
To do this, I split the two layers of the fabric apart by snipping the small threads that connect them. Then I sewed them together long ways with right sides touching. I folded this up into double-sided bias tape. It looks really nice and I’m glad I made the effort!
Photoshoot Prep!
In very exciting news, I’m prepping for a photoshoot next week with a local photographer! We are going to a beautiful location that I am keeping secret for now, but am very excited about!
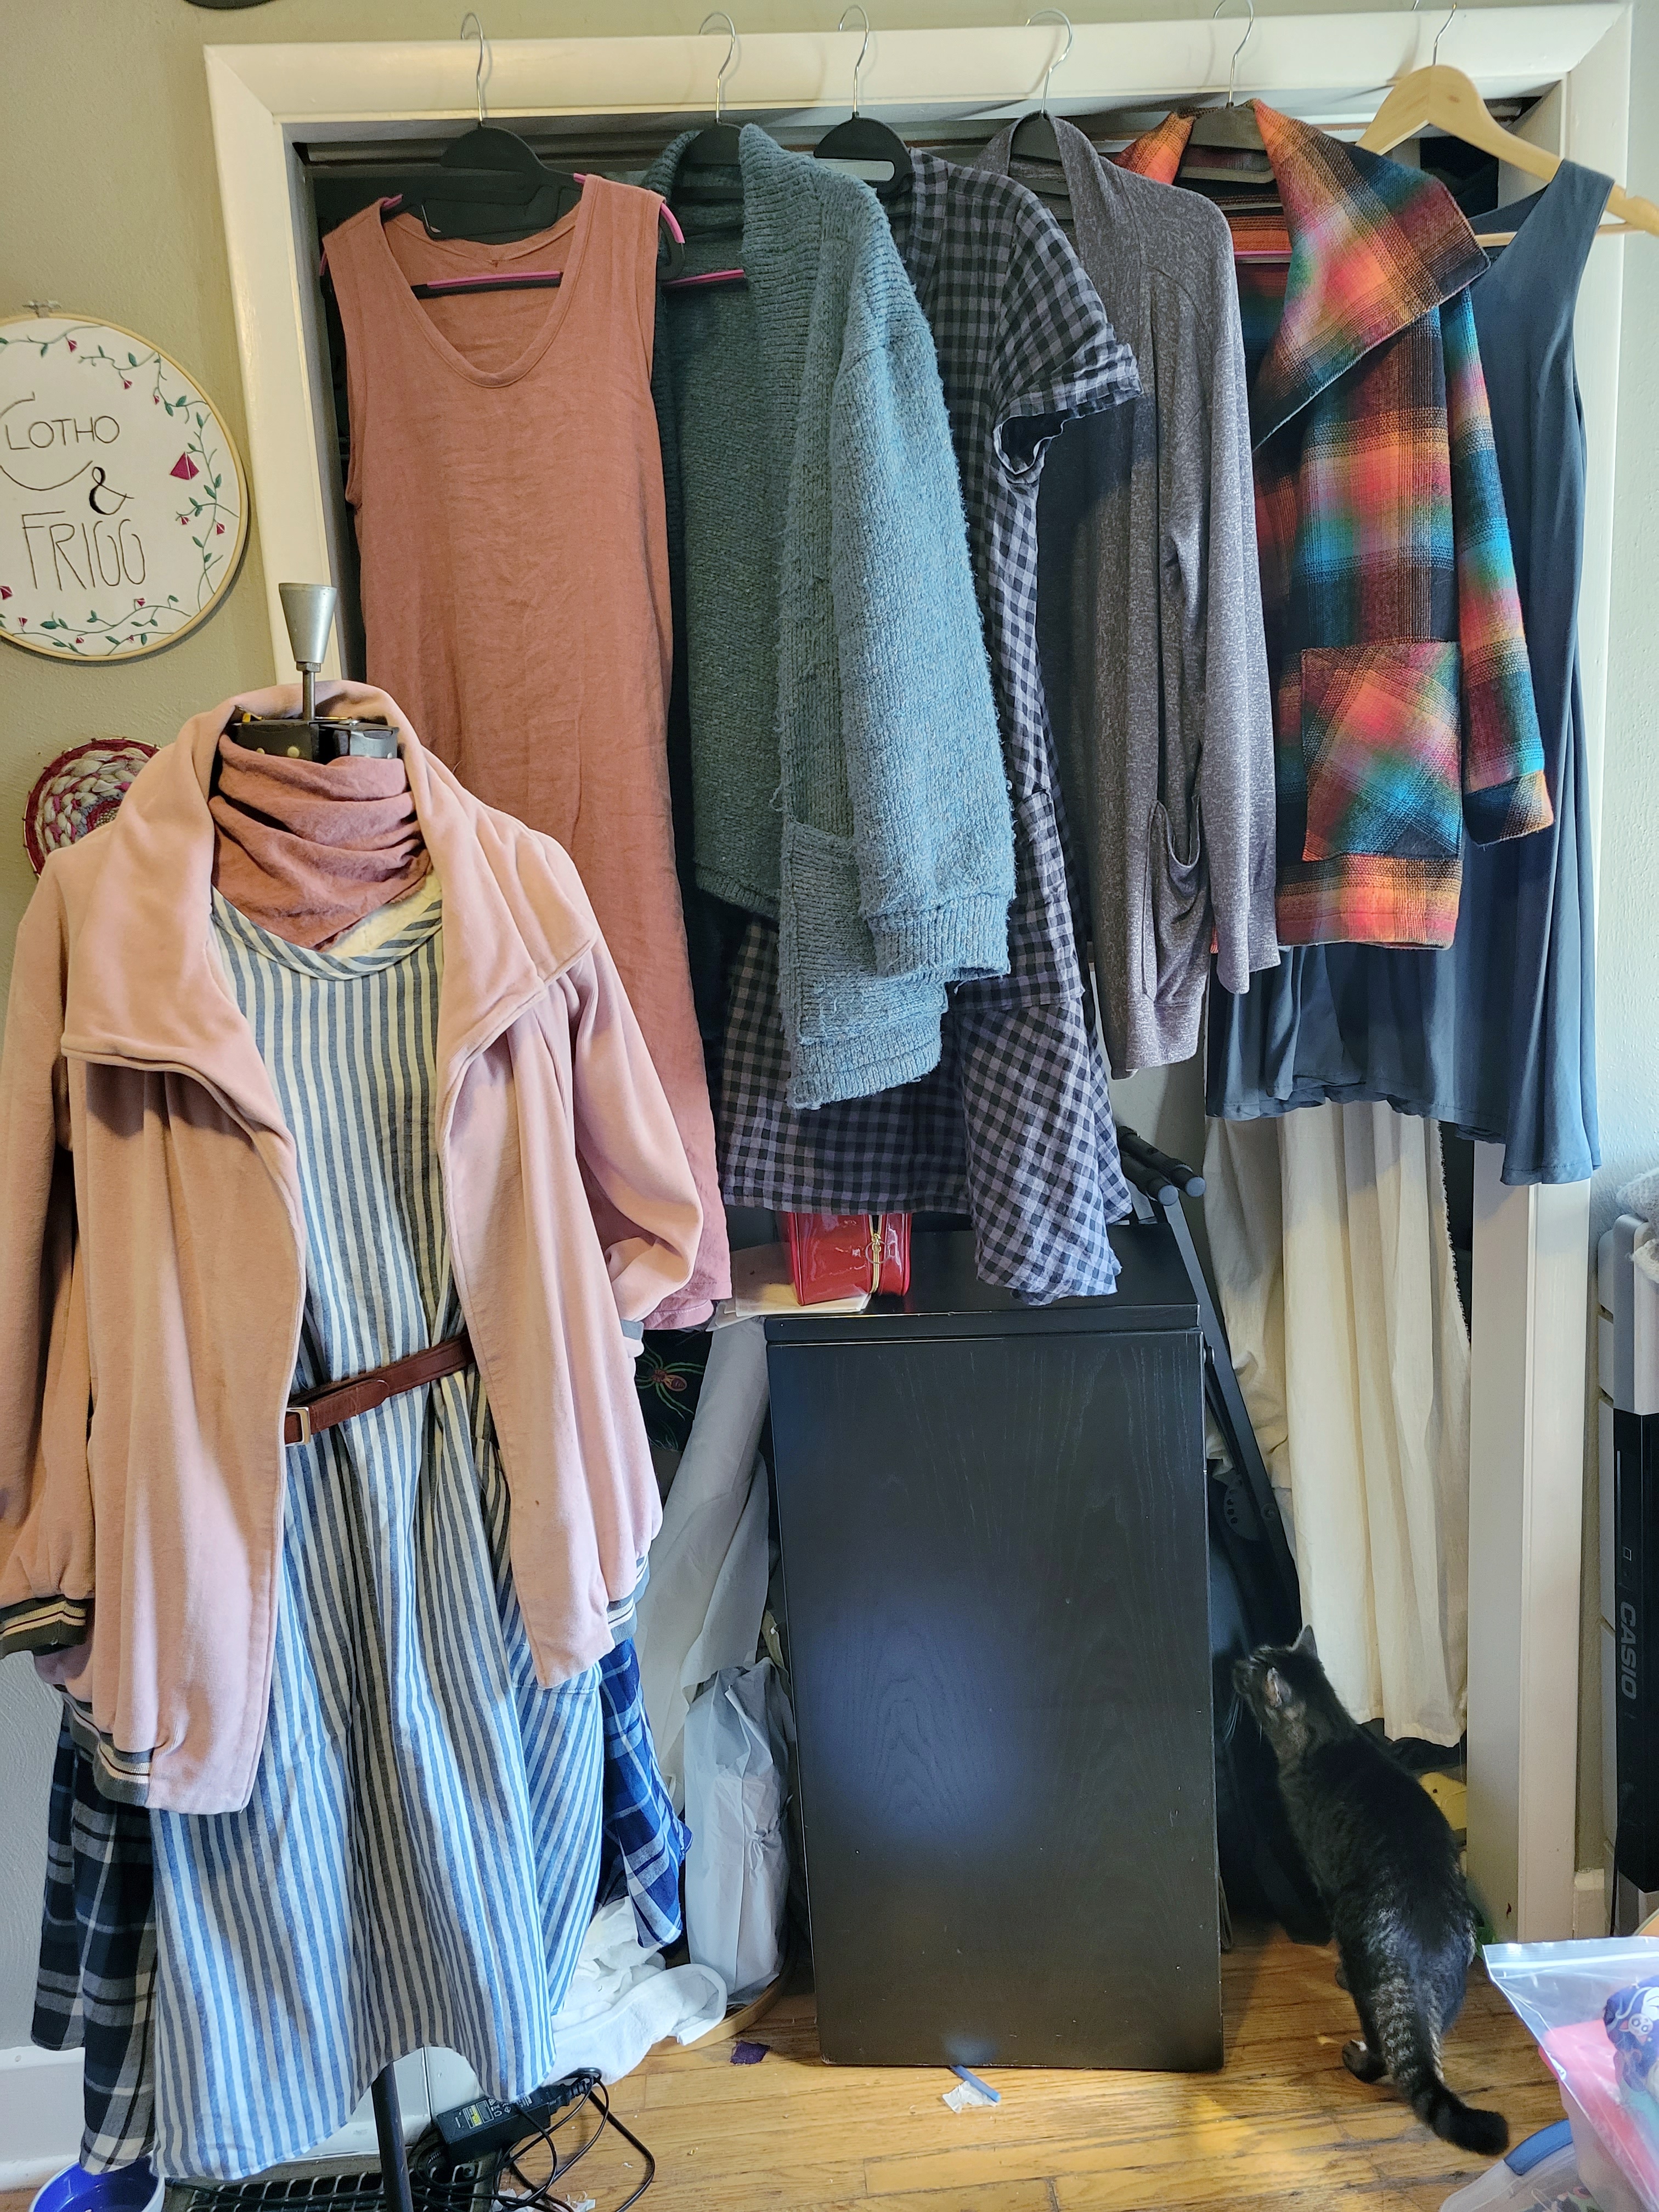
I’m going through my dresses and jackets to plan outfits and combinations to make photographing everything go as smoothly as possible.
You can spot a secret project that I just finished in this picture! I haven’t even worn it yet because I’m afraid something will happen to it before next week.
Final Thought
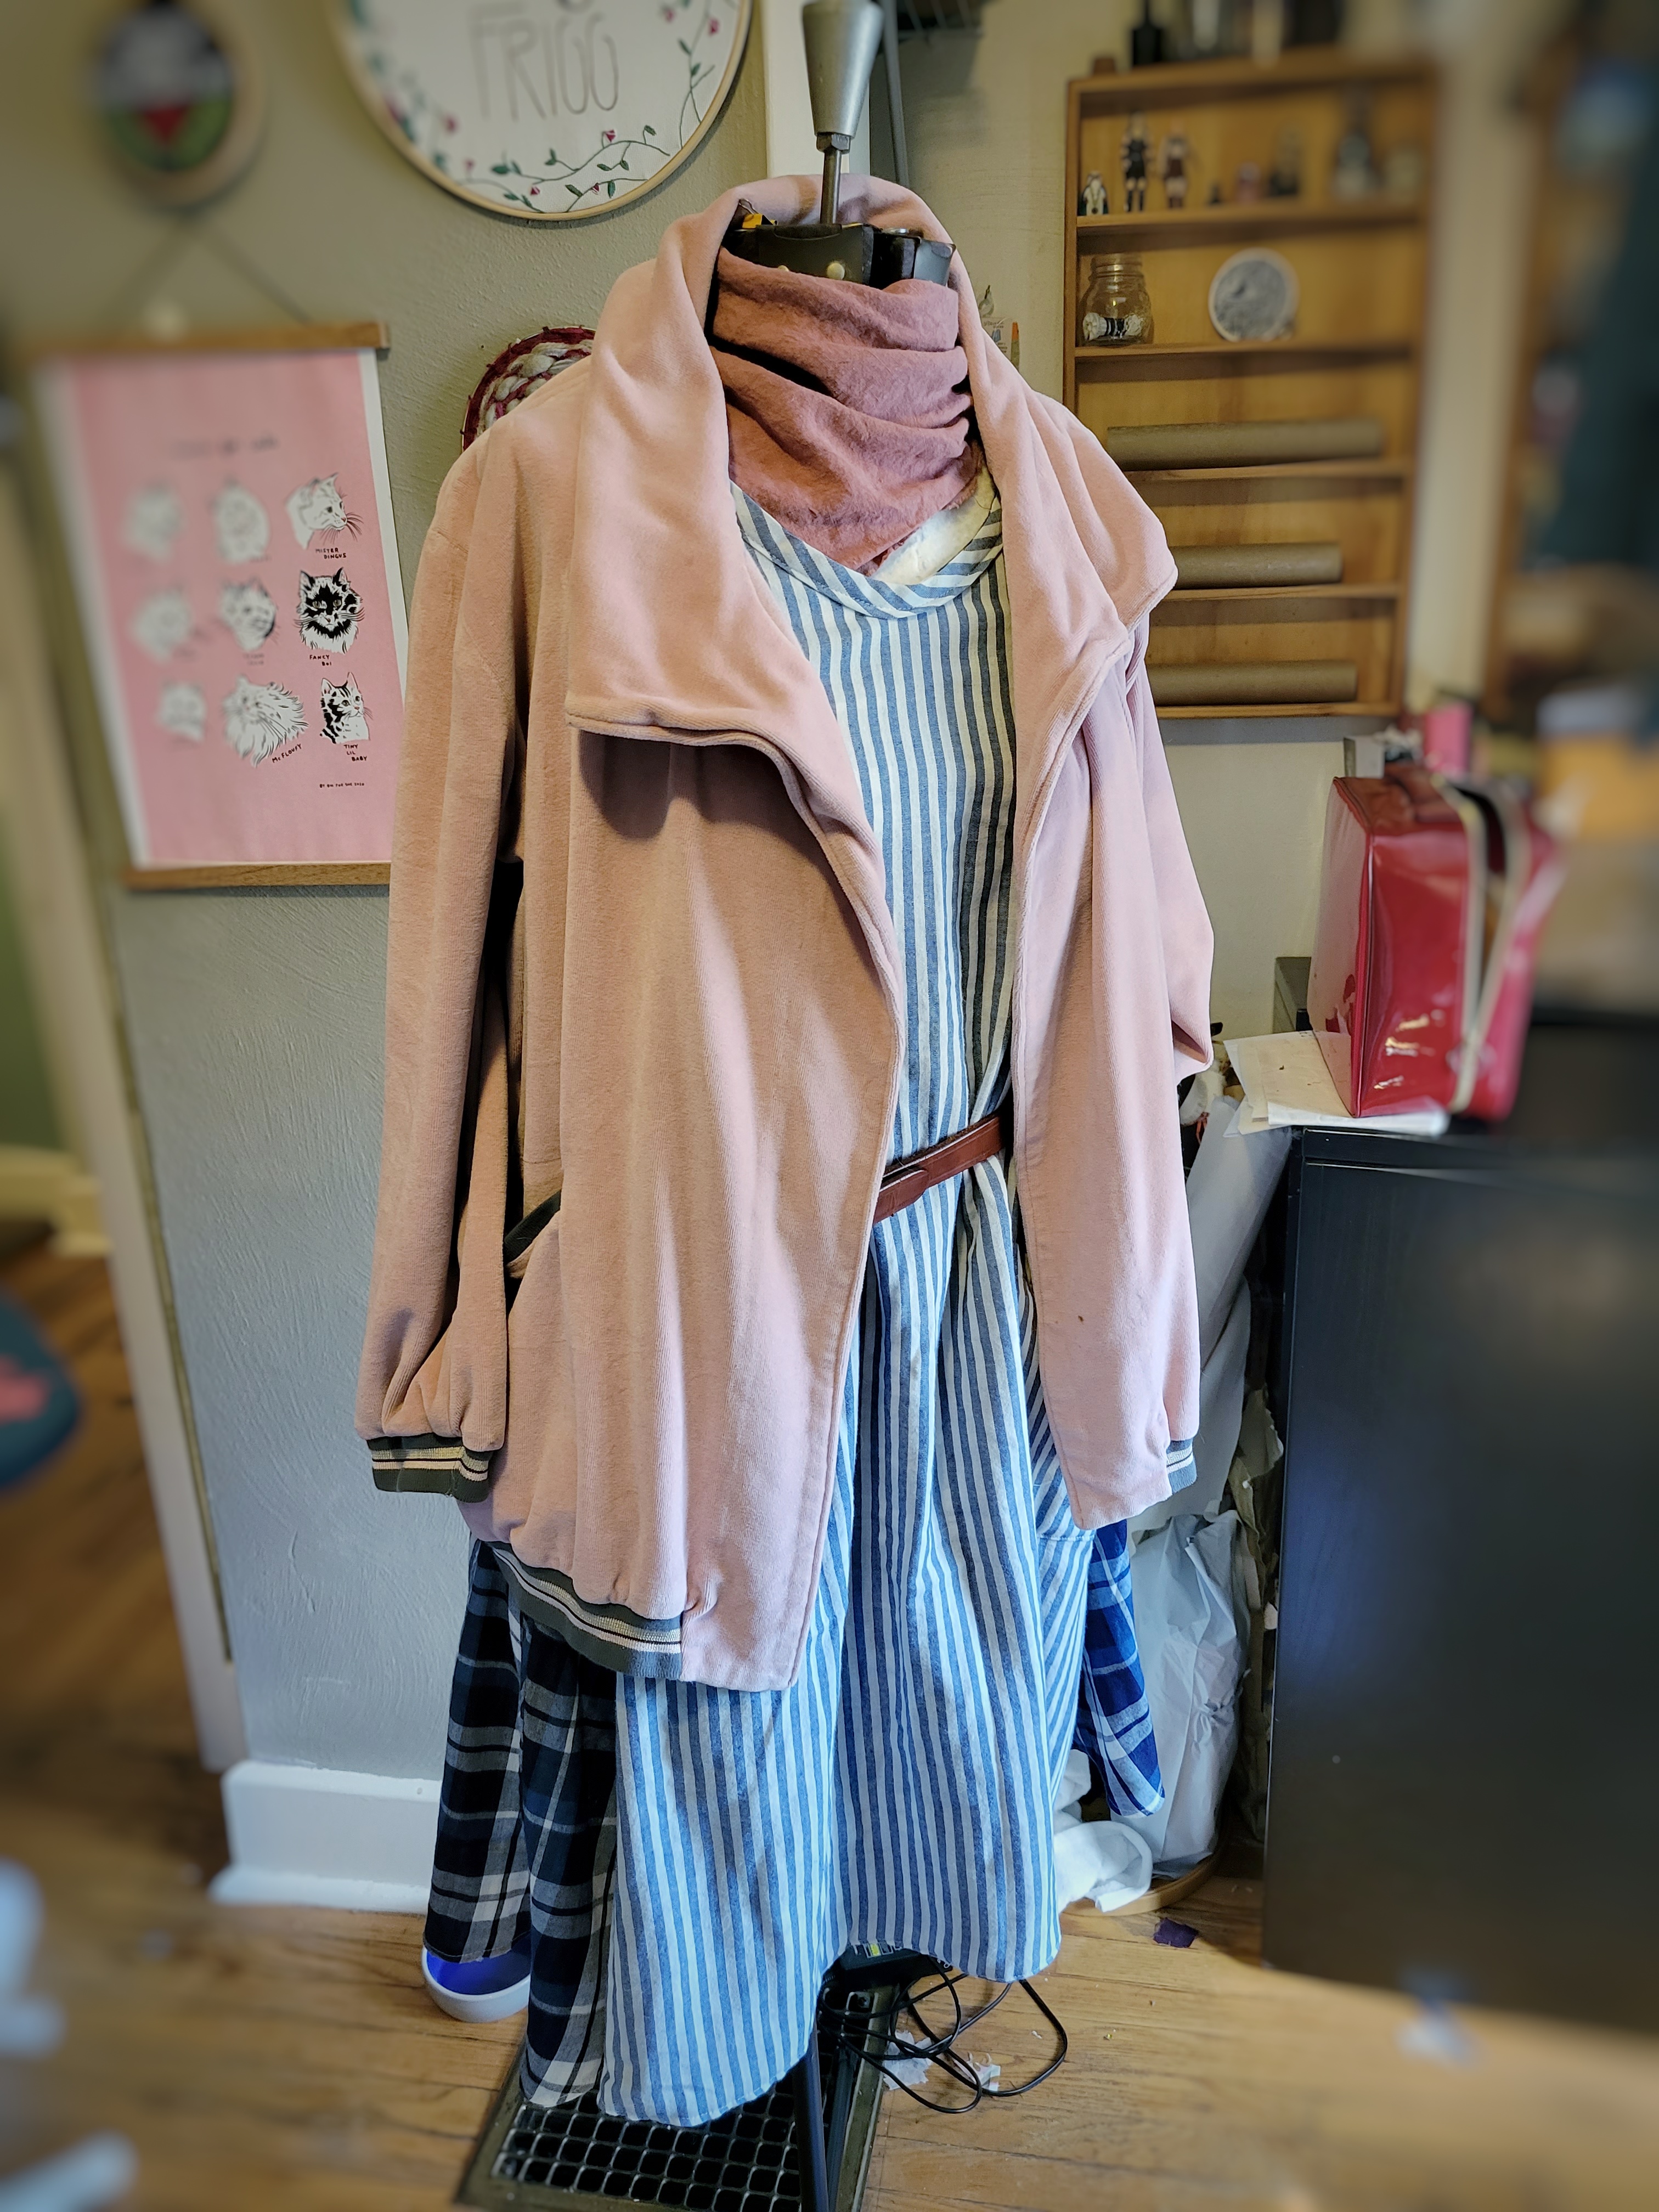
The reversible dress is actually finished! I had a day off this week and completed the binding and the hem. Next week I’ll get into how I did the hem – it involves more splitting of fabric!
For now, here’s a sneak peek of the dress on Jenny. Doesn’t she look stylish! How do you feel about reversible dresses? Are they worth the trouble?
Thanks for stopping by for my weekly rally! What projects are you working on? Let me know in the comments!
May your shears always be sharp and your bobbins full!
<3 Virginia
